Campaign Split Testing
Check out the Mini Tutorial: How to Configure a Split Test Campaign for a quick guide on the basic setup of a split-testing campaign.
Campaign Split Testing (A/B testing) enables you to evaluate multiple versions of a campaign, such as email subject lines, SMS messages, or special offers, to determine which one resonates best with your guests. Whether you're testing different copy, subject lines, or offers, you can create A/B variants or include a control group and distribute them to randomized guest segments. By integrating directly into the Mass Offer Campaign or Mass Notification Campaign workflow, Campaign Split Testing allows you to view the results on the Campaign Performance Page. Here, you can easily compare the outcomes for each variant, assessing their impact on sales volume, offer profitability, opens, clicks, and more, all aligned with your test objectives.
With Campaign Split Testing, you can:
- Optimizes Performance: By comparing different versions of a campaign, you can identify which elements resonate most with your audience, leading to higher engagement and better results.
- Make Data-Driven Decisions: It allows you to make informed decisions based on actual performance data rather than assumptions, reducing the risk of ineffective campaigns.
- Improves ROI: By fine-tuning your campaigns through testing, you can maximize your return on investment by focusing on what works best.
- Enhances Customer Experience: Understanding what appeals to your guests helps you tailor your messages and offers to meet their preferences, improving their overall experience.
- Reduces Risk: Testing different variants on smaller segments before a full rollout minimizes the risk of a campaign underperforming on a larger scale.
Note:
- Spilt testing is available only for one-time send campaigns
- Not currently compatible with Send Time Optimization (STO)
- Each test must include a redeemable offer
The legacy A/B Campaigns have been deprecated and replaced by Split Testing.
How to Set Up a Mass Offer Campaign with Split Testing
- Navigate to Marketing Automation > Campaign Management in your left-hand navigation toolbar.
- Click Create Campaign in the upper right corner.
- Select Mass Campaign.
- Select Yes or No to include an offer in this campaign, as applicable.
- Click Create.
Step 1 - What
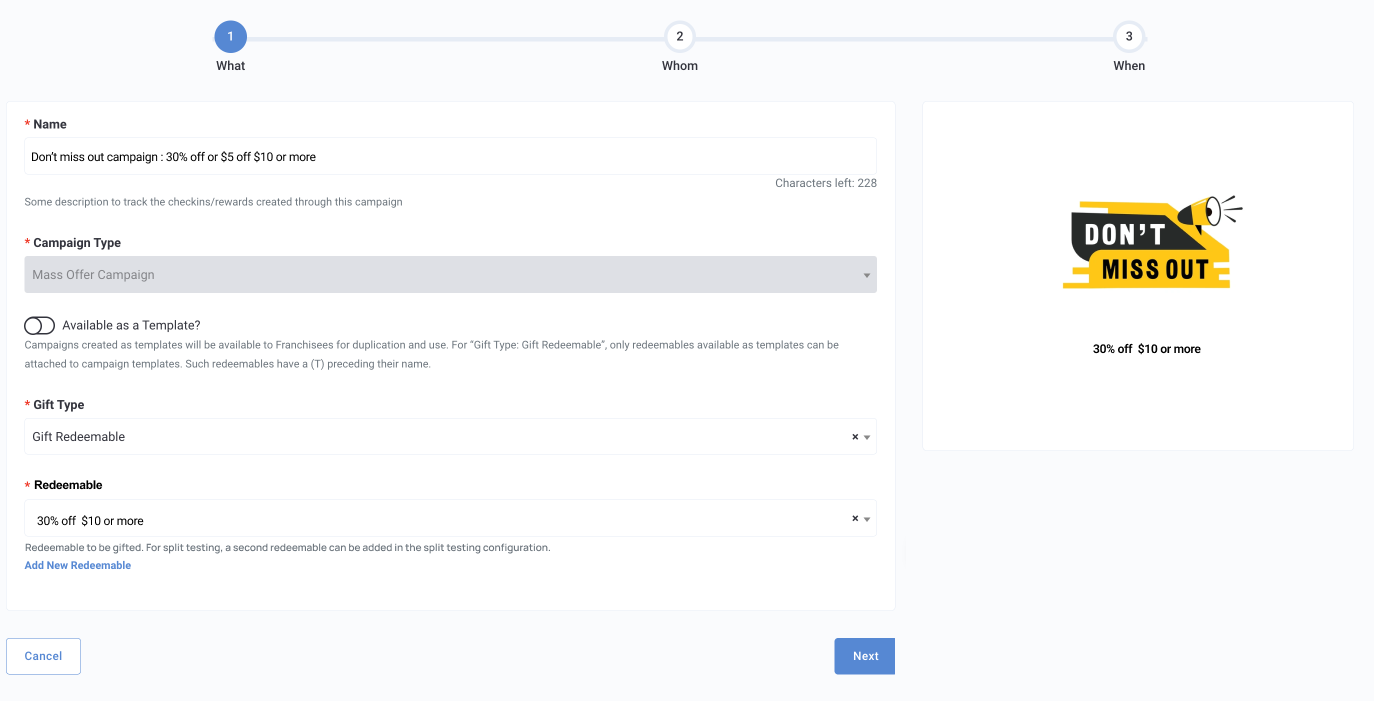
The template feature is not available for campaigns with split testing.
- Enter a name for your campaign in the Name field.
- If you are including an offer, click the Gift Type drop-down and choose Gift Redeemable. (Redeemables are currently the only supported gift type for split testing.)
- Click the Redeemable drop-down and select the redeemable you want to associate with this offer.
- A preview thumbnail for your redeemable will appear along with its title and description.
- You will be able to add a second redeemable in the split testing configuration on the next page.
Click Next to move on to Step 2.
Step 2 - Whom
-
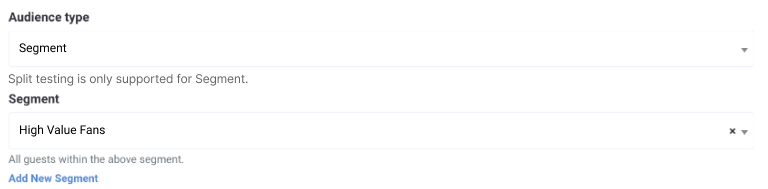
Select Segment in the Audience Type drop-down. (Segment is currently the only supported Audience Type for split testing.)
-
Click the Segment drop-down to select from one of your guest segments that this campaign will be targeted to.
-
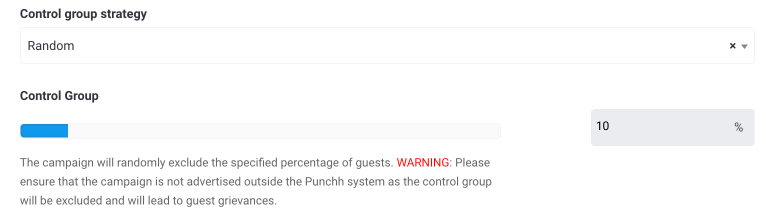
If you wish to use a Control Group, select Random as the Control Group Strategy. Then, specify a percentage of guests who will be randomly excluded from receiving this offer. By creating a control group, you can gauge the effectiveness of your campaign. Did guests who received the offer spend more money and return more frequently? (When using a control group, ensure that your campaign is not advertised to the general public, or some guests may be upset when they are excluded.)
-
Any other configurations, such as Advertised Campaign, can be configured at this time. Do NOT use any of the typical messaging configuration fields; these will be set up in the split testing configuration.
Note: A Survey cannot be added to campaigns with split testing configured.
Split Testing Configuration
After you have completed the steps above, click Set up splits and messaging in the Split testing section. A new window opens with the Split test configurations.
Split audience
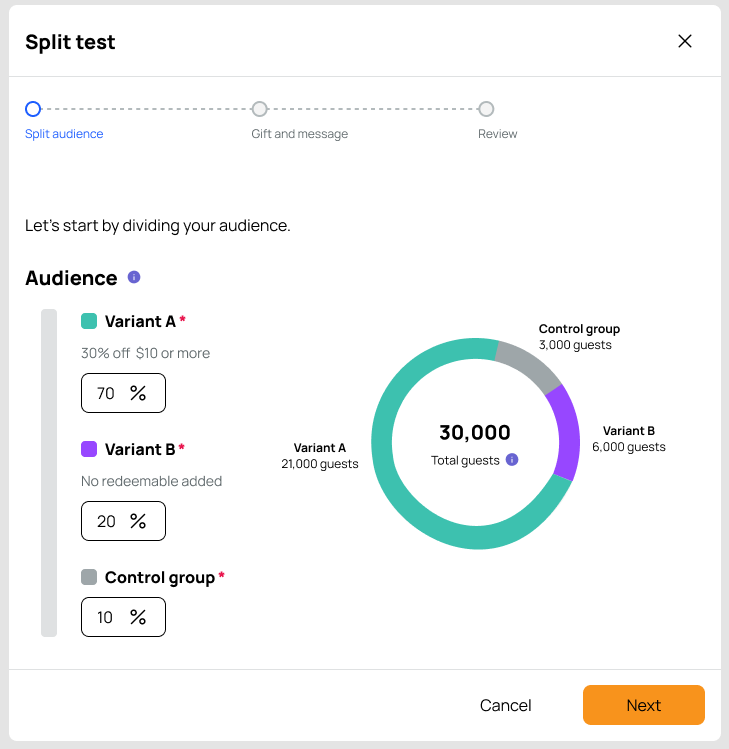
- The first step is dividing your audience for split testing between Variant A and Variant B.
The redeemable you chose in 'Step 1 - What' shows under Variant A. You will be able to add a redeemable for Vairent B on the next screen. - Enter the audience percentage for Variant A and Variant B. If you had chosen to add a control group, you can adjust the percentage amount here as well.
Make sure the total percentage between the variants and the control group equals 100%. Percentages must be whole numbers, decimals are not supported. - Click Next.
Gift and message
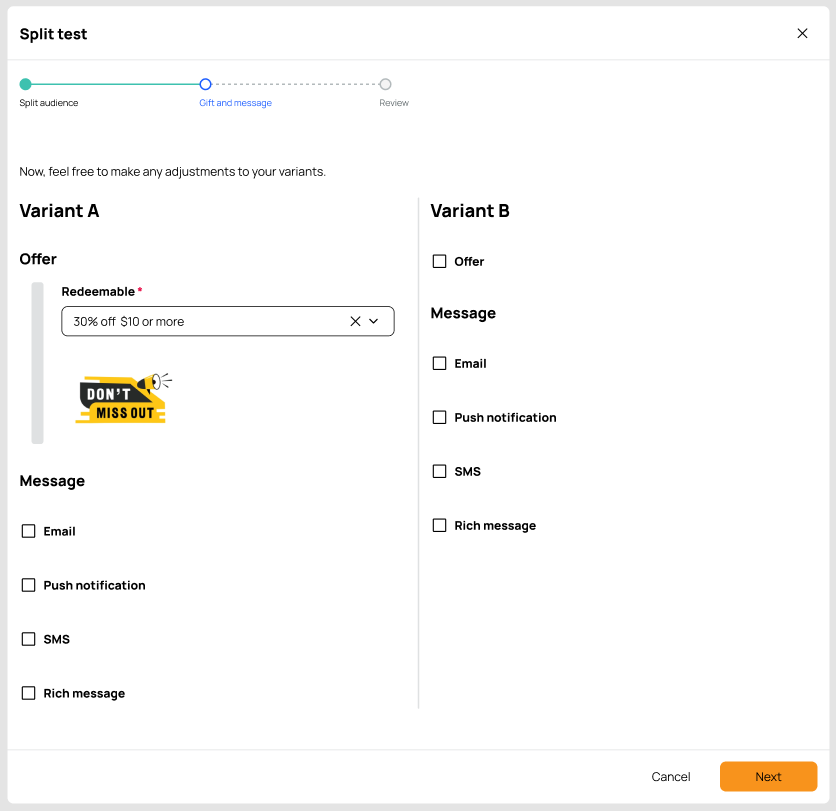
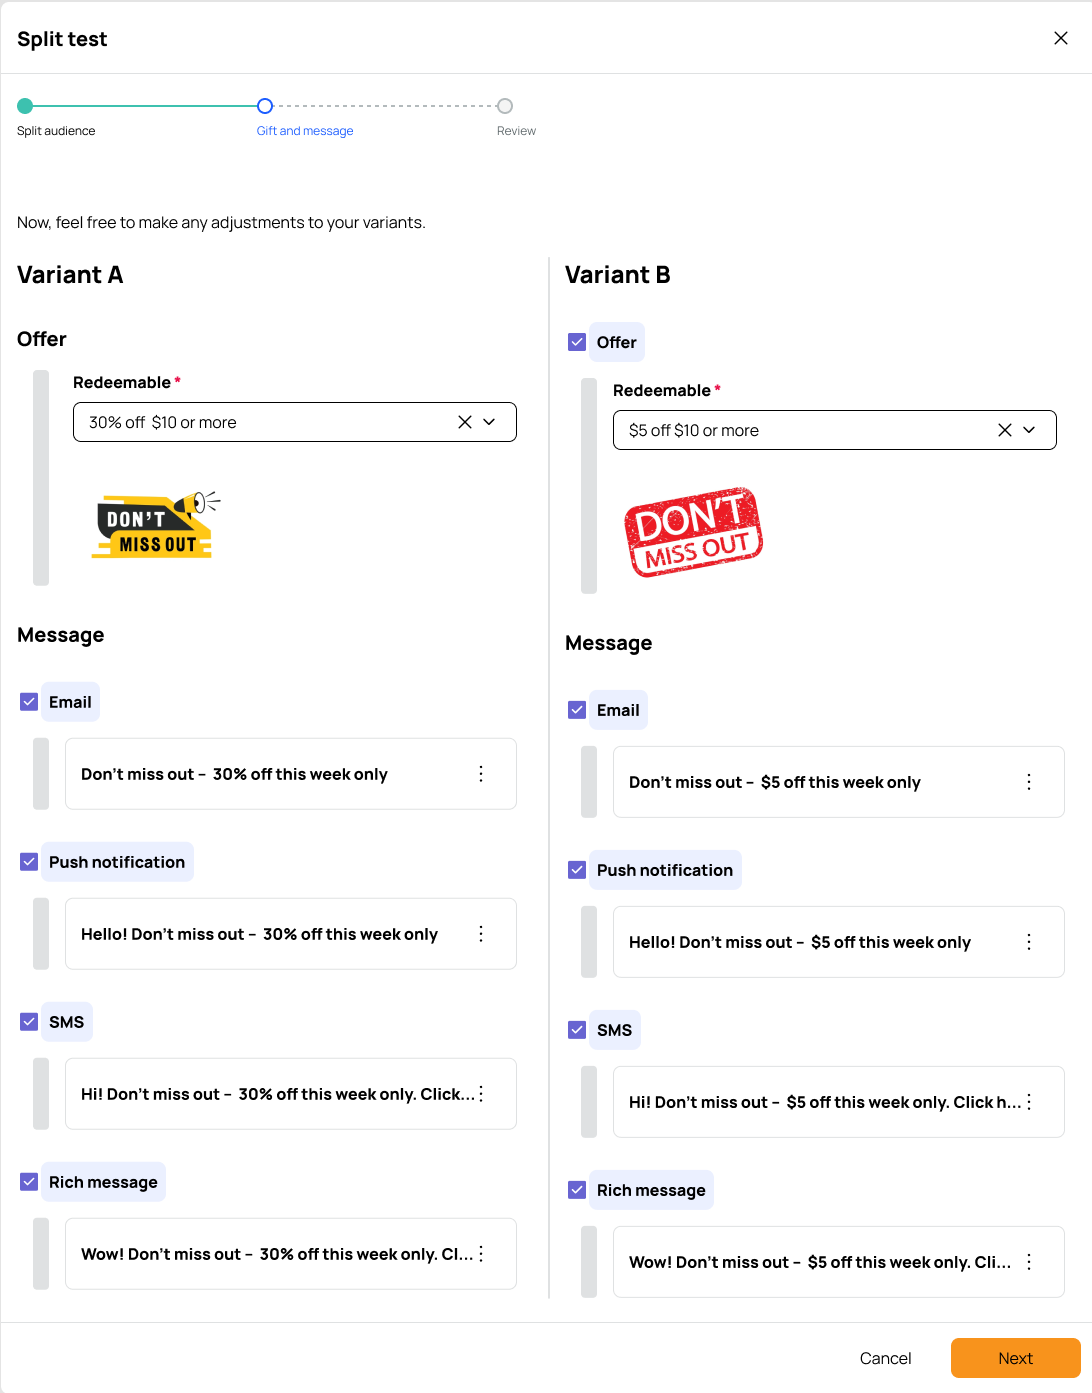
This section allows you to attach an offer (as applicable) and configure messaging for each variant.
Offer
Skip below to "Message" if you are not including an Offer in your campaign.
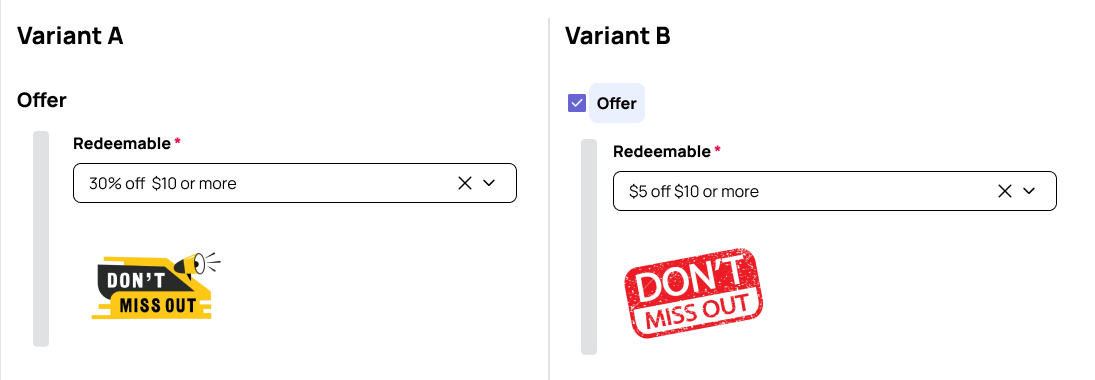
- The redeemable you chose in 'Step 1 - What' is attached to Variant A.
- If you wish to change the redeemable for Variant A, use the drop-down to select a new redeemable. This change will also be reflected in 'Step 1 - What.'
- To attach an offer to Variant B, check Offer.
- Use the drop-down to select the redeemable for Variant B.
Note: Only Variant A is required to have a redeemable attached. Variant B does not require an attached offer, if desired.
Message
Email, Push, SMS, and Rich messages can be configured for both Variant A and B.
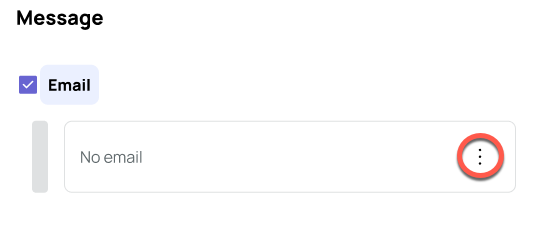
- Select the checkbox next to the desired message type.
- Click the three-dot menu icon.
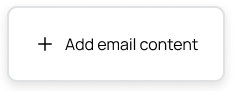
- Click + Add ... content to configure the message type.
- When configuring messages for Variant B, you have the option to Duplicate content from Variant A.
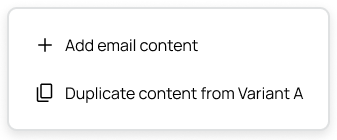
- When configuring messages for Variant B, you have the option to Duplicate content from Variant A.
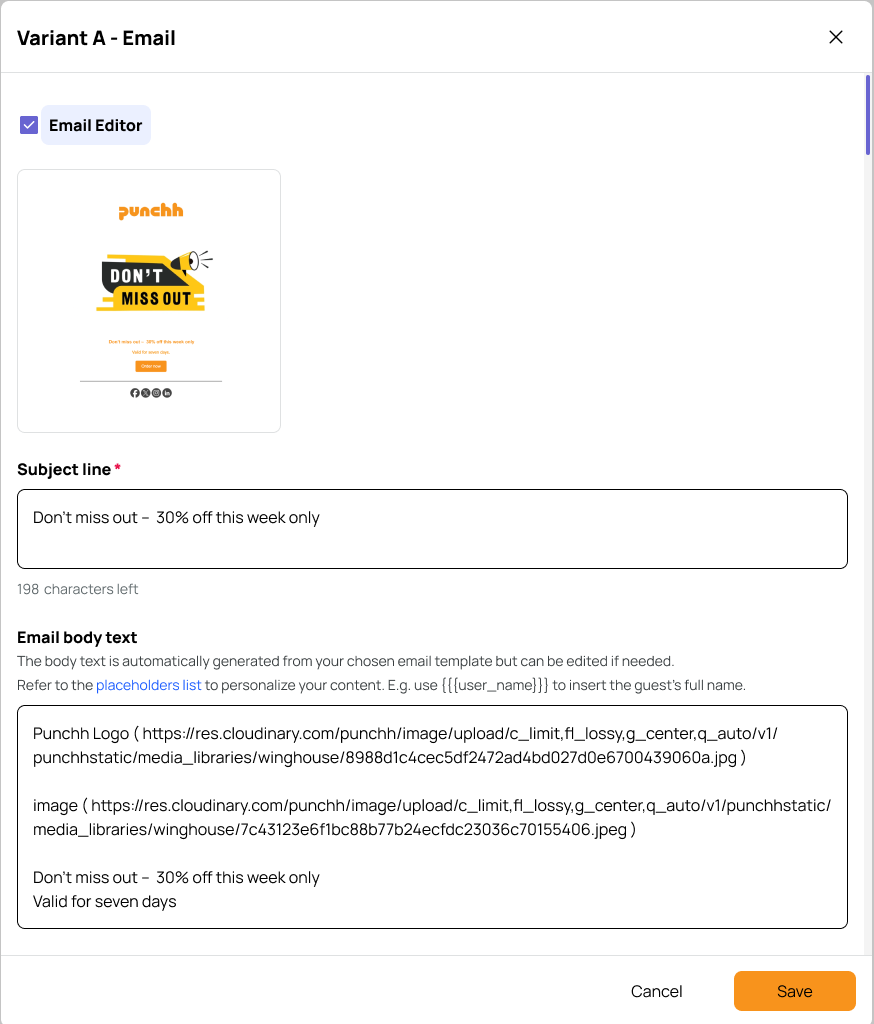
- A new window will open with the message content fields. These are the same fields you would normally see within the standard campaign workflow.
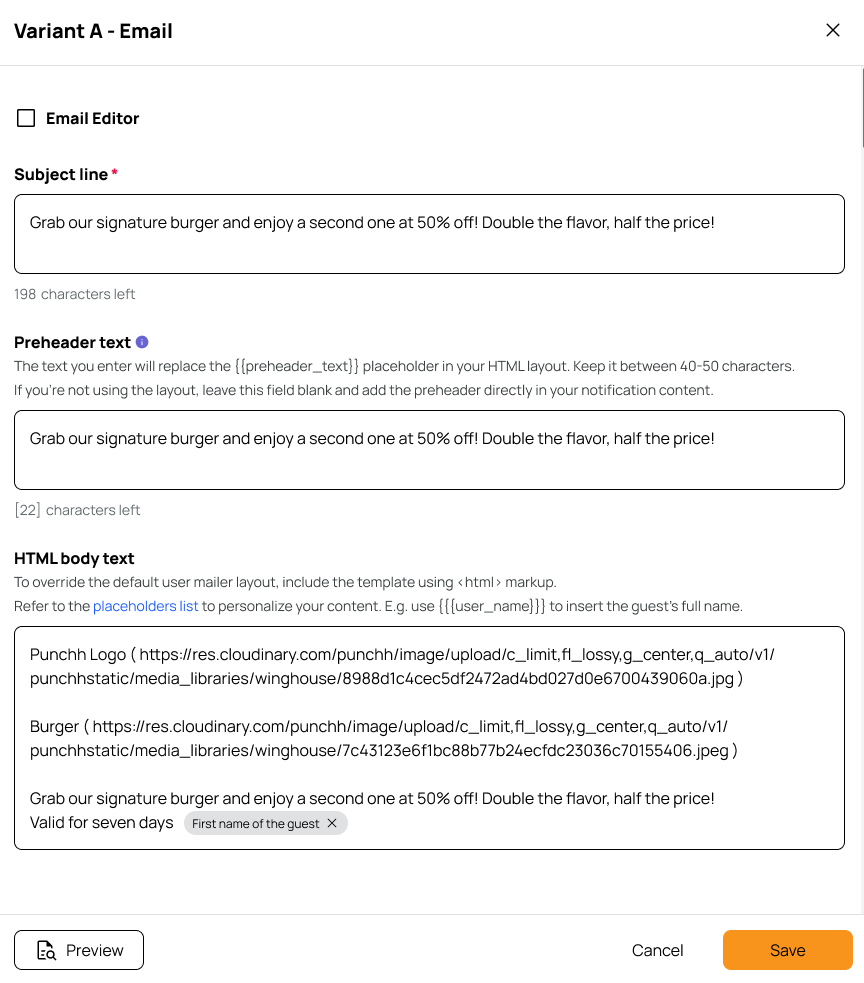
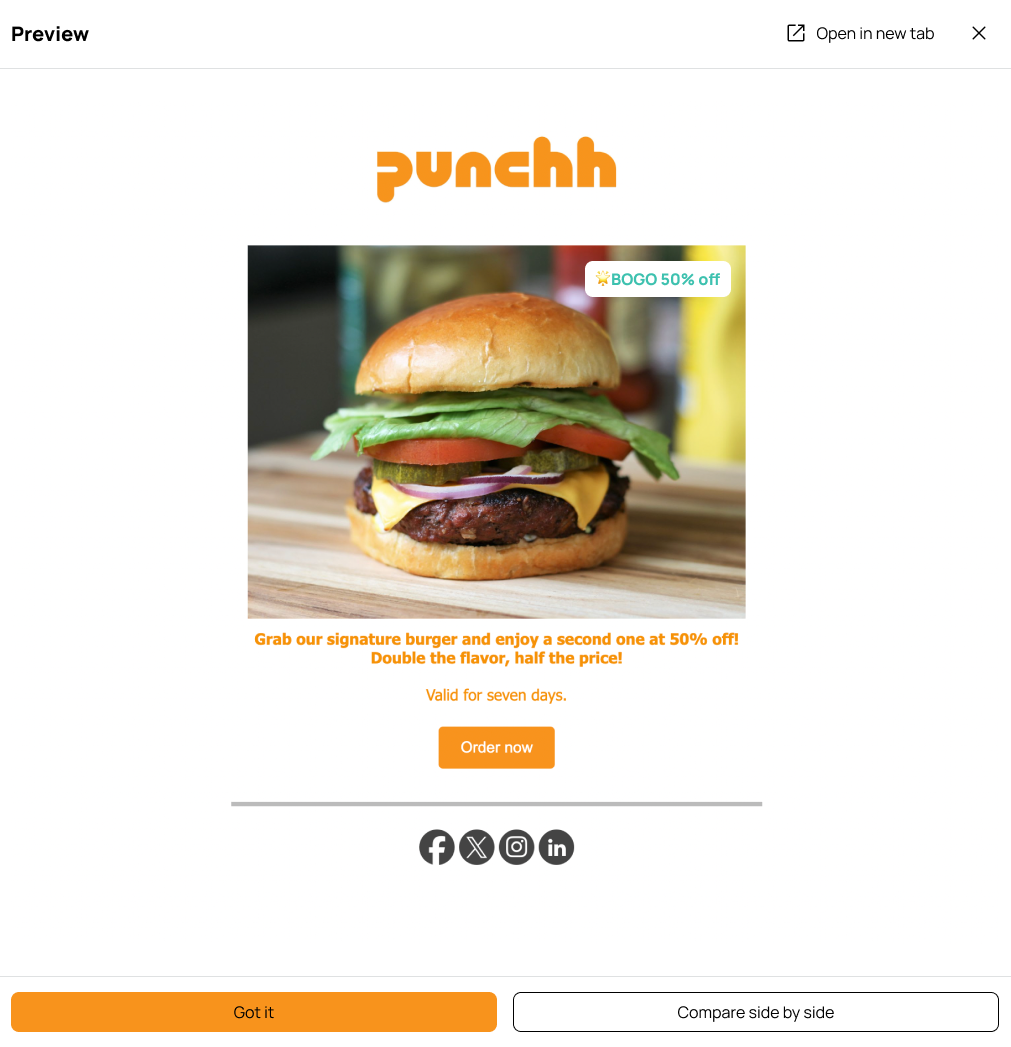
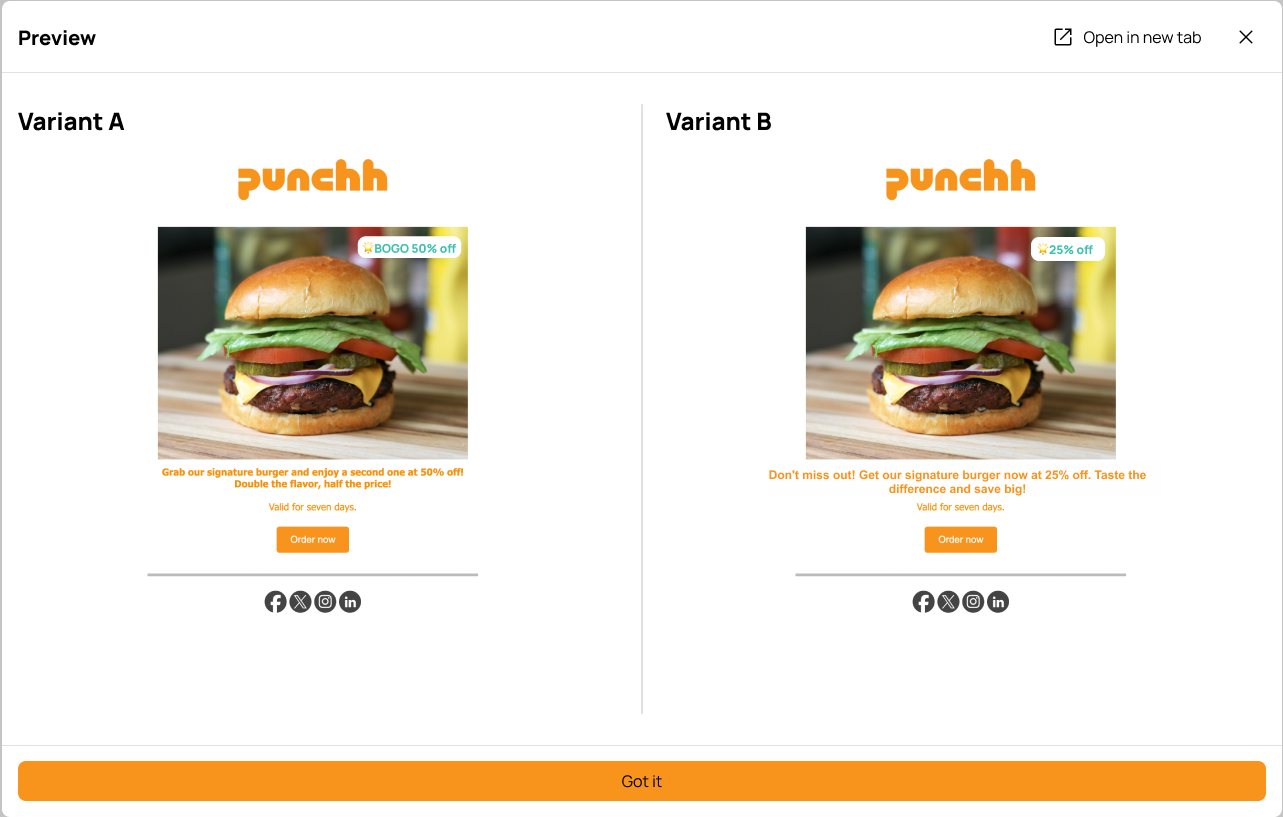
- You will have the option to preview any of the email templates or email, push, or SMS messages you create and compare each variant's message. (Preview is not currently supported for Rich Messages.)
- To preview, click Preview in the bottom left corner.
- The Preview pane opens.
-
Click Compare Side by Side to preview both variants' emails or push messages together.
- Click Got it to return to the message content window.
-
When you are done creating your message, click Save.
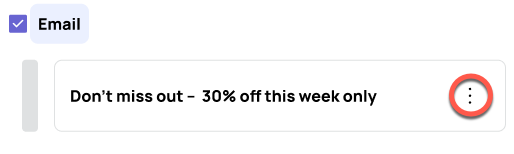
- To make any additional edits, preview, or delete, click the three-dot menu next to the message title.
Once all your messages have been configured as needed, click Next.
Review
The Review step allows you to see all your chosen configurations for each variant side by side.
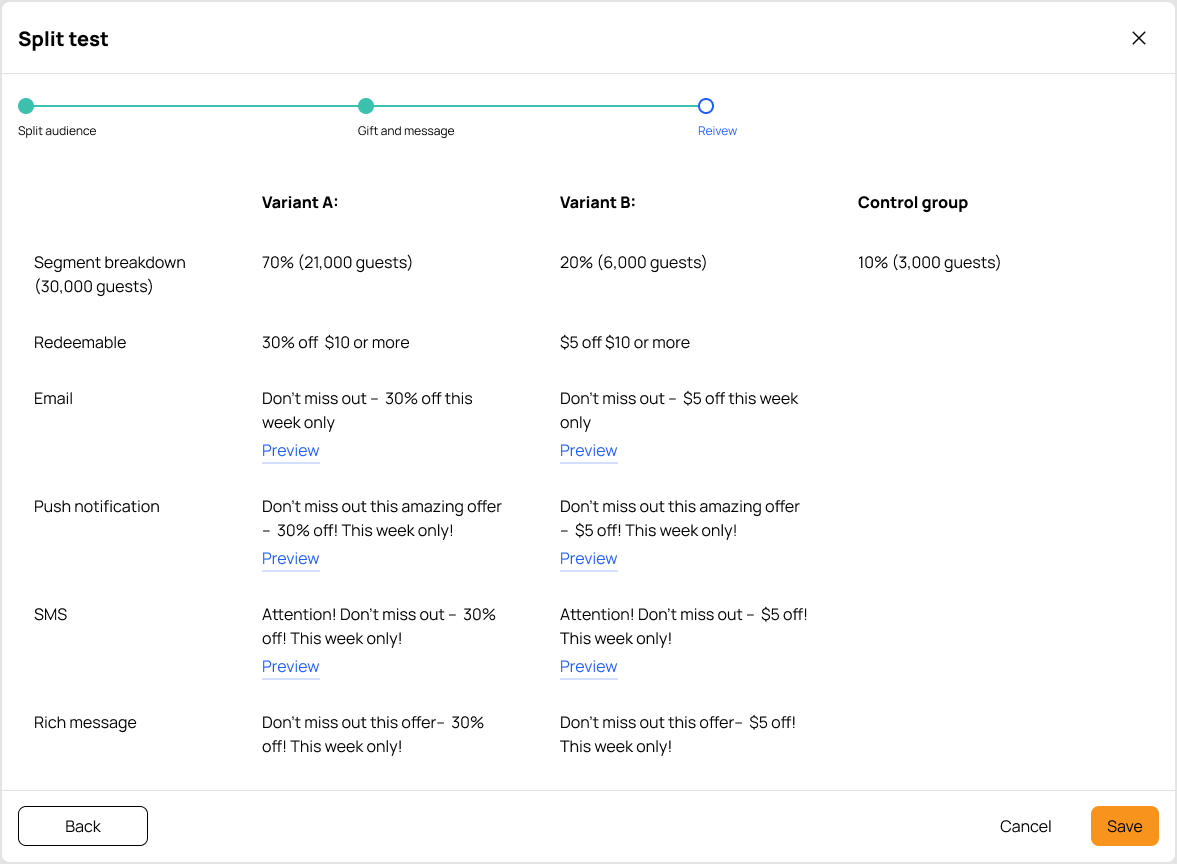
- Click Preview under each message to review the full message content.
- When finished, click Save.
You are brought back to the Step 2 - Whom screen with the Split testing configurations now added to the campaign.
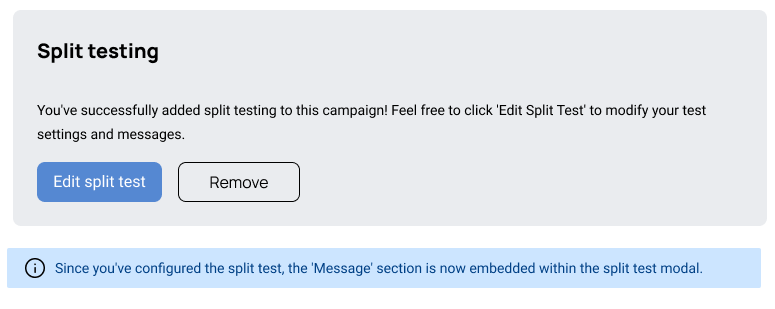
Complete any other configurations within this page as needed, then click Next to move on to Step 3.
Step 3 - When
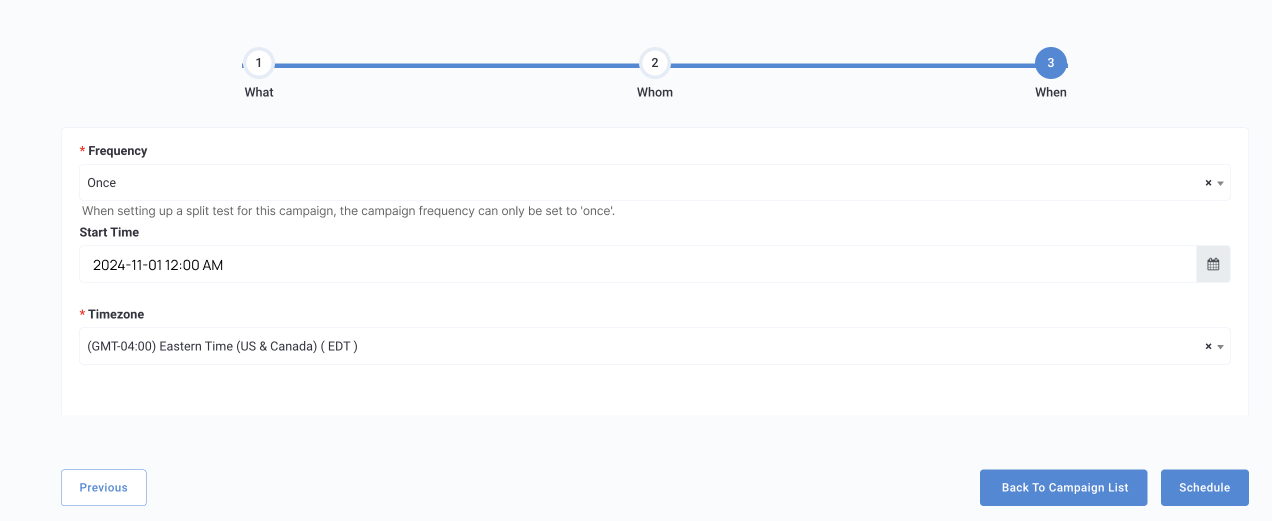
- The Frequency can only be set to Once for split testing campaigns.
- Select the desired Start Time and Timezone for your campaign.
- Click Schedule to complete your campaign setup and schedule your campaign.
Campaign Split Testing Management & Performance
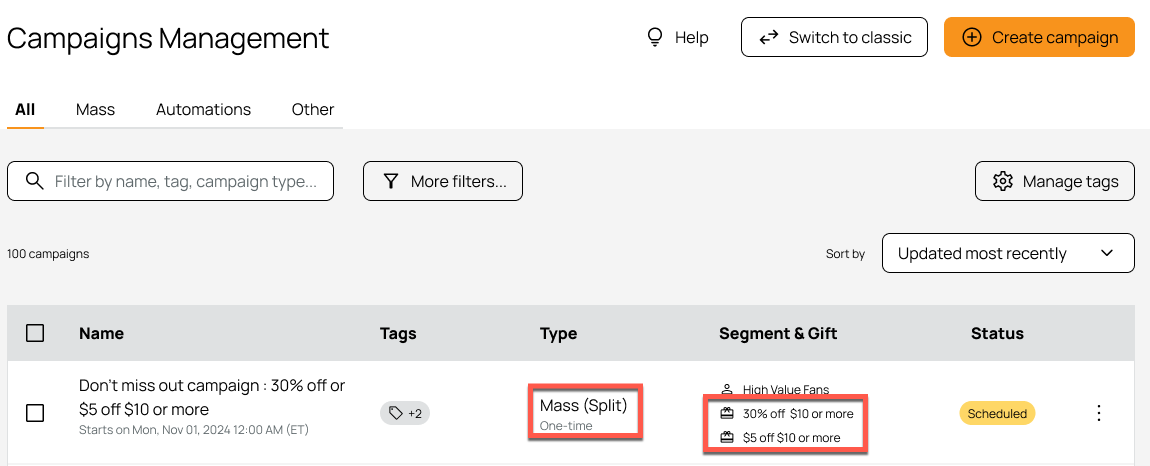
Any campaign with split testing will be listed as Mass (Split) under Type on the Campaign Management page. If two redeemables are configured, they will both be listed under Segment & Gift.
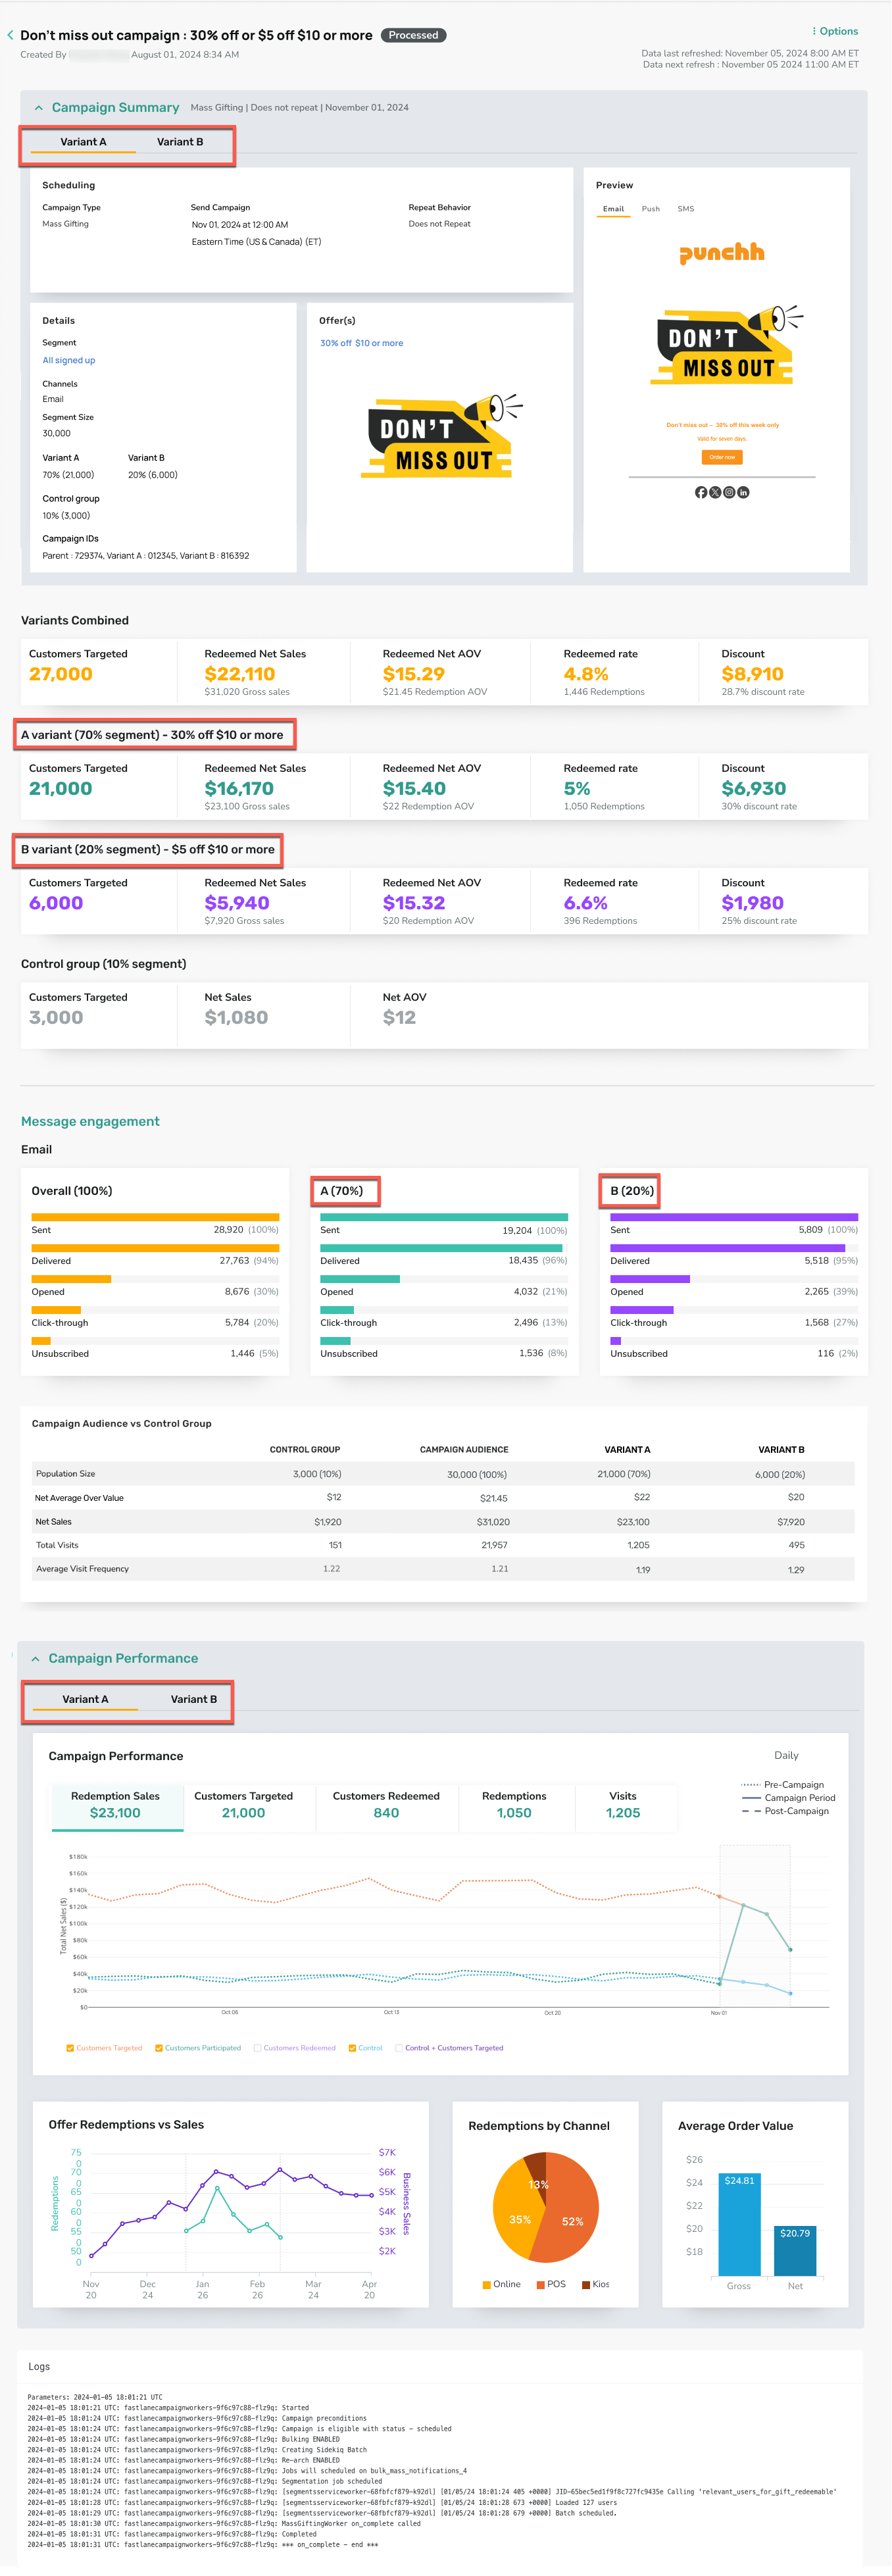
The campaign side panel will show all details for each variant of the campaign on its own tab.
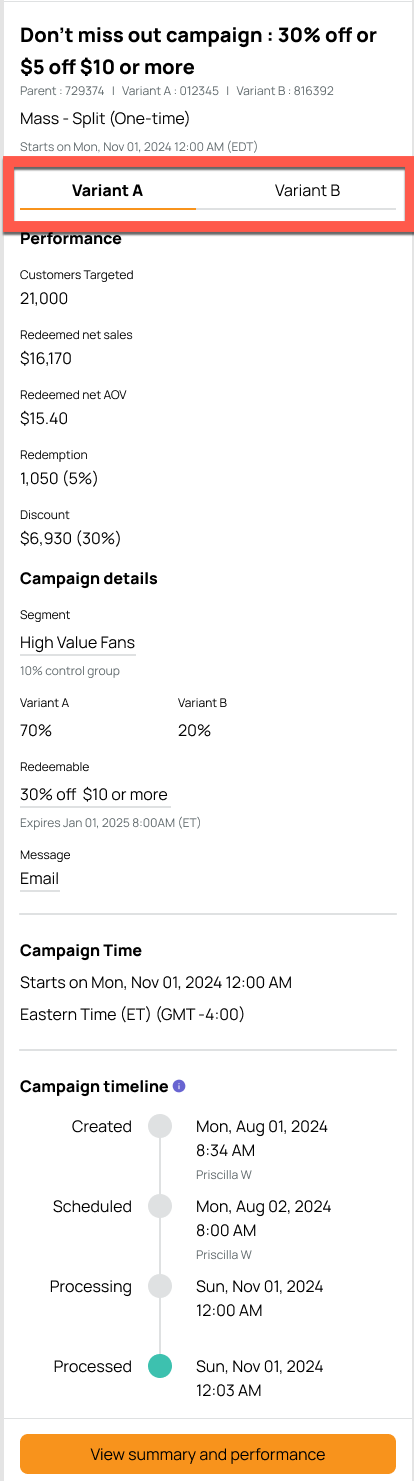
Click View summary and performance to review the campaign's summary details and the Campaign Performance Page.
- For scheduled campaigns, the Summary page will show additional data for each variant.
- The Campaign Performance Page will have the same main sections as a typical mass campaign.
- Individual data for Variants A and B will be available throughout the page, highlighted in the example below.