Store Locations
Each of your stores must be added as a location in the platform in order to participate in your loyalty program or with online ordering. Your store locations were likely set up by Punchh during initial implementation, but from time to time (whenever you open a new store or decide to enable more locations) you'll need to add a new one.
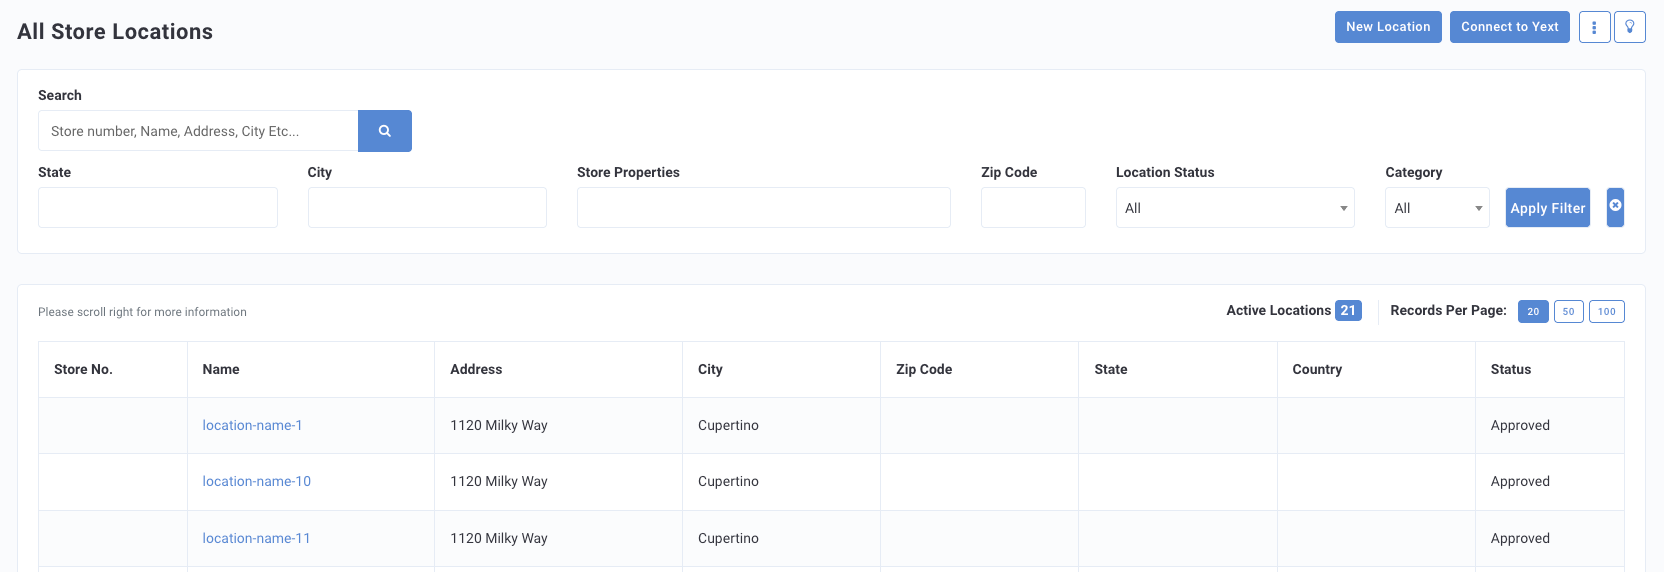
The Locations list page shows all your locations. Use the search filter at the top of the page to narrow the list by store number, name, address, store properties, or status.
Add a New Location
To add a new location to your dashboard in order for it to participate in the rewards program, complete the following steps.
Note: Once an active location is added, it will automatically be included in “All Locations” for reporting purposes. This update takes less than five minutes to complete. This does not apply to non-active locations.
-
Navigate to Store Locations> All Store Locations.
-
Click the blue New Location button on the top-right.
-
Choose a Name for the location. Typically the city and/or street is a good name (e.g., Ann Arbor - Market St.).
-
Enter the store's number or code your company uses for it. This ID is often shared with other 3rd party vendors as the store identifier, such as Online Ordering partners.
-
Enter an Alternate Store Number/Identifier if need to reference a unique store number that does NOT match what is used in Punchh for loyalty. Note: This field is most commonly used by 3rd-party app developers and may not be necessary for your brand.
-
Enter the store's Address (Street, City, State, Post Code, and Country) and Time Zone.
-
Select a Timezone from the drop-down. This timezone will affect the receipt time logic within Punchh.
-
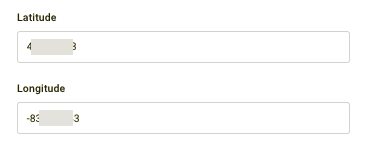
(Optional) Specify the latitude and longitude of your store. (This will place it on a map, but you can still do this later on).
Tip: To find latitude and longitude, search for the address in Google Maps. Once you find it, right-click on the location marker and select "What's here?" The lat/long coordinates will be displayed.
-
Enter the in-store phone number. This phone number will be shown along with your location in the mobile app and will be clickable to initiate a call to the store.
-
In the Location Email field, enter the email address for the person at this location (typically the franchise owner or store manager) who will receive all location notifications.
The notifications include Negative Feedback Alerts, Monthly and Weekly Reports, New Redemption Codes, High Spend and Redemption Alerts and Location Scorecard. If you do not wish to receive those emails, clear out this field and create an Admin associated with this location and choose notification preferences for that Admin.
-
(Optional) Use the Franchisee drop-down to choose from one of your saved Franchisee owners.
Note: This requires that you have enabled the Franchisee option in your dashboard setting. Once enabled, you can set these up in Administration > All Users, Roles and Permissions > Franchisees.
-
(Optional) Click the Location Groups field to choose one or more location groups to associate with this store.
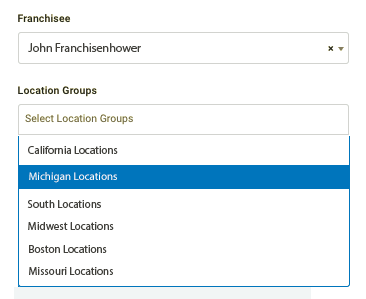
Note: You are unable to add a location to a location group if that group is currently associated with an active reward. An error message will appear if the location group currently has any active reward associations.
-
Check the Enable location for Whitelabel checkins / liability reporting and POS stats reporting checkbox. This enables you to see this location's stats for reporting purposes inside the dashboard.
-
Check Enable location to participate in eClub? if desired.
-
Click the Go Live date field to choose a date for when this store will begin using the loyalty program.
-
If you have Memberships enabled for your brand AND have Local Sales Tax (Location Level) set as your tax rule, you will see the field Location Level Membership Plan Sales Tax. Enter the tax percentage for that location.
See Membership Taxation for more details. -
Click Add Location to finalize.
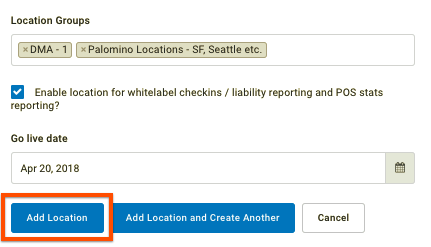
Your new location may begin its loyalty program and will be available for you to further edit and configure. You will need to copy the new location API key to your POS to properly configure your Punchh integration.
Bulk Upload
Instead of manually adding locations one by one as outlined above, you have the option to upload them in bulk.
- From the All Store Locations page, click Bulk Action in the top right corner.

- Click Import.
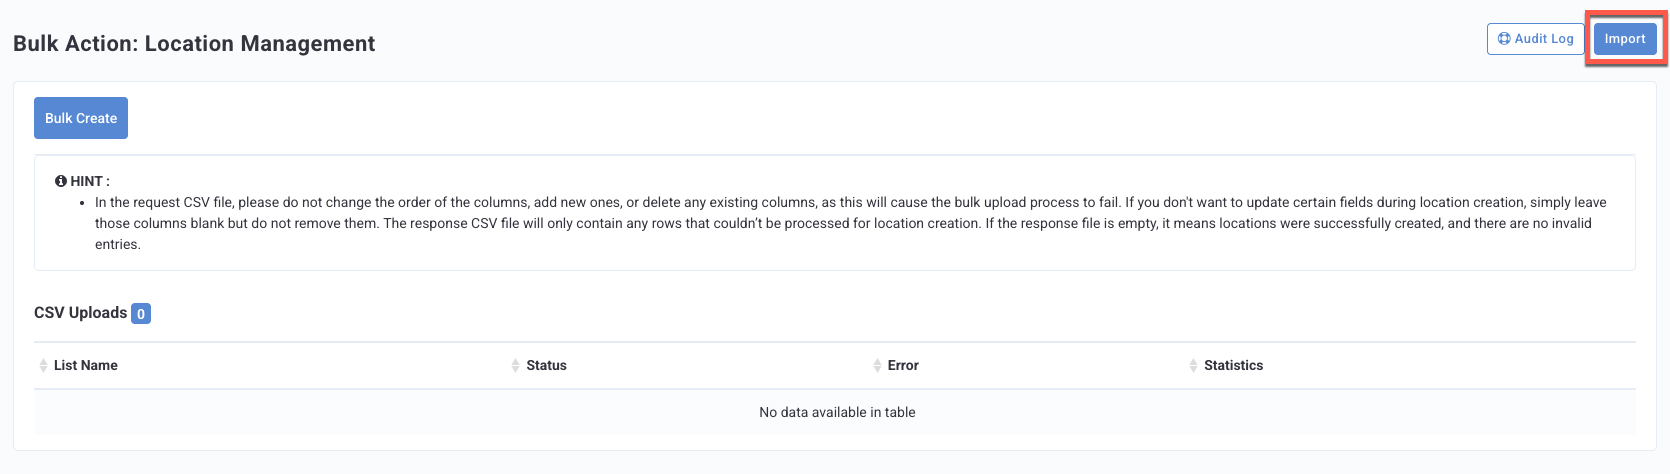
- Fill out the following fields:
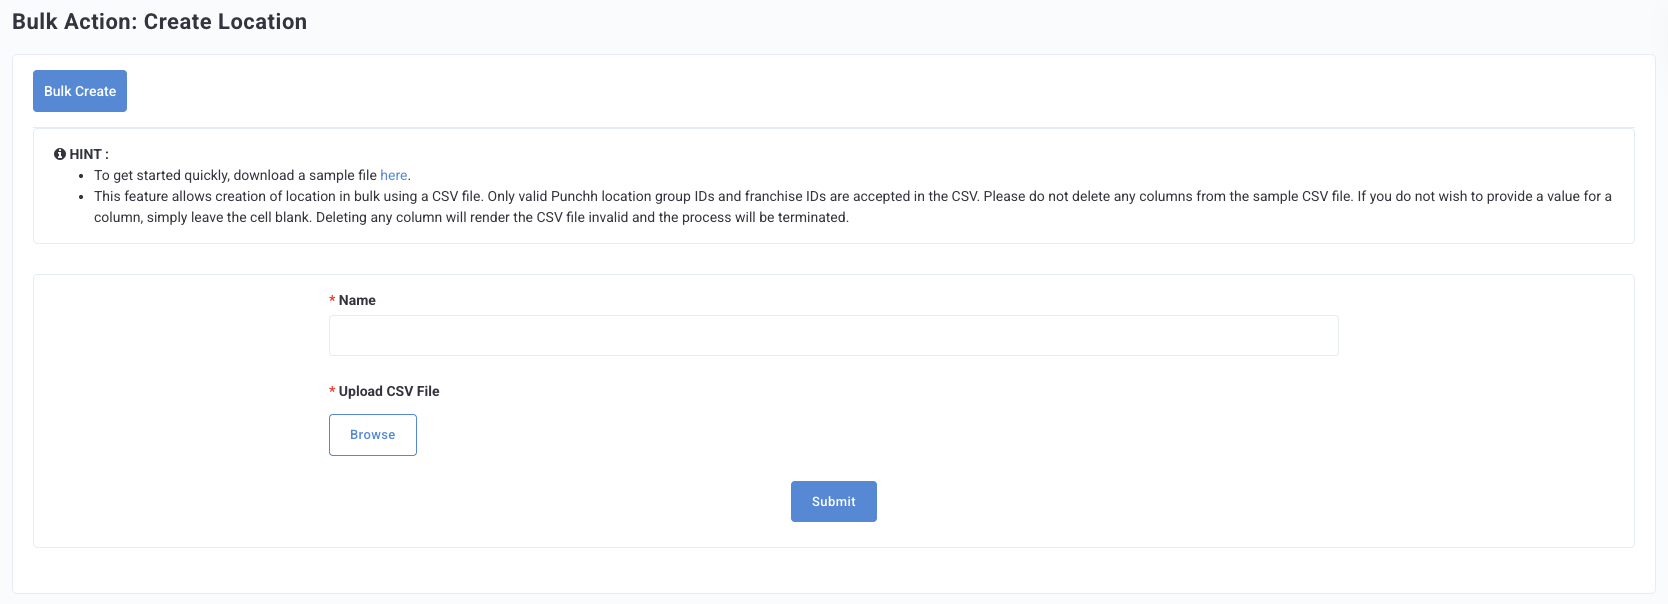
- Enter a Name for the list of locations.
- Upload CSV File: Only valid Punchh location IDs are accepted. (Tip: Remove duplicate IDs before uploading.) CSV file size is restricted to 15 MB. A sample CSV is available for download on the Import page. Do not change the order, delete, or rename columns in the CSV file. Leave cells blank if not applicable.
- Mandatory Columns include (must be in this order):
- location_group_id
- franchise_id
- name
- store_number
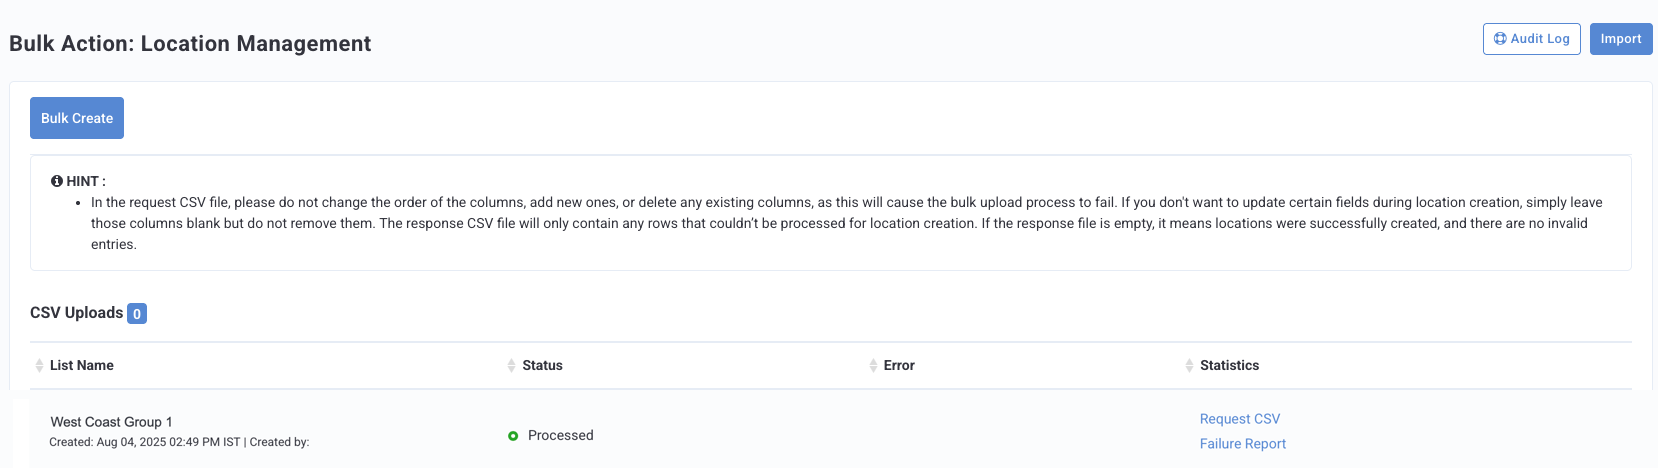
- Click Submit.
- The Bulk Action page will update with the CSV file status.
Edit and Configure a Location
Edit and configure your location in order to add needed information and integrate your POS system. From the Locations page, click on the name of a location to edit it. You'll want to configure settings for the POS, Mobile App, and Map sections.
POS Settings
Once a location's information has been entered, it's time to define your POS Integration. In most cases, it is unnecessary to make any changes to these settings, as your company's default business-generated settings are correct and preferred. If any of these fields are left blank, they will default to your company's settings as set up by Punchh during your initial implementation.
Please work with your Punchh representative when attempting to make any changes regarding POS Settings. Selecting a POS type your company hasn't been set up for may require an app update and is generally not recommended.
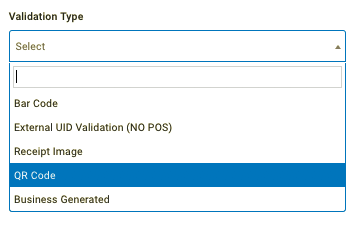
- Validation Type
Choose "Receipt Image" if your business is Non POS-integrated or "Bar Code" if POS-integrated (even if you use QR POS scanners in store).
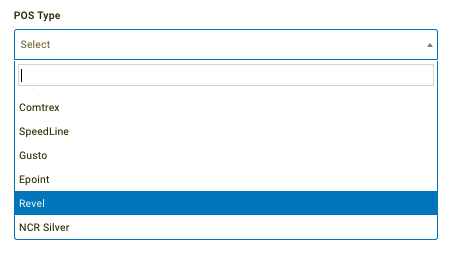
- POS Type
Choose the type of POS system used at this store.
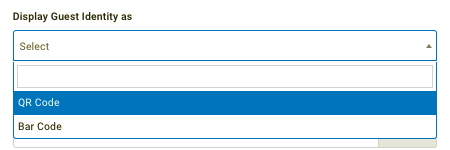
- Display Guest Identity as
Assign if the location has a scanner that can recognize a guest's barcode or QR code.
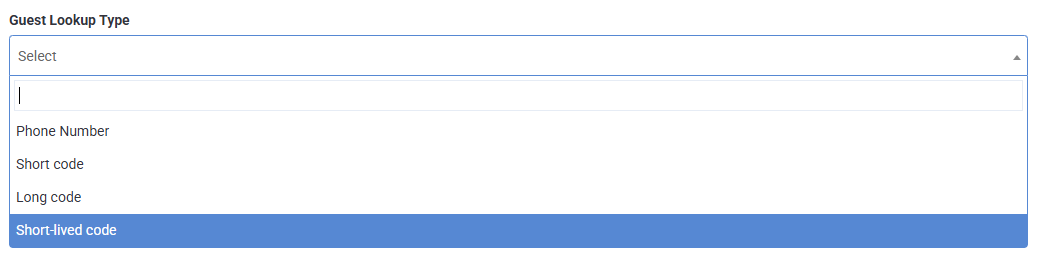
- Guest Lookup Type
Assigns the identifier used for guest lookups at the POS. This will override the business-level setting for this location.
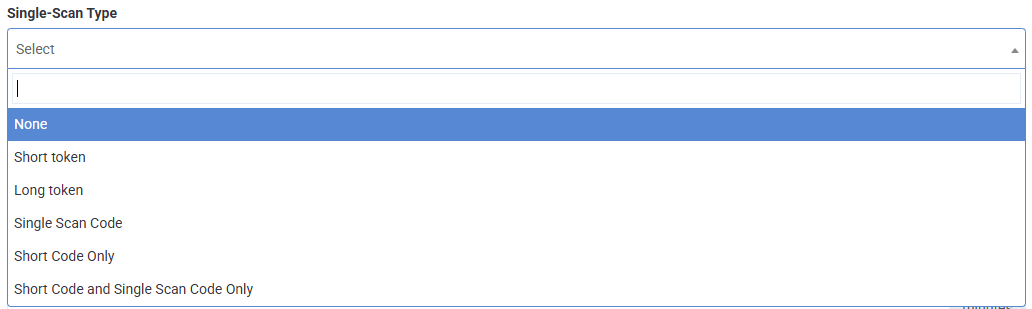
- Single-Scan Type
Assigns the code displayed in the mobile app for a single-scan transation at the POS. This will override the business-level setting for this location.
- Guest Identification Type
Choose whether to restrict or allow guest identification using short code.

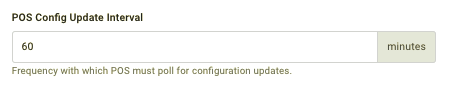
- POS Config Update Interval
How often the POS will check for configuration updates. The default is 60 minutes.
- Log Level
The Log level is the amount of time (in minutes) between syncs with the Punchh servers. Any changes made to campaigns, redeemables, POS settings, etc. must wait for a sync before they go live. 60 minutes is a good amount of time. You don't want to refresh excessively often or be too slow either.

- Enable POS Monitoring?
Deprecated setting; scheduled for removal. It does not matter if this is checked, it makes no difference in functionality.
- Send all receipt data to Punchh's datasink?

- NCR Silver Store ID
Only applicable for NCR Silver stores.

- Location key
This is your API key to use with your Punchh POS integration.

- Short key
Special key to go along with API Location key.

- IT Support Email
Point of contact for POS-related support issues.
Mobile App
The Mobile App section allows you to configure settings for the Mobile App. Here you'll configure store properties, enter online ordering URLs, manage payment display options, and set store hours for this location. These settings display in the Locations section of the mobile app. Any changes made to store hours will reflect on the app once the next data sync with Punchh has occurred.
-
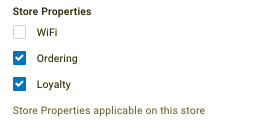
Store Properties
Enable WiFi if this location provides wireless internet for loyalty guests, Ordering if this location supports online ordering, and Loyalty if the location is set up to participate in your loyalty program (recommended).Note: Must be configured during app build to showcase this in the app. Store Properties are metadata that can be added while creating and updating locations. It tells the guests in the mobile app that a particular location supports certain services such as WiFi, Online Ordering, etc.
- Hide gift card payment in SSF
Select this checkbox to hide the gift card option for guests to use for in-store payments in the Scan and Pay via Single Scan Flow process.

Note: This checkbox is only available to customers with the Gift Cards module and/or Loyalty Pay enabled. Contact your Punchh Representative with any questions.
- Hide In-Store Tipping
Select this checkbox to hide the tipping option for guests during in-store Scan and Pay flows at this location.
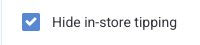
Note: This checkbox is only available when Loyalty Pay is enabled for your brand. Contact your Punchh representative with any questions.
- Use Direct Link for Secondary Ordering Provider
Select this checkbox to route guests at this location to your brand's secondary online ordering provider when they tap to order in the app. When enabled, the app opens the secondary provider's ordering experience directly for this location.

Note: To enable the secondary ordering provider feature for your brand, contact your Punchh representative.
The setting is configured independently per location and does not affect other locations. If the feature is temporarily disabled at the brand level, your per-location settings are preserved and will reapply when it is re-enabled.
-
Online Order URL
This URL will be clickable for guests in your app, taking them to the online ordering page outside of the mobile app. Recommended if online ordering isn't integrated into your app. * Must be configured during app build.

-
Additional URLs
Up to four additional URLs can be added, and each additional URL will have a unique field.

Note: These fields need to be added by your Punchh representative before the URLs can be customized. Reach out to your Punchh representative to add additional URL fields.
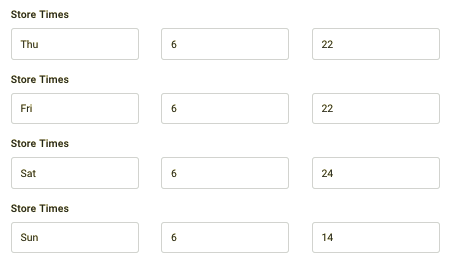
- Store Times
Enter the daily hours of business for your store.
This will be displayed on the mobile app.
Map
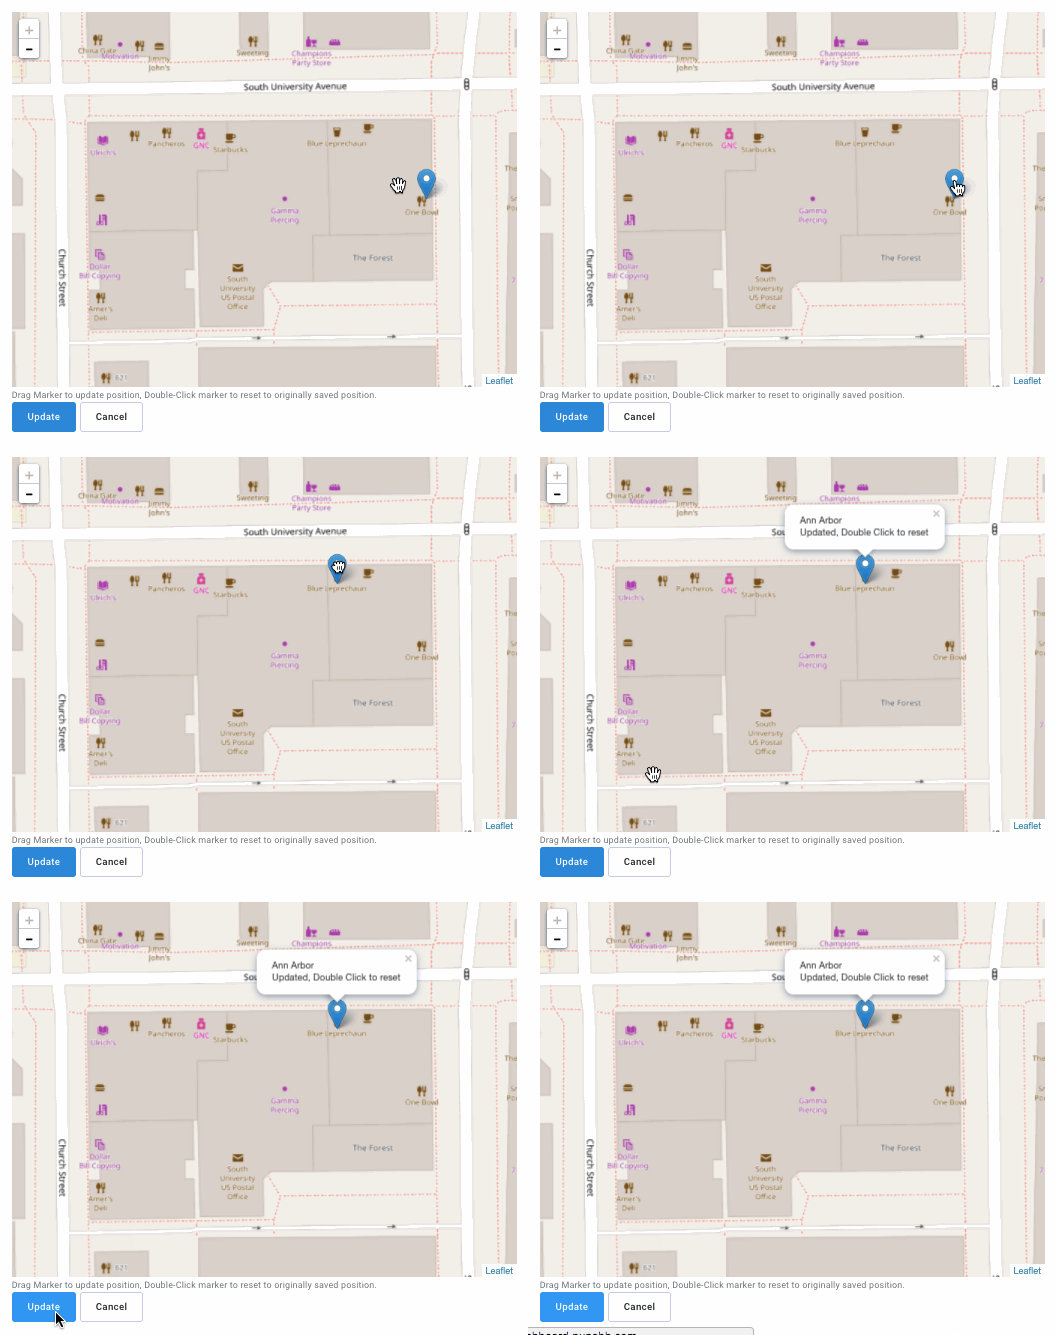
Make sure that the marker's location is accurate. Click and drag the marker to the exact location of your store.
After creating your location, you'll be able to set up Location Groups. With these, you can group location based off geographic location, time zone, volume, etc.
Payments
Depending on your payments provider (such as PAR Payments), this section will allow you to set up any necessary merchant, store, and terminal IDs. Contact your Punchh representative with questions.
Note: If you have PAR Payments as your provider, you will have the option to bulk import location-based payment credentials through a CSV file. Click Import Location Payments from the main Location page. Contact your Punchh representative with questions.
Location Operation
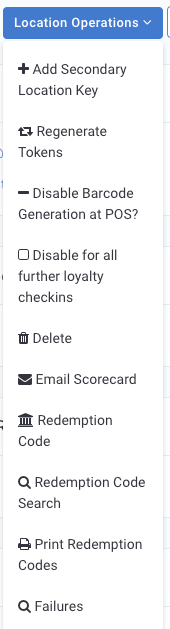
Click the Locations Operations drop-down menu in the upper right corner for further actions to take with the locations. (You will need "Business Manager" permissions to access these options.)
Disapproved Locations
Disapproved locations continue to communicate with Punchh, sending POS sales and other data. However, disapproved locations will not allow guests to perform checkins or other loyalty actions. This essentially removes a location from participating in your business's loyalty program but still counts it for sales data.
To disapprove an active location:
- Navigate to Store Location > All Store Locations.
- Find the location in the list and click on its name to edit.
- Click the Location Operations drop-down at the right and select Disable for all further loyalty checkins.
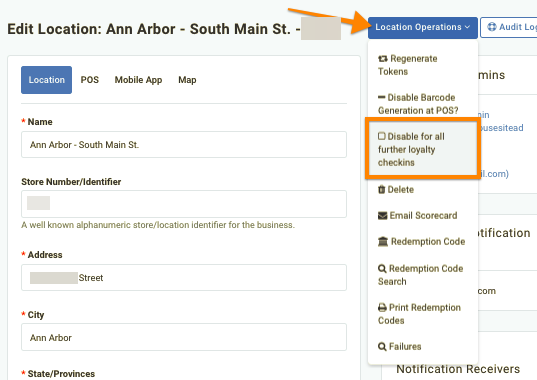
A disabled/disapproved location may be re-enabled/approved by following the same steps above.
Disabled/disapproved locations can still be used in segmentation.
Export Options
Location Summary Export
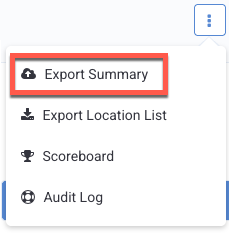
The Location Summary Export includes this high-level data for all of your locations. On the All Store Locations page, click the Three Dots and select Export Summary to be taken to the scheduling page. The summary report includes the following data fields:
- Punchh ID
- Name
- Store Number
- Address
- City
- State
- Postal Code
- Country
- Latitude
- Longitude
- Business ID
- Franchisee ID
- Go Live Date
- Timezone
- Phone Number
- POS Type
- Validation Type
- Generate Barcodes
- Checkin Count
- Redemption Count
- Feedback Count
- Last Checkin
- Last Redemption
- API Key
- Short Key
- Status
Location List
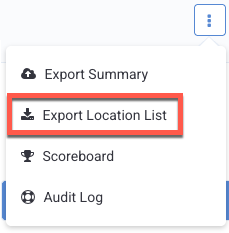
For a simplified list of all existing locations, click Export Location List. A CSV file with the following data fields will be immediately sent to your email:
- Punchh ID
- Store ID
- Location Name
- Status
Scoreboard
The Location Scoreboard allows you view information such as checkins redemptions participation rate and average check totals for each of your locations within the dashboard. Additionally from the Scoreboard page you have the ability to export a Scorecard report to compare each store's benchmarks against the average of your top 20% performing stores company-wide. This allows you to see how each location is performing relative to a high performing baseline.
