Recall Campaign
Recall campaigns are useful for offering incentives to return for customers who haven't visited your stores in a while. You can offer a guest gifts/points/punches/surprise sets, incentive their next checkin, or even just send them a friendly "We miss you" type of message. Use recall campaigns to remind them why they love you!
Note: When a guest joins your loyalty program, they immediately become eligible for recall campaigns. There is no requirement for a minimum number of check-ins or redemptions to start qualifying. If you wish, you have the option to add a segment to your campaign that requires a specific number of check-ins or a minimum duration as a loyalty member in order to be targeted by the campaign. Check-ins, redemptions, and the generation of redemption codes are the activities taken by guests that reset the count of lapsed days.
More details here: Targeting Lapsed Guests Using Recall Campaigns
Create a New Recall Campaign
Before setting up a new Recall campaign, you may first need to create a redeemable (if offering a gift redeemable). If gifting points, a redeemable isn't required. To create a new Referral campaign:
- Navigate to Marketing Automation > Campaign Management in your left-hand navigation toolbar.
- Click Create Campaign in the upper right corner.
- Click Automations.
- Select the Recall campaign type.
- Click Create.
Step 1 - What
Choose a name and action(s) for your campaign.
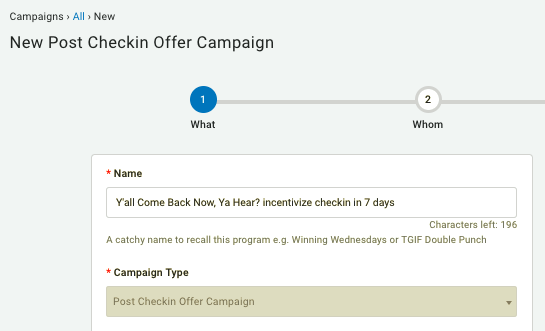
- Enter a name for your campaign in the Name field.
- Click the Gift Type drop-down and choose what type of reward the guest will receive after a referral has been made. Depending on your choice, complete the following steps for:
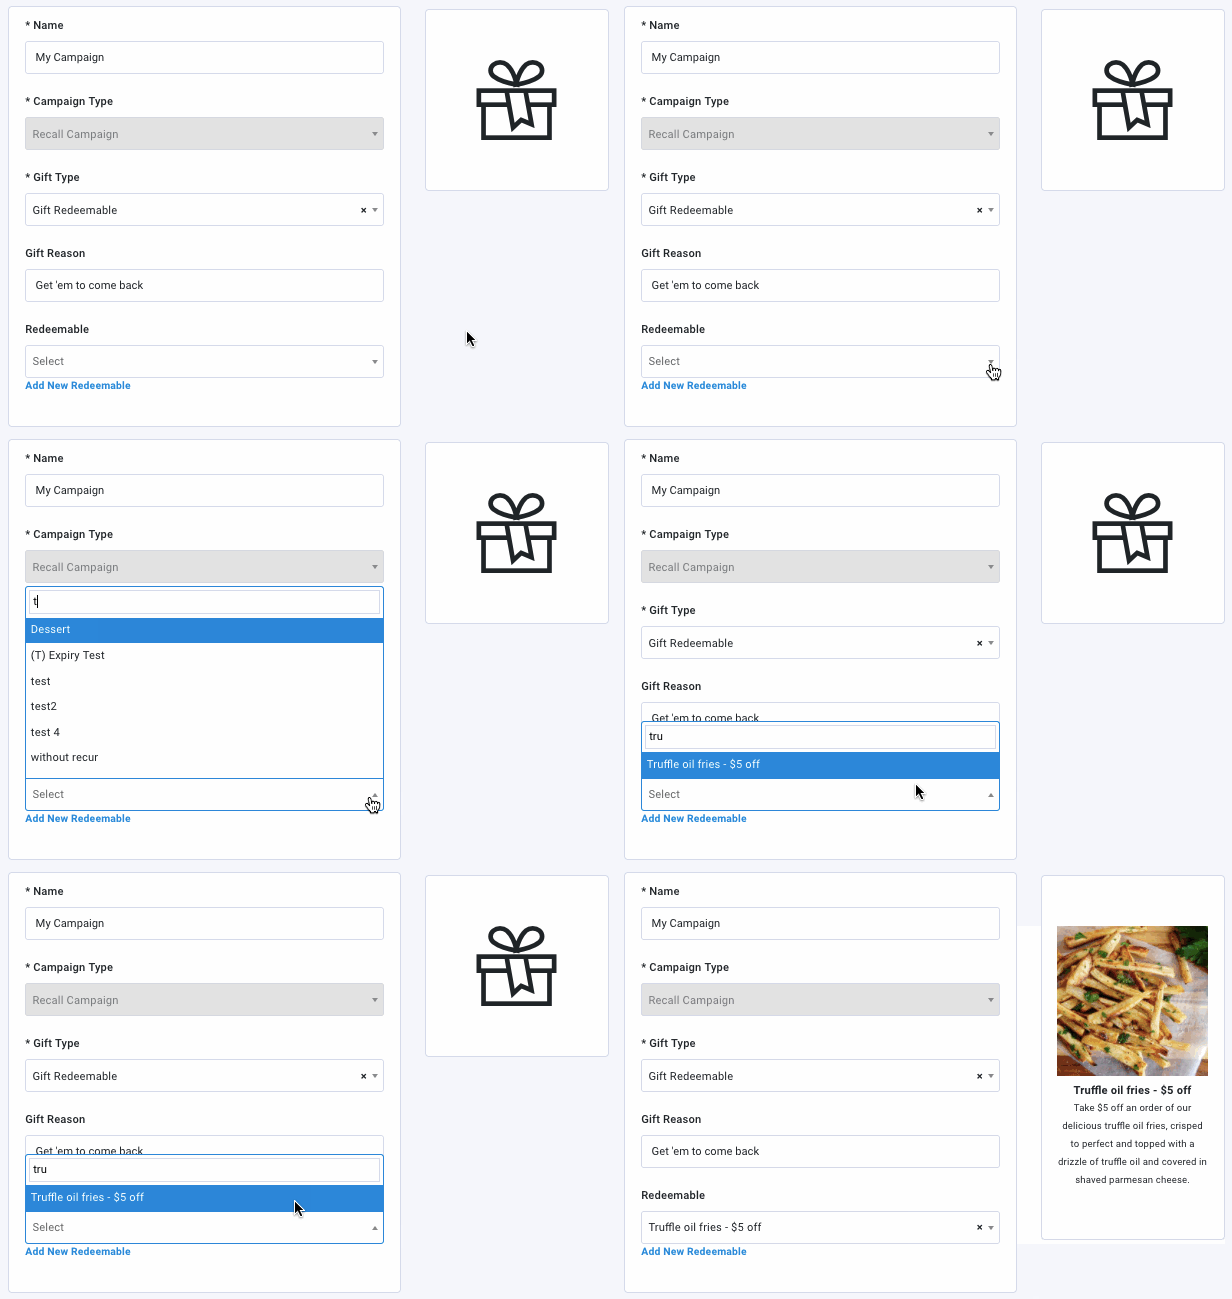
For Gift Redeemable
Choose a Redeemable Item to gift to someone who referred one of their friends (e.g., a free appetizer).
- Click the Redeemable Reward drop-down and select the redeemable you want to associate with this offer.
A preview thumbnail for your redeemable will appear along with it title and description.
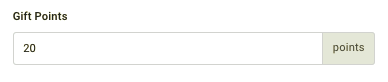
For Gift Points
- Enter the amount of points (in addition to any base points made on the purchase) to gift the guest in the Gift Points field.
For Gift Derived Rewards
- Click the Derived Rewards drop-down to select the Derived Rewards you want to reward.

For No Gift, Only Messaging
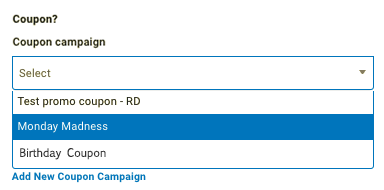
If choosing "No Gift, Only Messaging", you can attach an optional coupon along with your message. To add a coupon:
- Click the Coupon drop-down and choose from one of your saved coupons to include with your message.
For Incentivize Checkin
Incentivize Checkin essentially turns your Recall campaign into Step 1 of a two-step campaign:
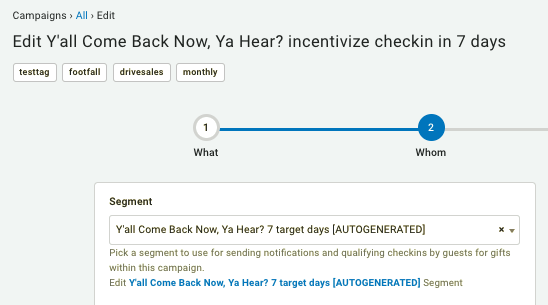
- Step 1: Your recall campaign will send an initial message to guests as they fall into your segment ("Guests who haven't visited for 60 days" for example) telling them about an offer that's only available for N number of days.
- Step 2: A Post Checkin campaign you've connected to your Recall campaign will identify and reward guests who have both received the offer and completed it within N number of days.
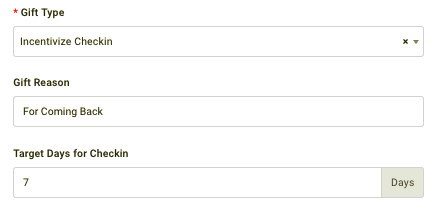
In the Target Days for Checkin field, select the number of days N that a guest must checkin before in order to gain the reward offered in your connected Post Checkin campaign. After you have finished the rest of your Recall campaign, you will be automatically transported to create a new Post Checkin campaign powered by the "Target N days for Checkin" segment auto-generated by your Recall campaign.
For Currency
-
Enter the dollar amount of currency to gift the guest in the Gift Currency field.

Next, you will be able to set the expiry of the currency. You have three options:
- For Expiry (In Days), enter how many days after the guest receives the currency you want it to expire in the Expiry (In Days) field. For example, if you want the currency to expire one week after the guest earns it, you would enter the number 7.
If you want the currency to expire the same day, enter '1' for the Expiry (In Days) field, OR enter thesame date into the Explicit Date of Expiryfield. For example, if the campaign is set to deliver on 9/15/25 and you enter '1' into the Expiry (In Days) field, the currency would expire on 9/15/25 at 11:59 PM. The same is true if you had entered 9/15/25 in the Explicit Date field.

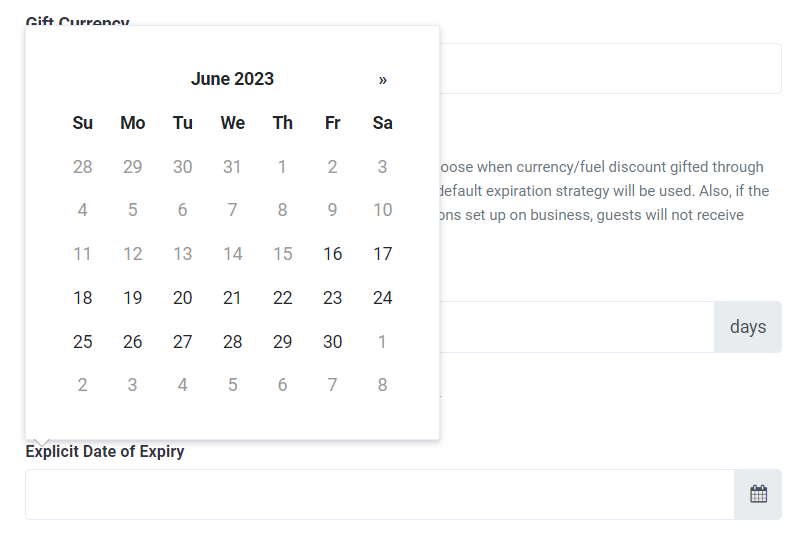
- For Explicit Date of Expiry, click the field and use the calendar to select which day the currency will expire for all guests, regardless of when they earned it.
- For Default Expiry, leave both the Expiry (In Days) and the Explicit Date of Expiry fields blank. This will result in the campaign using the business's default expiration strategy.
For Gift Collectible
You can also configure a combo gift — select both a redeemable and then a collectible to reward guests with both at the same time.
- Click the Collectible drop-down and select the digital collectible you want to award to guests.
- A preview of the selected collectible will appear.
- In the Gift Reason field, add a short message describing the type/purpose of this gift-giving campaign.
This message will appear in the guest's account history. - Click Next to move on to Step 2.
Step 2 - Whom
Choose a segment of guests and the length of time they must be gone before triggering the campaign.
Configure campaign settings in the sections below.
Campaign Settings
- Lapse Days - This is where you select the number of days that a guest must not have performed any loyalty checkins (categorized as any action performed within your loyalty program, such as a guest referral or redemption) in order to trigger this recall campaign. In other words, if you choose 30 days, this campaign will trigger whenever a guest has gone 30 days without a loyalty checkin.
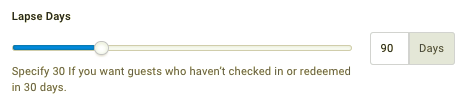
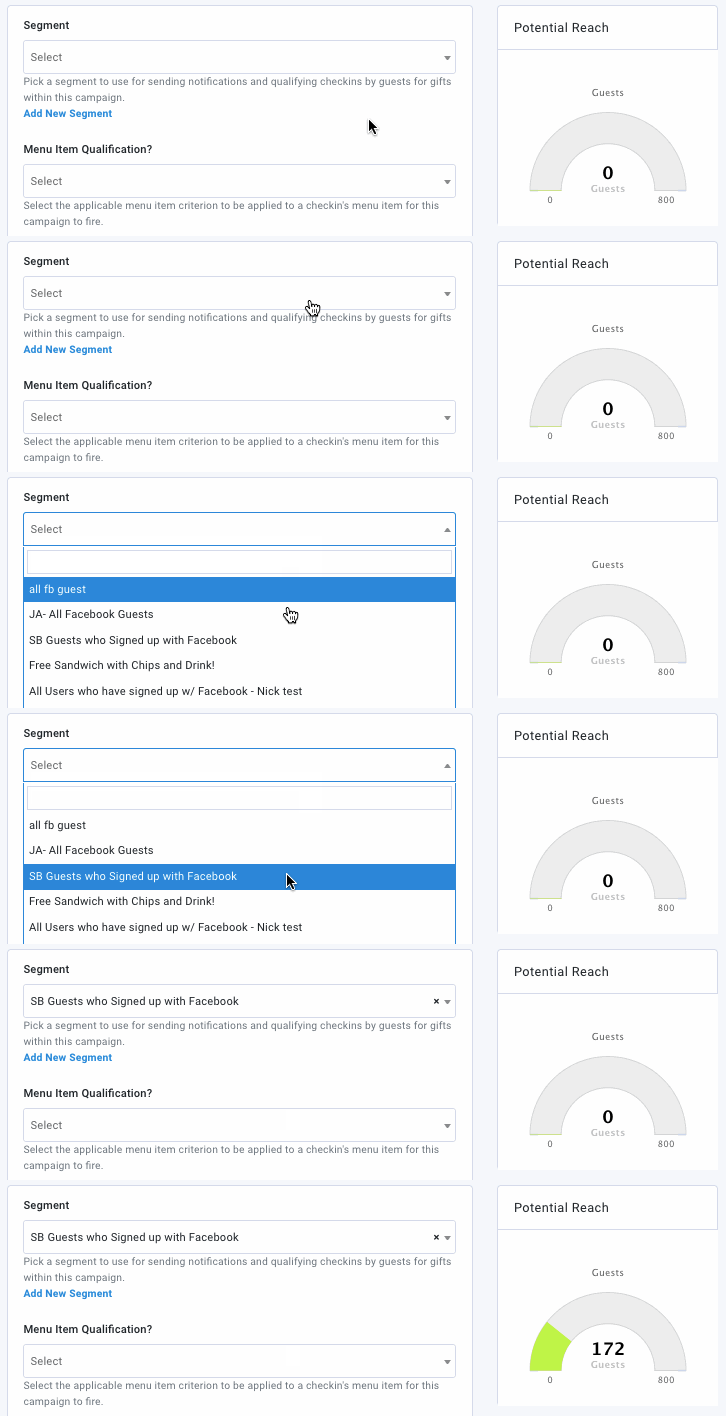
The lapsed timer begins as soon as a new guest signs up for your program, meaning that if a guest signs up but doesn't perform any loyalty checkins for however long your Lapsed Days setting is, they'll fall into this Recall campaign. - Segment: Click the drop-down to select from one of your guest segments this offer will be targeted to.
The Potential Reach gauge will show you how many guests are in that segment that could potentially take part in this offer campaign.
- User Type: Here you can choose if eClub guests, Loyalty guests, or both receive the campaign. The default selection is Loyalty Guests.
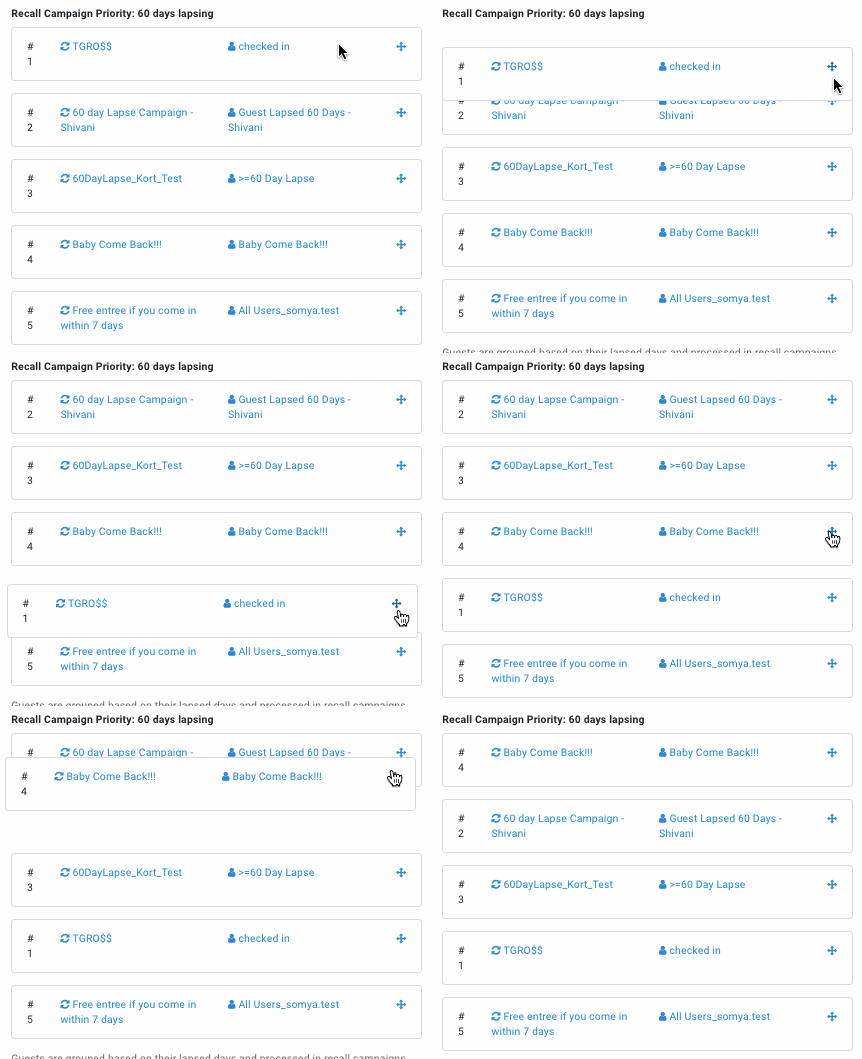
- Recall Campaign Priority: If you have multiple active Recall campaigns with the same lapsing days (i.e., multiple 60 days lapse campaigns), you can set the priority with which they'll fire for a guest by dragging each campaign up or down. The higher up, the higher the priority; # 1 in the order will trigger first, then #2 in the order will trigger only if #1 has previously triggered, and so on.
- Control Group Strategy: Select Random from the drop-down menu if you want to use a control group to gauge the effectiveness of your campaign. Did guests who received the offer spend more money, and return more frequently?
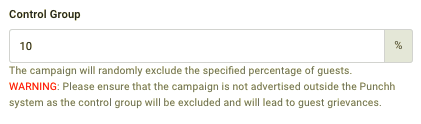
- Control Group: Specify a percentage of guests who will be randomly excluded from receiving this offer.
Warning: When using a control group, ensure that your campaign is not advertised to the general public or some guests may be upset when they are excluded.
Messaging
Add messaging for each of the notification types you want to send. Refer to Campaign Message Options for full details.
Click Next to move on to Step 3.
Step 3 - When
Schedule your campaign.
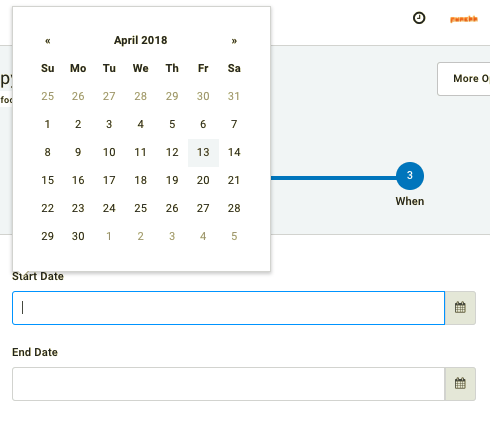
- Choose a Start Date and End Date for your campaign.
Because Recall campaigns are ongoing, you don't need to specify a start or end date. Leaving this blank will let the campaign run indefinitely until you choose to deactivate it.
- Once satisfied with your campaign settings, click Finish to save and activate/schedule your new Recall campaign.
- If you selected Incentivize Checkin in Step 1, continue on and complete the associated Post Checkin Campaign.
Schedules
In conjunction with creating recall campaigns, your brand must have a recall campaign schedule. Schedules allow your recall campaigns to trigger daily, as needed, when a guest fits the designated segment and reaches the number of days lapsed as specified above.

- To set your schedule, navigate to Diagnostic > Schedules.
- Select Recall Campaign Schedule from the drop-down menu.
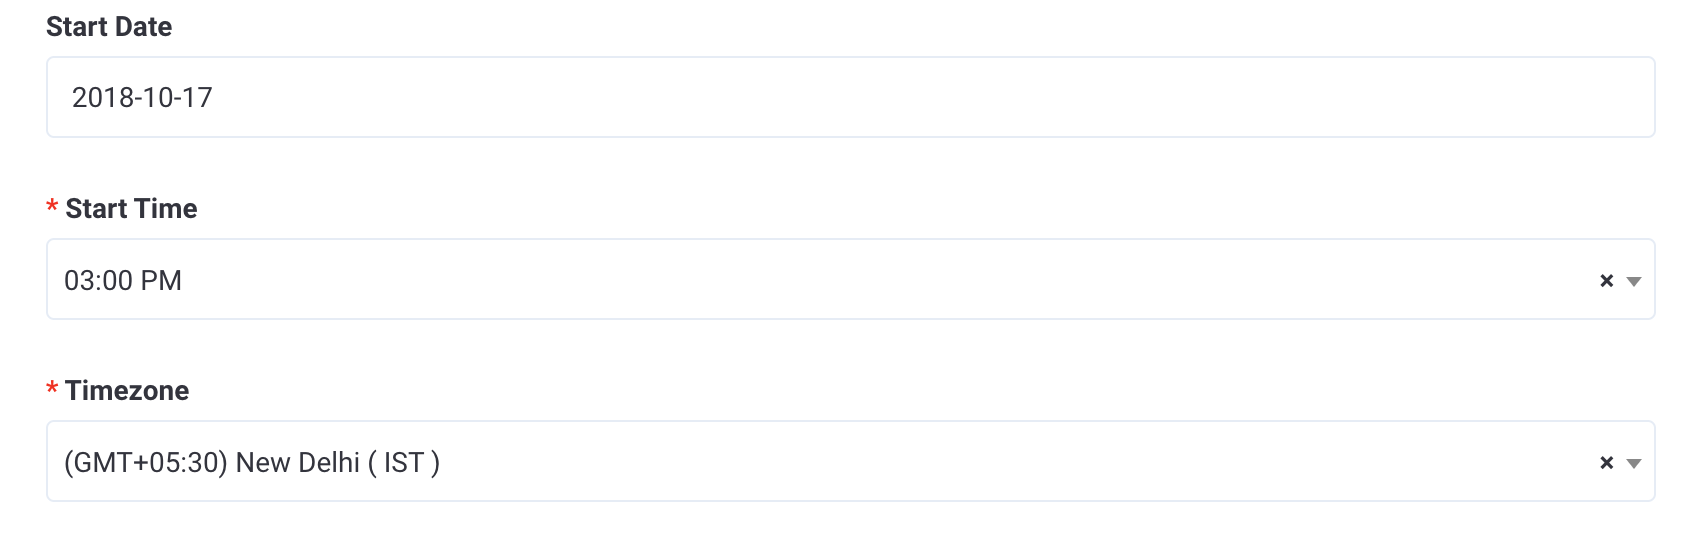
- Select the Start Date for the schedule to start running.
- Select the Start Time as the time each day the schedule will run.
- Select the Timezone that will be applied to the Start Time of the schedule.
- Click Save Schedule.
For more information, check out the "Wait! Come Back! Let's Talk Retention" webinar in PAR Academy (accessible via Punchh or your ordering platform).
