Receipt Messages
Punchh has natively implemented receipt messages for Aloha, Micros/Simphony, and Positouch POS systems. If your brand uses a different POS integration, receipt message data is available to your POS provider through the Location Configuration endpoint in the Punchh POS API. Contact your POS provider to confirm whether they support this feature. If you do not see the Receipt Messages option in your dashboard, reach out to your Punchh representative.
Receipt messages are an easy, free, and fun way to communicate with your customers post-sale. You can set a custom message to print on the bottom of each receipt (up to 6 lines of 50 characters) and control at which locations you want the message to print.
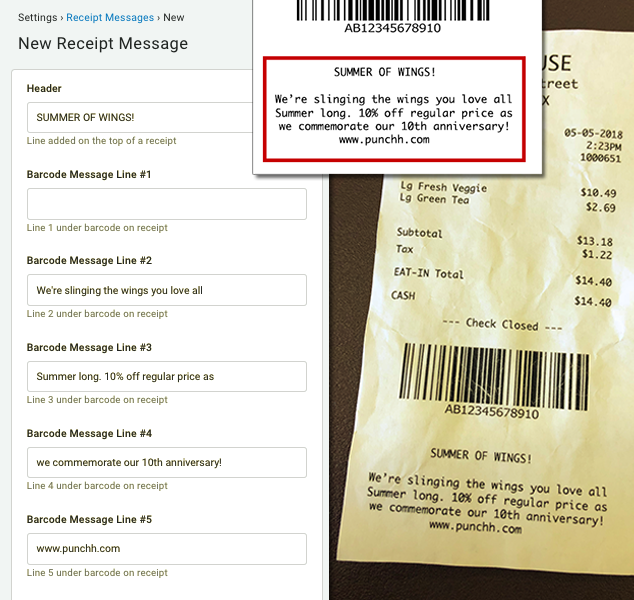
Note: For receipt messages to print, Punchh barcode printing must be enabled at your locations. When barcode printing is enabled, the barcode and any configured receipt message will print on receipts for both loyalty and non-loyalty guests. If barcode printing is disabled or suppressed the receipt message will also not print. Contact your Punchh representative with questions.
Set a New Receipt Message
To set up a new receipt message:
- Navigate to Store Locations > Receipt Messages.
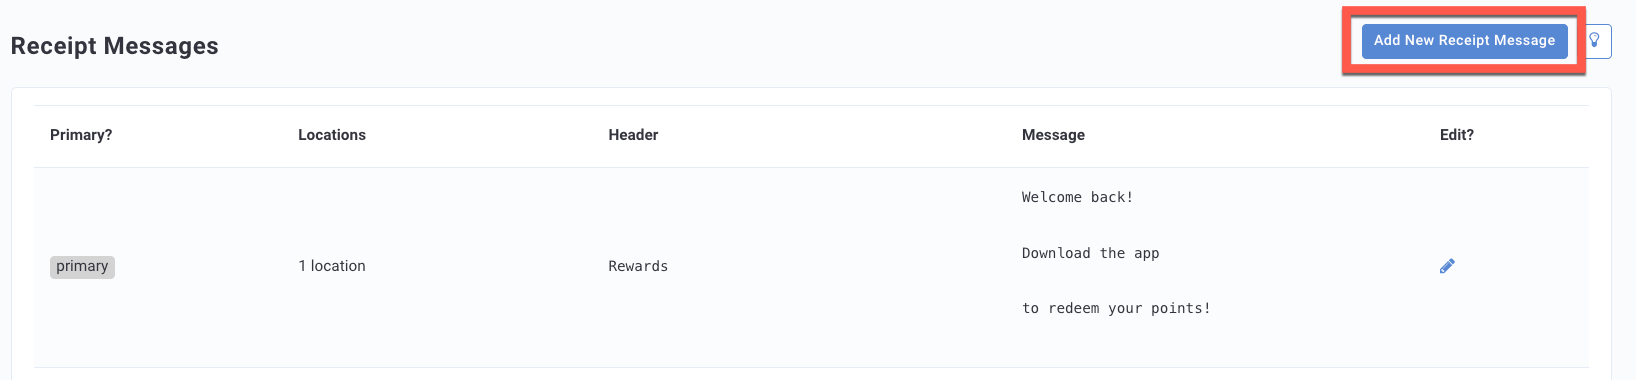
- Click Add New Receipt Message at the top-right.
- Enter Header text for the message. This is the top line that will appear after the Punchh barcode at the bottom of the receipt. There is a 50-character hard limit for the Header and subsequent message lines, due to POS printing limitations.
- Enter text for Barcode Message Lines 1 - 5. If you want to leave space between lines, just leave a line blank and skip to the next one. For example, you may want to leave Barcode Message Line #1 blank to create a space between the header and the first line of your message.
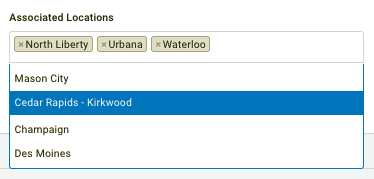
- In the Associated Locations field, add any specific locations where you want the message to print. This is primarily if you only want your message at a few locations, but it is also useful for testing the receipt message before it goes live everywhere.
Note: The receipt message footer only prints when the check is both started and closed on the POS. If a transaction originates outside the POS — for example, through online ordering — and is injected into the POS, the footer may not print as expected.
Tip: We strongly recommend testing your receipt message in at least one location (ideally a test location). Some POS printers have different limitations, and your 50-character receipt message line may end up getting cut off at the margins.
- Check the Associate at business level checkbox to mark your receipt message as "Primary" to indicate if this message is your standard or default message for most locations. You can only have one business-level 'primary' or default message at a time. (At this time, this checkbox does not have any further functionality beyond marking a message as 'primary'.)
- When finished, click Save. Your message will go live shortly.
How long does it take for my receipt message to go live at my POS's? Your receipt message will go live the next time your POSs receive an update (check to see if any changes have been made) from Punchh. The frequency at which your POS updates is dependent on the Log Time you set when creating each Location. For example, if the Log Time for Store A is 60 minutes, your changes will go live within 60 minutes.
Can I change the font or style of a receipt message? Not really. The font, size, and general style of your receipt messages are entirely dependent on your POS system and printer.
