Challenge Campaigns
Challenges is an added module. Incorporating Challenges into your loyalty program requires an app update, as these challenges will live on their own Rewards page that must be built into your current setup. Please contact your Punchh representative for guidance on how to embed challenges in your mobile application.
Challenge campaigns offer guests the opportunity to complete challenge steps into order to receive a reward once all steps are completed. These campaigns are excellent at driving repeat business to your locations and adding a level of gamification to your loyalty program for your guests to enjoy.
Guests are able to opt in and out of active challenge campaigns, rather than being automatically enrolled. Guests can opt in directly from the mobile app, or admins can opt in members on their behalf from the Guest Profile: Challenges page. If a guest opts out after making progress, their progress will be preserved, and will seamlessly resume if they decide to opt back in later. No challenge progress is deleted on opt out. (To enable this feature speak to your Punchh representative.)
Create a New Challenge Campaign
WARNING: If your Challenge Campaign uses the Segment Auto Enrollment setting, there are additional critical configurations that must be completed when scheduling the campaign.
Expand the Challenge Type: Receipt Qualification or Every X Points, Challenge Reach: Segment Auto Enrollment section in Step 3: When, for more details.
- Navigate to Marketing Automation > Campaign Management in your left-hand navigation toolbar.
- Click Create Campaign in the upper right corner.
- Click Other.
- Select the Challenge campaign type.
- Click Create.
Step 1 - What
Note: The Name, Description, Gift Reason, and Miscellaneous Data are guest-facing fields and can be configured to multiple languages. Click the language options at the top right of the field to preview the text in the selected language. Admins can set up your preferred and alternate languages under the Business Profile.
-
Enter a name for your campaign in the Name field.
-
Click the Gift Type drop-down and choose what type of reward the guest will receive. Depending on your choice, complete the following steps for:
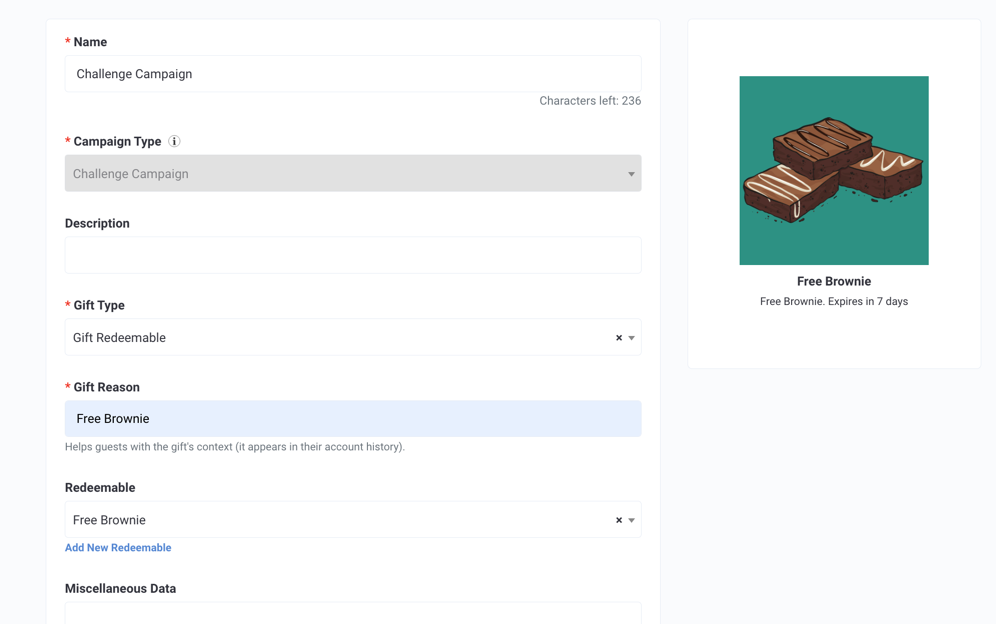
For Gift Redeemable
- Click the Redeemable Reward drop-down and select the redeemable you want to associate with this offer.
A preview thumbnail for your redeemable will appear along with it title and description.
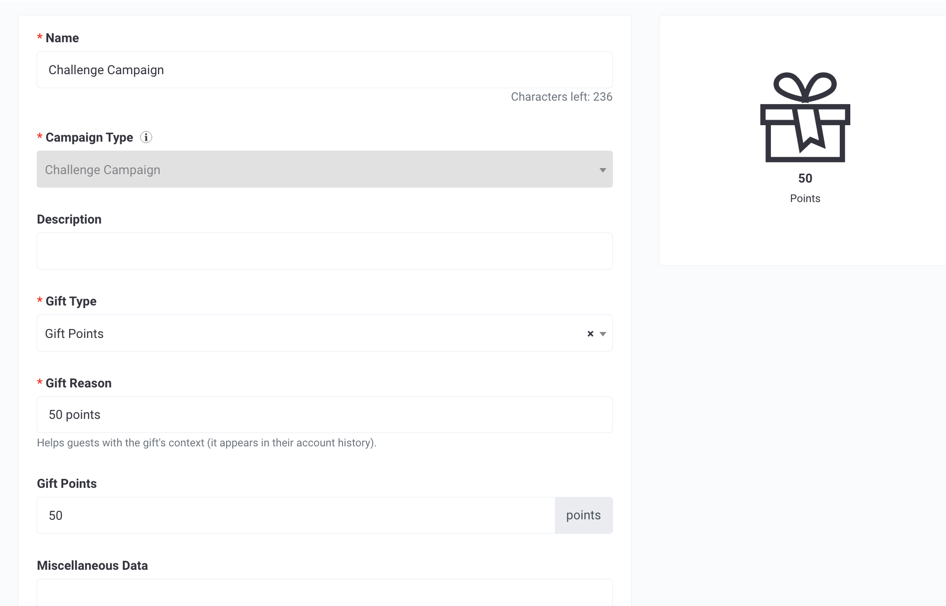
For Gift Points
- Enter the amount of (additional) points to gift the guest in the Gift Points field.
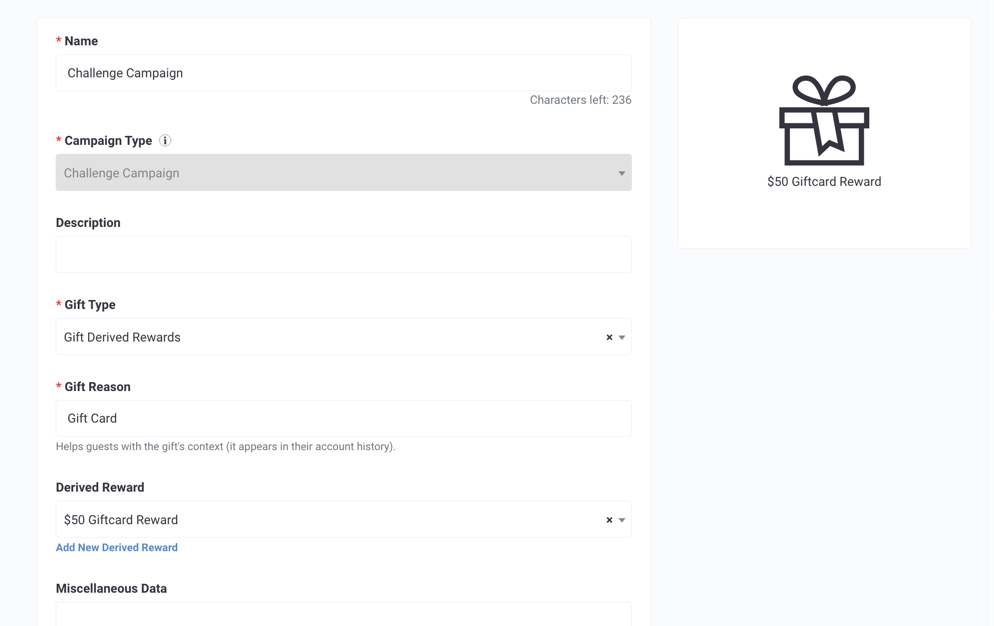
For Gift Derived Rewards
- Click the Derived Rewards drop-down to select the surprise set you want to reward.
For Currency
- Enter the dollar amount of currency to gift the guest in the Gift Currency field.

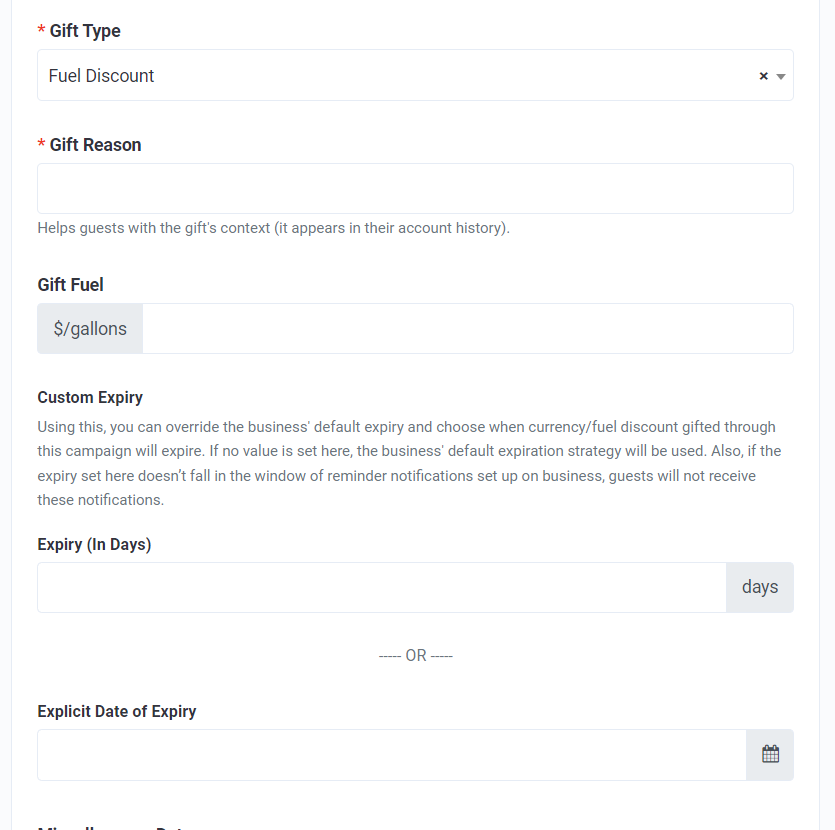
For Fuel Discount
-
Click the Fuel Discount from the Gift Type drop-down. Enter the amount off per gallon in dollars that you want to gift your guests.
-
If you selected Currency or Fuel Discounts as the Gift Type, you will be able to set custom expiry dates for the rewards. You have three options:
-
For Expiry (In Days), enter how many days after the guest receives the currency you want it to expire in the Expiry (In Days) field. For example, if you want the currency to expire one week after the guest earns it, you would enter the number 7.
If you want the currency to expire the same day, enter '1' for the Expiry (In Days) field, OR enter the same date into the Explicit Date of Expiry field. For example, if the campaign is set to deliver on 9/15/25 and you enter '1' into the Expiry (In Days) field, the currency would expire on 9/15/25 at 11:59 PM. The same is true if you had entered 9/15/25 in the Explicit Date field.

-
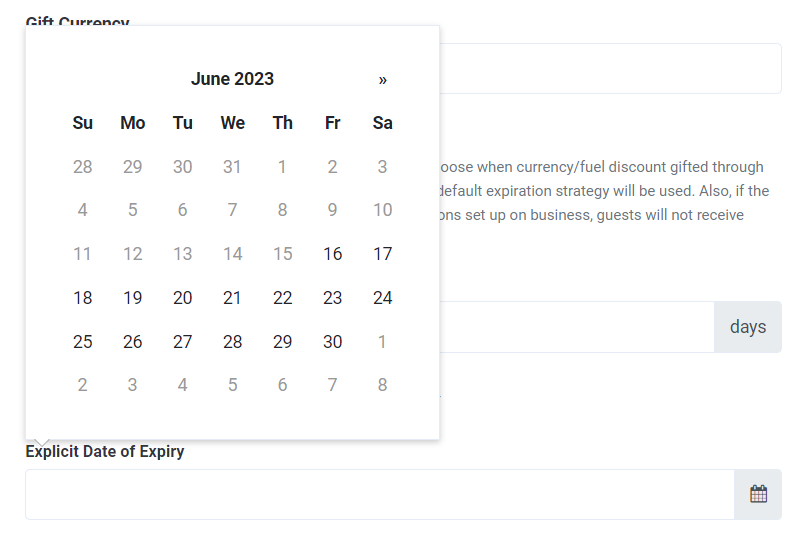
For Explicit Date of Expiry, click the field and use the calendar to select which day the currency will expire for all guests, regardless of when they earned it.
-
For Default Expiry, leave both the Expiry (In Days) and the Explicit Date of Expiry fields blank. This will result in the campaign using the business's default expiration strategy.
For Gift Collectible
You can also configure a combo gift — select both a redeemable and a collectible to reward guests with both at the same time.
- Click the Collectible drop-down and select the digital collectible you want to award to guests.
- A preview of the selected collectible will appear.
- In the Gift Reason field, add a short message describing the type/purpose of this gift-giving campaign. This message will appear in the guest's account history.
- Miscellaneous Data field allows you to configure MetaData which is returned in API response and allows you to customize the in app experience for your guests. A simple example would be to list multiple challenges that are active in your business and the need to differentiate one from the other.
- Click Next to move on to Step 2.
Step 2 - Whom
Configure campaign settings such as challenge type, campaign icons, and other options as described in the section below. Depending on your subscription to Punchh added modules, you may not see all of these settings.
Campaign Settings
Campaign Imaging and Icons:
Hero Image / Badge Icon / Icon Completed: Click Browse to upload images to serve as the image/icons for the challenge in the Rewards page of your mobile app.
- Hero Image refers to the main announcement image, explaining the details of the campaign.
- Badge Icon represents the image that is shown as the challenge remains incomplete.
- When the challenge is completed, the icon changes to the Icon Completed image.
Depending on the design of your mobile app, the icons/images you choose for individual challenges may differ a bit in their design. However, there are some common best practices we can use when adding these images through the Punchh Dashboard, such as making your completed icon brighter than the incomplete one or adding a large checkmark.
Challenge Type > Segment
Click the drop-down to select from one of your guest segments this offer will be targeted to.
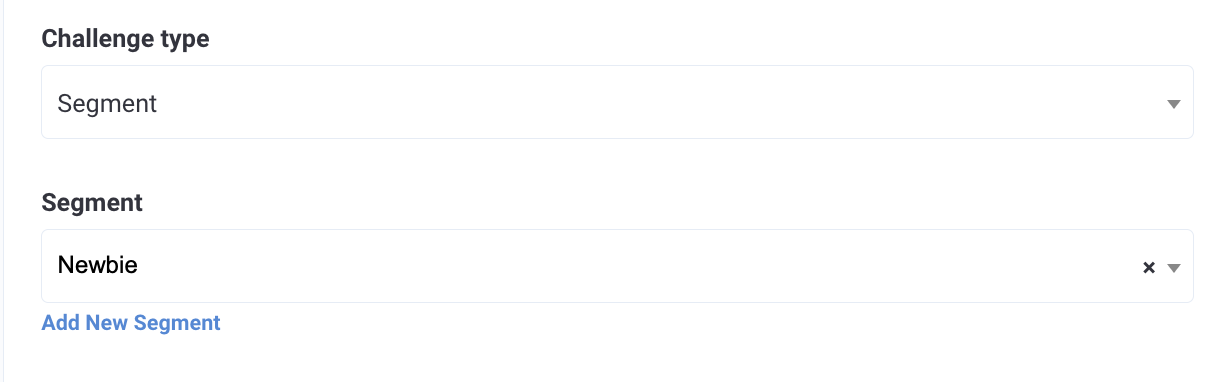
Challenge completion is essentially a YES/NO state that we can determine by checking for the presence/absence of a guest in a specific segment. For example, if you want to make three different challenges based on points:
- Newbie: 1-100 points
- Veteran: 101-400 points
- Champion: 401+ points
You would make a segment for each of those levels, one for each challenge campaign. Once a guest reaches a new points threshold, they'll be added to the next higher points-based segment and will therefore have completed the associated challenge. For any type of segment we can build in Punchh, we can turn that segment's requirements into a Challenge's requirements (and use any redeemable as a reward).
The Potential Reach gauge will show you how many guests are in that segment that could potentially take part in this offer campaign.
Challenge Type > Receipt Qualification
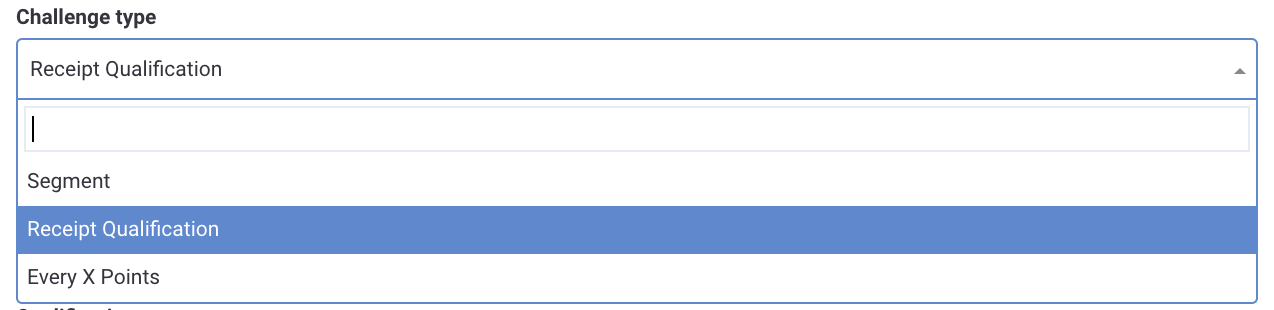
Receipt Qualification based challenges evaluate loyalty transactions to decide if a guest has made progress towards a challenge. The progress can be reflected in the mobile application to let guests know how far they are towards achieving a business defined goal. You can use Receipt Qualification based challenges to drive purchase behaviors such as promoting the sales of a particular menu item. Guest's make repeat purchases to reach the end goal and get rewarded.
Challenge Reach decides which of your guests qualify for participating in the challenge
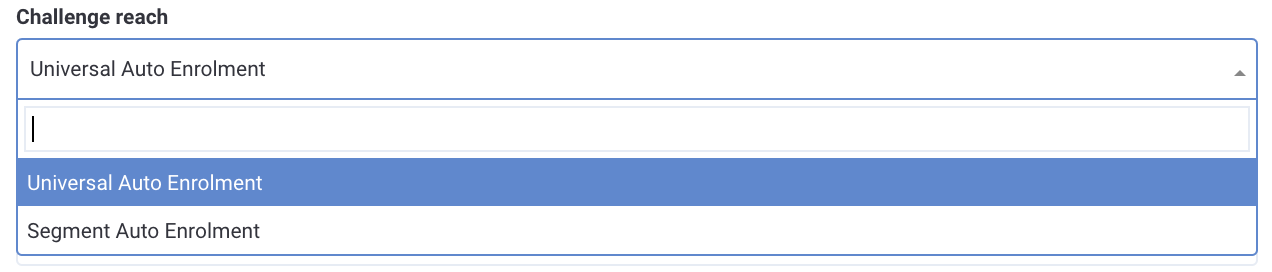
- Universal Auto Enrollment makes the challenge available for all your loyalty guests. Any qualifying transaction lets guests make progress towards the end goal.
- Segment Auto Enrollment allows you to run more targeted challenges by allowing you to attach a segment of guests for whom you'd like the challenge to be available. If this option is selected, you'll be presented with another drop down to attach the segment of your choice as well as the Challenge Expiry Days.
- Challenge Expiry Days allows you to configure the number of days in which guests should complete the challenge from when it becomes active. If this is a recurring challenge, guests can complete it as many times as they can before the challenge expires. Leaving the field blank or entering zero would mean that guests can complete the challenge as long as it is active.
Qualification allows you to attach a QC where you can define the rules based on which a loyalty transaction qualifies for making progress towards a challenge.

Note: To avoid a guest potentially completing all challenge steps in one receipt, set up your QC with the Amount Cap as 1.0. Therefore, no matter how much the receipt totals, it will only be counted as one step in the challenge. For more information on QC set up, see Qualification Criteria.
No. Of Steps/Points is the number of qualifying transactions that a guest needs to make to reach the end goal.

Restart the challenge for guests after they complete it? This configuration allows you to make a challenge campaign recurring and have it run on auto pilot till it ends. Guests can qualify and complete the challenge as many times as they can.

Challenge Type > Every X Points
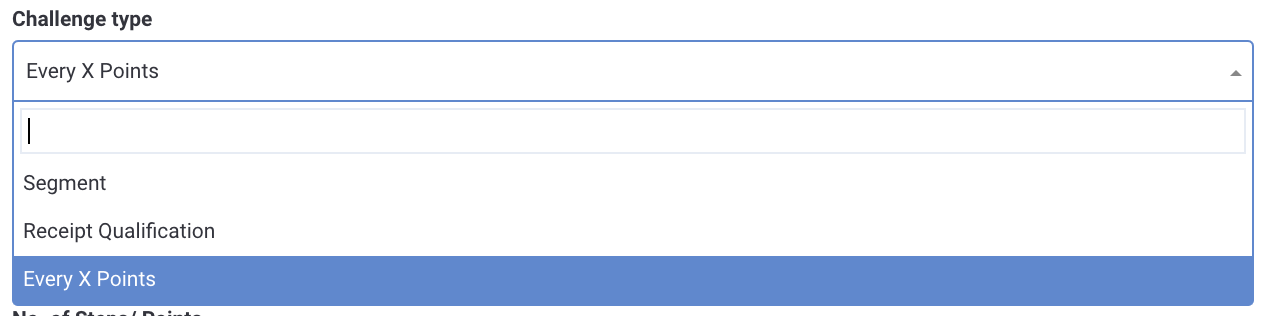
If you are a points based business, Every X Points type of challenge allows you to reward your guests at regular cadence beyond your core loyalty program. For example, while guests may receive $10 for every 100 points they earn from your core program, you can configure a challenge campaign which rewards them every time they earn 500 points. This is over and above your core loyalty offering and keeps your guests motivated to engage more with your program.
Challenge Reach decides which of your guests qualify for participating in the challenge
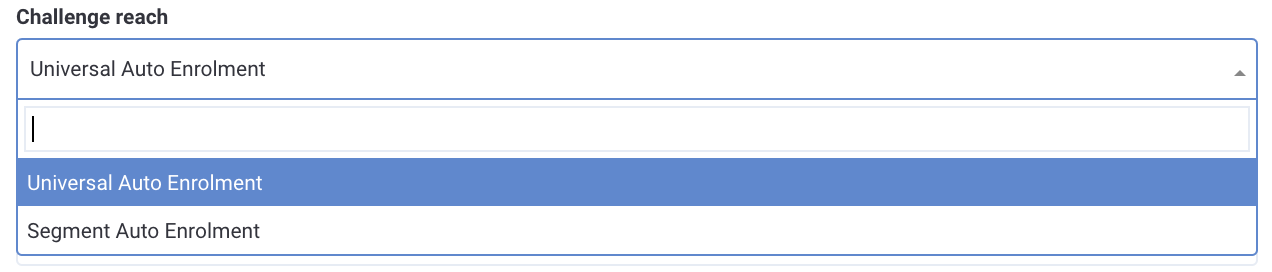
- Universal Auto Enrollment makes the challenge available for all your loyalty guests. Any qualifying transaction lets guests make progress towards the end goal.
- Segment Auto Enrollment allows you to run more targeted challenges by allowing you to attach a segment of guests for whom you'd like the challenge to be available. If this option is selected, you'll be presented with another drop down to attach the segment of your choice as well as the Challenge Expiry Days.
- Challenge Expiry Days allows you to configure the number of days in which guests should complete the challenge from when it becomes active. If this is a recurring challenge, guests can complete it as many times as they can before the challenge expires. Leaving the field blank or entering zero would mean that guests can complete the challenge as long as it is active.
No. Of Steps/Points is the number of points that a guest needs to complete the challenge.

Restart the challenge for guests after they complete it? This configuration allows you to make a challenge campaign recurring and have it run on auto pilot till it ends. Guests can qualify and complete the challenge multiple times.

Survey (add-on module): Use the drop-down to select one of your saved Surveys or create a new one from this section. This survey will trigger for a guest once they open the push notification message sent out with this campaign. The guest must complete the survey in order to receive their reward. Adding this means the guest has a potential to earn two rewards.

Messaging
Add messaging for each of the notification types you want to send. Refer to Campaign Message Options for full details.
Click Next to move on to Step 3.
Step 3 - When
Step 3 - When of the campaign varies depending on the Challenge Type and Challenge Reach configured on Step 2 - What.
Challenge Type: Segment
In this case, all you need to configure in Step 3 is the Execution Window i.e. the Start Date, End Date, and the Challenge Timezone of the Challenge Campaign. Guests who enter the segment between these dates(based on the selected timezone) will be considered as having completed the challenge.
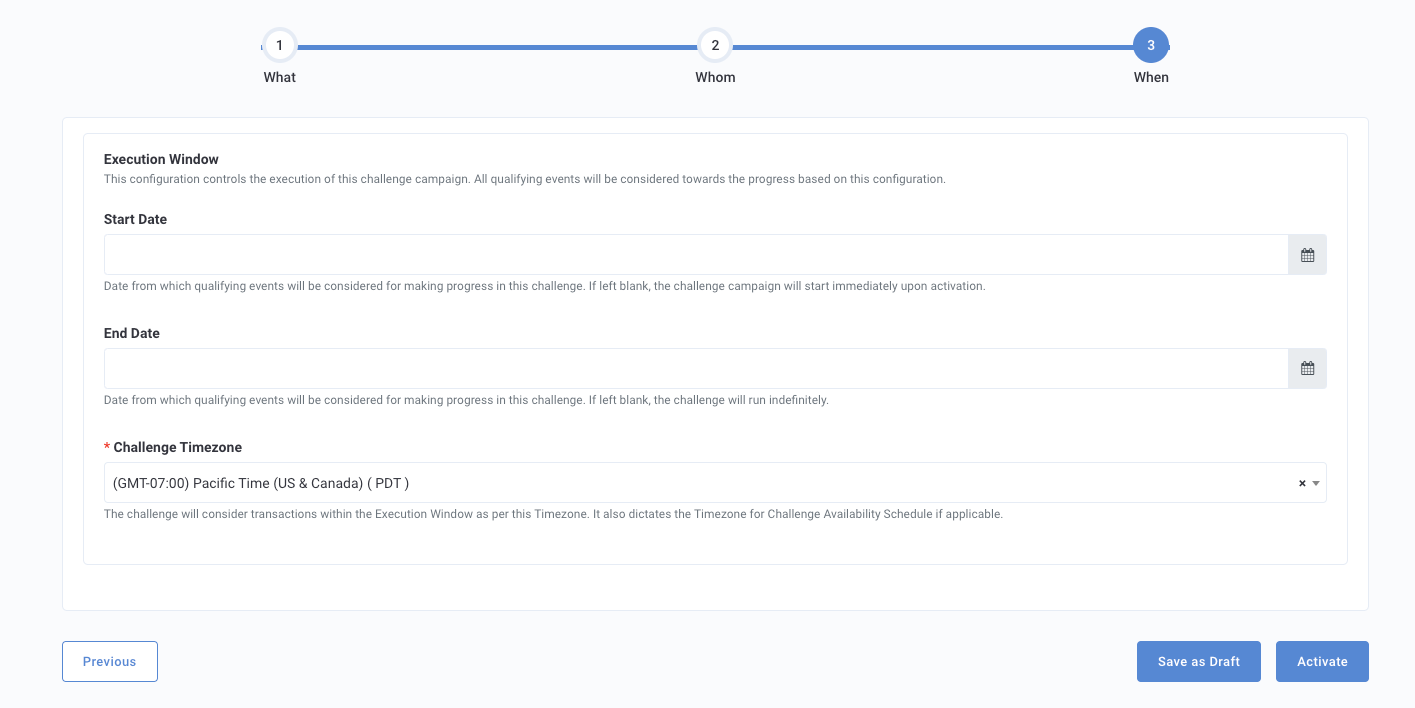
Challenge Type: Receipt Qualification or Every X Points, Challenge Reach: Universal Auto Enrollment
In this case, all you need to configure in Step 3 is the Execution Window i.e. the Start Date, End Date, and the Challenge Timezone of the Challenge Campaign. Guests who enter the segment between these dates(based on the selected timezone) will be considered as having completed the challenge.
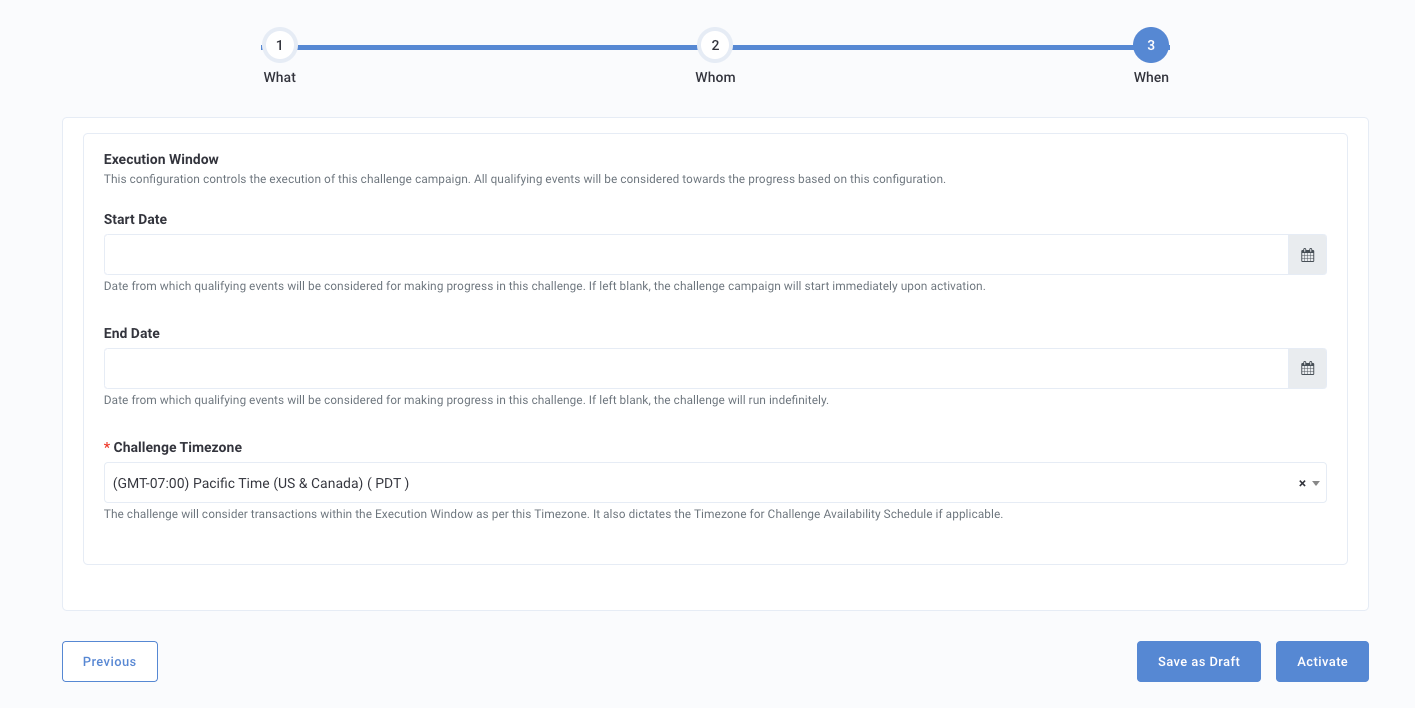
Challenge Type: Receipt Qualification or Every X Points, Challenge Reach: Segment Auto Enrollment
Critical Configurations
This configuration differs from the ones listed above due to the use of Segment Auto Enrollment. This requires the use of two schedules: the Segment User Cache Schedule and the Challenge Availability Schedule. Please read through this box carefully before completeing the remaing scheduling fields for your Challenge campaign, described below.
Segment User Cache Schedule: When evaluating a large number of guests against a large number of challenge campaigns which use Segment Auto Enrollment strategy, we leverage Segment User Cache Schedule which needs to be created by going to Diagnostic > Schedules > Segment User Cache Schedule. (A business can have only a single Segment User Cache Schedule.)
This schedule runs once in 24 hours based on the time chosen by the admin (e.g. Everyday at 10:00 AM) and updates the segment cache to include or exclude guests based on the latest status of the segment. The schedule only looks at ACTIVE challenge campaigns.
It is important to note that the Segment User Cache Schedule must run BEFORE the Challenge Availability Schedule for any challenge campaign. Therefore, if your business's Segment User Cache Schedule runs at 10:00 AM everyday, it is important to schedule your Challenge Availability Schedule for all challenge campaigns after that time. Best practice is to set the Segment User Cache Schedule to run four hours (per 1M guests targeted) before the Challenge Availability Schedule. (If needed, the Segment User Cache Schedule can be run manually by clicking Run Now, as shown below.)

The Segment User Cache Schedule configuration is an absolute must for the backend Enrollment List of the challenge campaign to start populating, failing which guests will not get enrolled in such a challenge campaign.
Example: You wants to run a challenge campaign that becomes active at 12:00 PM on February 7th. The Segment User Cache Schedule runs daily at 1:00 AM and the Challenge Availability Schedule runs at 1:00 PM.
In this scenario, when the Segment User Cache Schedule runs at 1:00 AM on Feb 7th, there is no ACTIVE challenge campaign yet so no segment data is pushed to the platform backend. In addition, when the Challenge Availability Schedule runs 12 hours later that day, the segment will still not be present and the campaign will not show for any guest.
The campaign will only show on the next day, Feb 8th because when the the Segment User Cache Schedule runs at 1:00 AM on Feb 8th, it will detect the now ACTIVE campaign and will populate the segment in the platform backend. Later that day at 1:00 PM, the Challenge Availability Schedule will run again with an active campaign AND segment data which will make the campaign effectively available to the guests in the segment.
In this scenario you, if you MUST have the campaign available to guests on Feb 7th, consider setting it up to become active the day before, Feb 6th so that the schedules can properly capture the necessary data in time. See Additional Scheduling for the appropriate fields to use.
Challenge Availability Schedule
Segments are dynamic in nature and based on the definition, guests may move in and out of the attached segment. Since the objective of attaching a segment to a challenge campaign is to make it available to guests falling in the segment, we maintain an Enrollment List of guests who enter the attached segment. Contrary to segments, guests move in this list but not out of it. This list is populated by configuring the Challenge Availability Schedule.
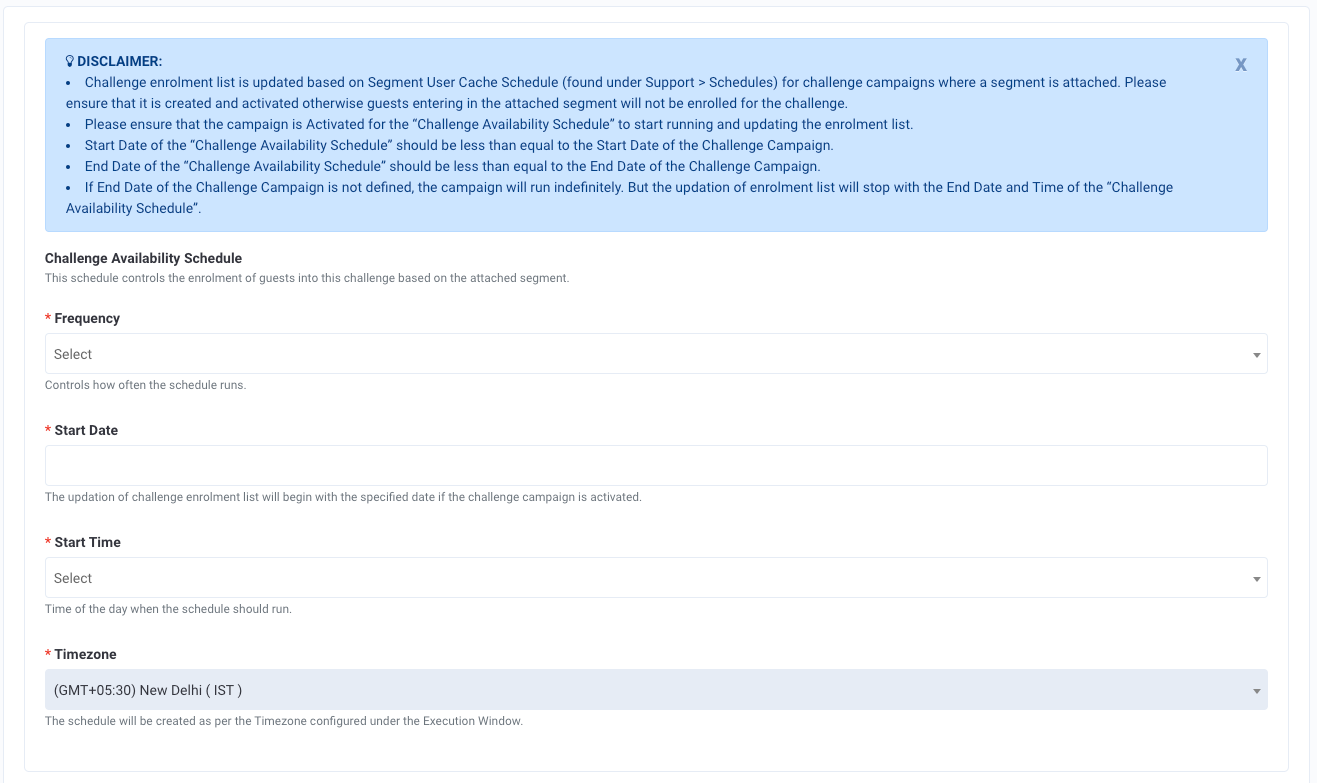
Based on the configurations of the Challenge Availability Schedule, the Enrollment List in the backend will keep adding the data of new guests between two consecutive runs and the challenge will become available to these new guests. Also, they can be notified using the Challenge Available notification available on the second step of the campaign under messaging.
The Timezone field will be updated according to what is selected in the Challenge Timezone field below.
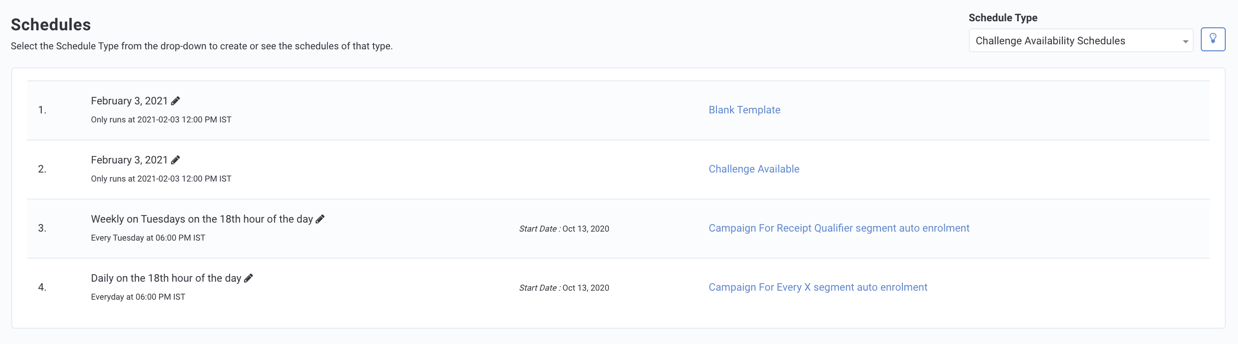
Based on this configuration, only when a challenge campaign is activated, a schedule is created in the backend which can be accessed by going to Diagnostic > Schedules > Challenge Availability Schedules. An individual schedule will be created for each such challenge campaign as explained above. While the schedules will be listed in this section, they can be edited only by going to the relevant challenge campaign by clicking on the desired challenge campaign's name.
Additional Scheduling
Additionally, you need to configure the Execution Window i.e. the Start Date, End Date, and the Challenge Timezone of the Challenge Campaign. Guests who enter the segment between these dates(based on the selected timezone) will be considered as having completed the challenge.
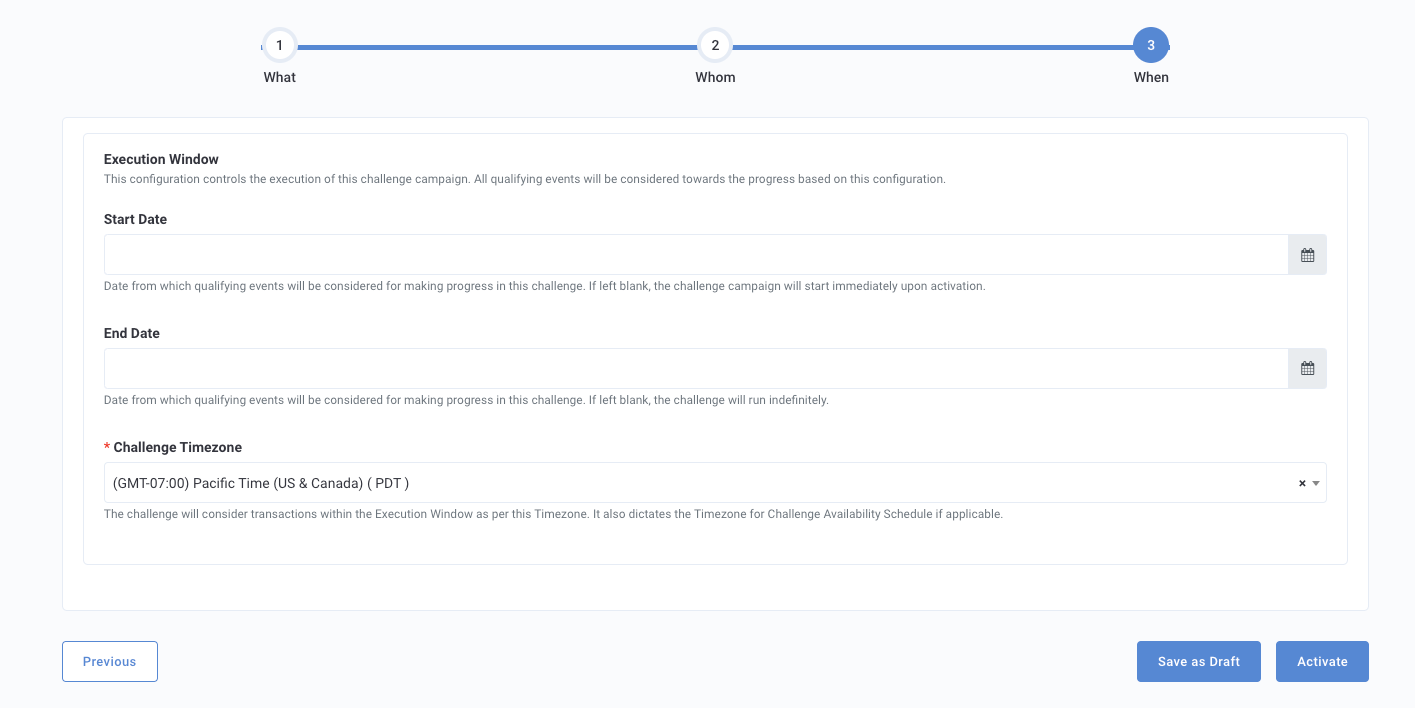
After making your edits, you can either save the campaign as a draft by clicking on Save as Draft or activate it by clicking on Activate.
Tip: Your Challenge Campaign can be edited prior to its set start date. However, any segments should NOT be edited for at least 48 hours before the campaign's start date, to avoid errors.
