Admin Users and Roles
The Punchh platform lets you create custom user admin roles using a combination of predefined permission sets to control the level of access available to others in your company.
Roles
Before we add users and set their permissions, we should first understand Roles and how they function in the Punchh platform.
Roles are a collection of permissions organized into levels of access. Create roles to limit access to higher-level functions as well as create roles for franchise owners that grant them only the permissions they'll need to use at their one location.
Roles are found by clicking Administration > All Users, Roles and Permissions > Roles.
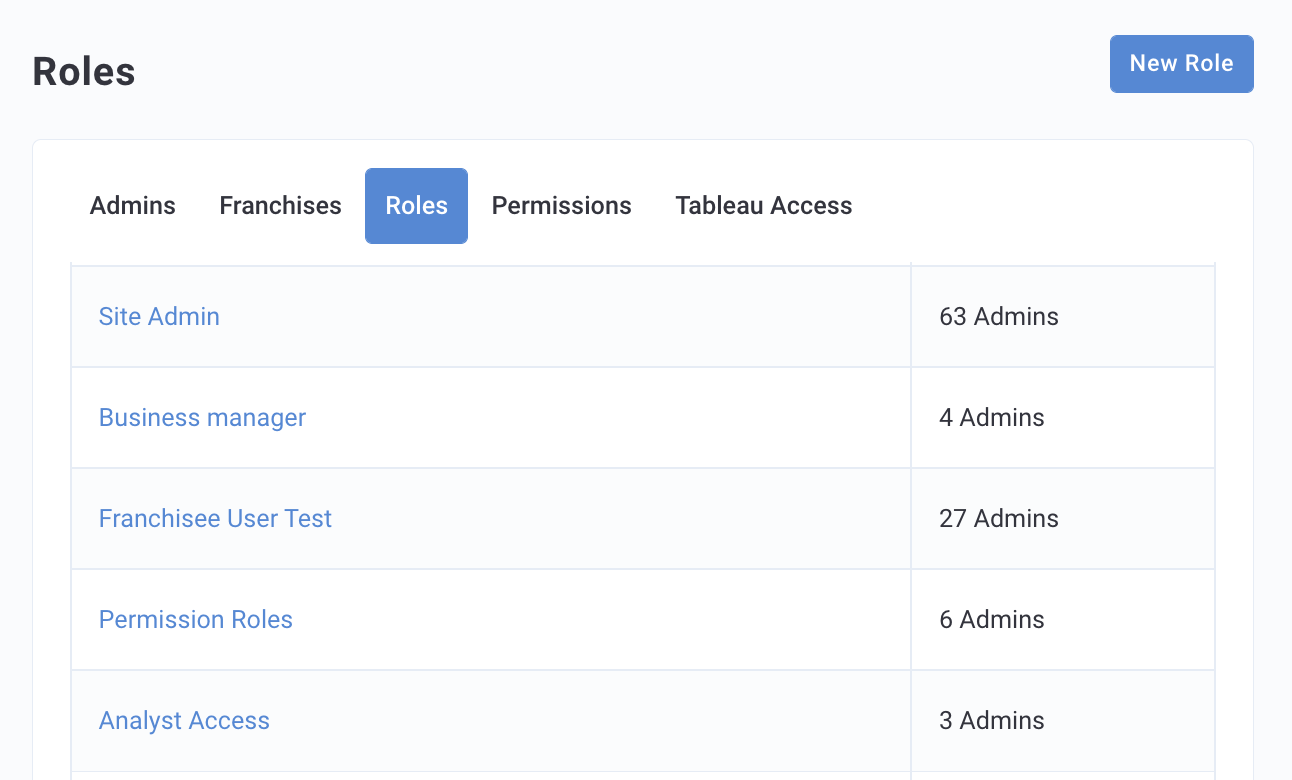
Punchh provides three default roles with varying permission levels. The highest level is Business Owner (typically of nearly all permissions are enabled), the middle is Business Manager, and the role with the most limited permissions is Site Admin.
Create a New Role
Punchh implementation has likely already set up the depth of user roles you need for your company. However, if you need to add additional roles, follow the steps below:
- From the Roles tab in Admin Users, click New Role in the upper right corner.
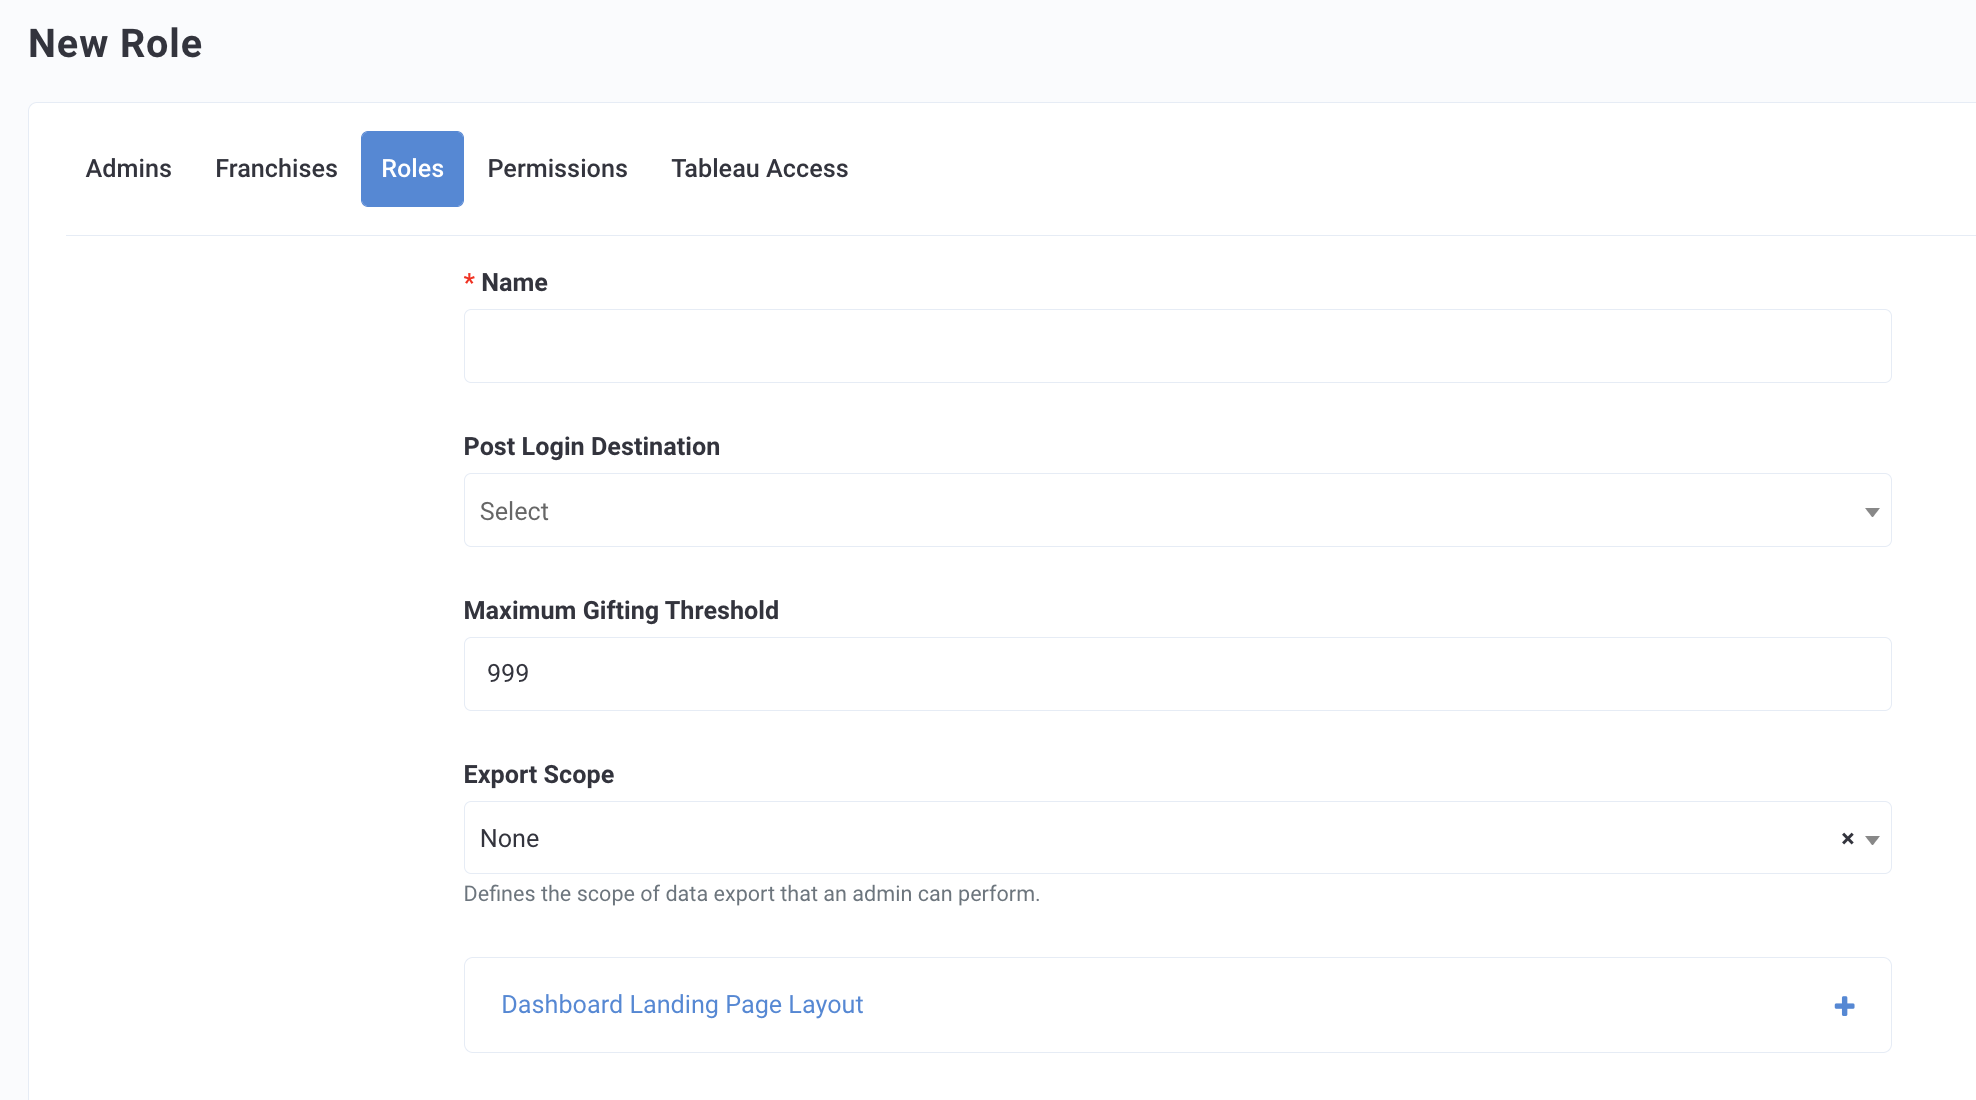
- Name: Enter a name for this role, such as "Marketing Manager" etc.
- Post Login Destination: Use the drop-down menu to choose the users' default home page area of the platform. This will be the page that immediately opens when they sign into the platform.
- Maximum Gifting Threshold: Enter a number value as the limit to the number of gifts the user can manually give to guests.
Note: This value is set to 999 by default.
-
Export Scope: In Punchh, you can create customized user roles that give granular access to Admin Users to make sure they only have access to what they need.
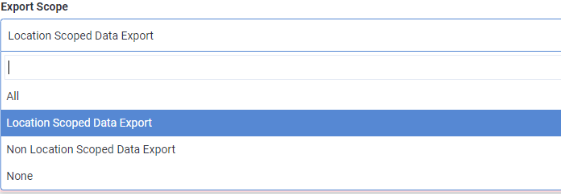
- All - Provides access to all data exports.
- Location Scoped Data Export - Provides access to only such data exports where location filters are applicable. (e.g., Redemption Data)
- Non-Location Scoped Data Export - Provides access to such data exports where location filters are not applicable. (e.g,. Reward Data)
- None - Admins don't get access to data exports
Note: If Export Scope is set to anything other than None, users will see Data Export under the Reports menu.
-
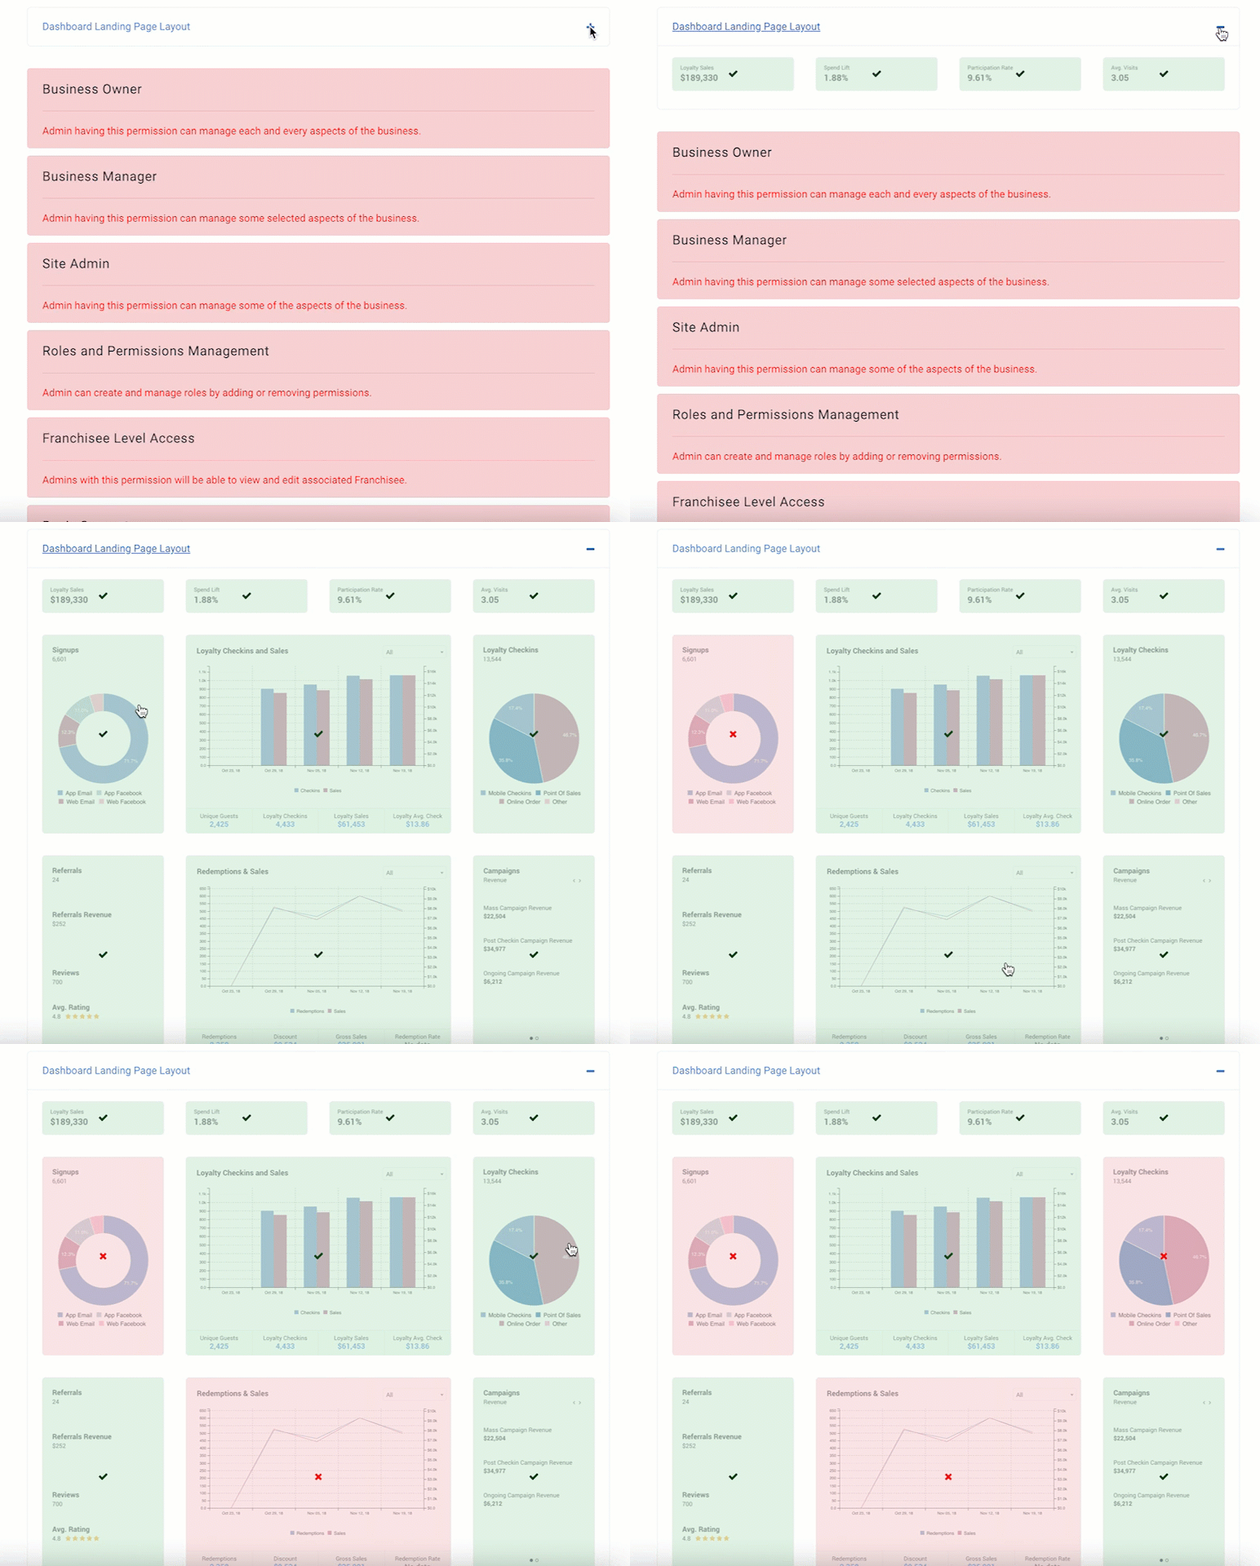
Dashboard Landing Page: Click the + to expand the dashboard landing page layout section. Click each section of the Dashboard page you want hidden from the user. Green with a checkmark indicates showing and red with an X indicates hidden from view.
-
Permissions: Click each permission set you want to add. Green means the set is turned on, allowing the user access to those permissions, while red means the set is turned off. Each set grants access to a different aspect of the Punchh platform.
Tip: For more details about permissions/permission sets, refer to Permissions.
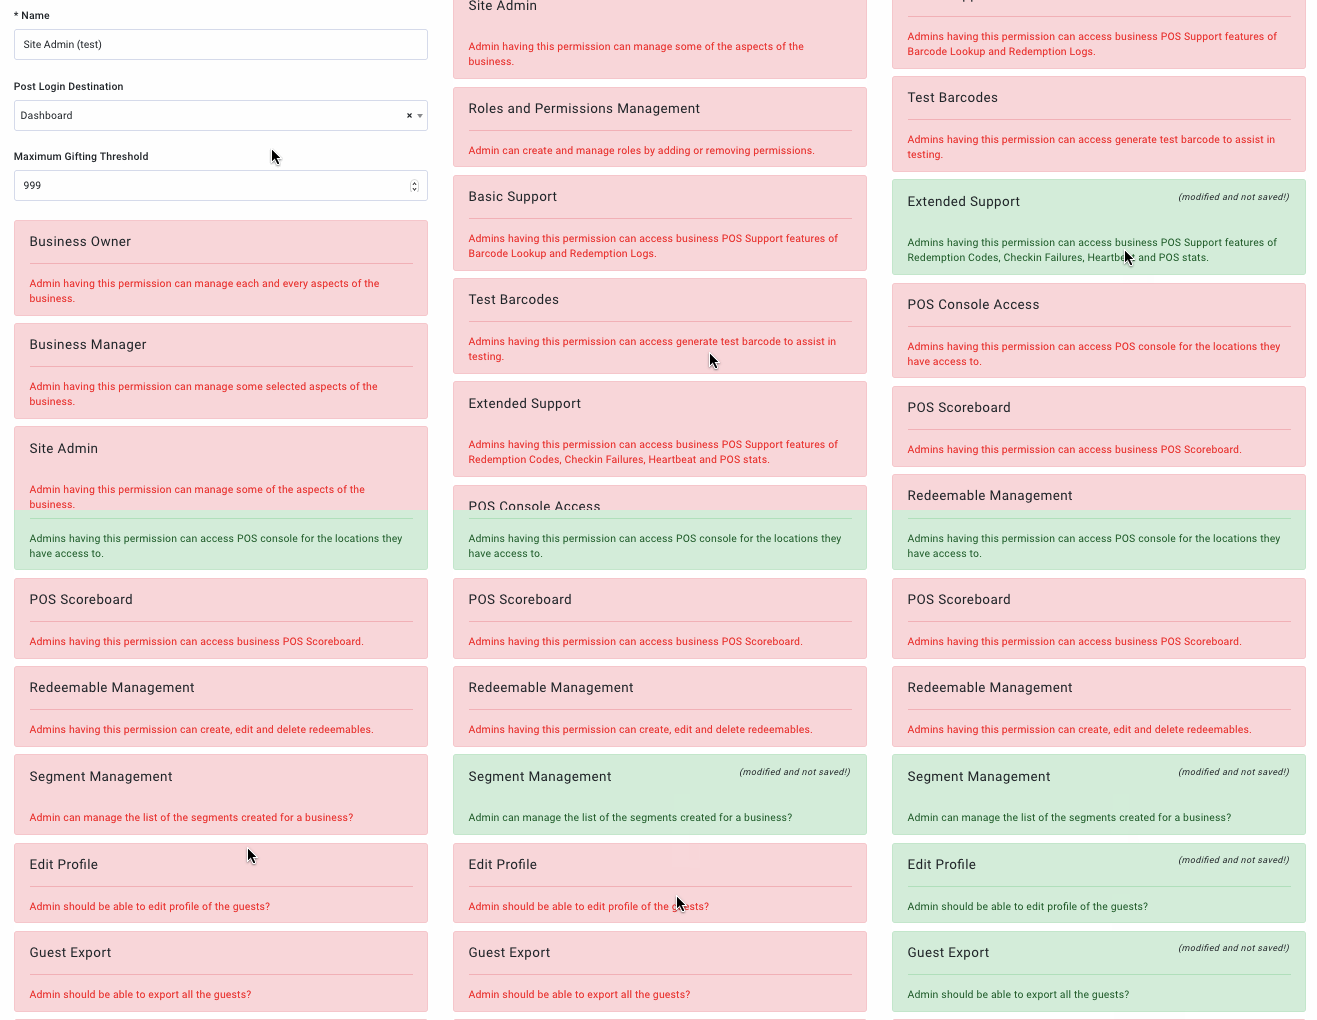
- Once you finish adding permissions, click Save to create the new role. Now you can assign this role to new or existing admin users.
Invite a New Admin User
To invite a new admin user to access your dashboard, complete the following steps.
Note: Keep in mind that, once invited, the new user still must accept the invitation sent to their email in order to log in for the first time.
-
From the Administration > All Users, Roles and Permissions > Adminspage, click Invite Admin.

-
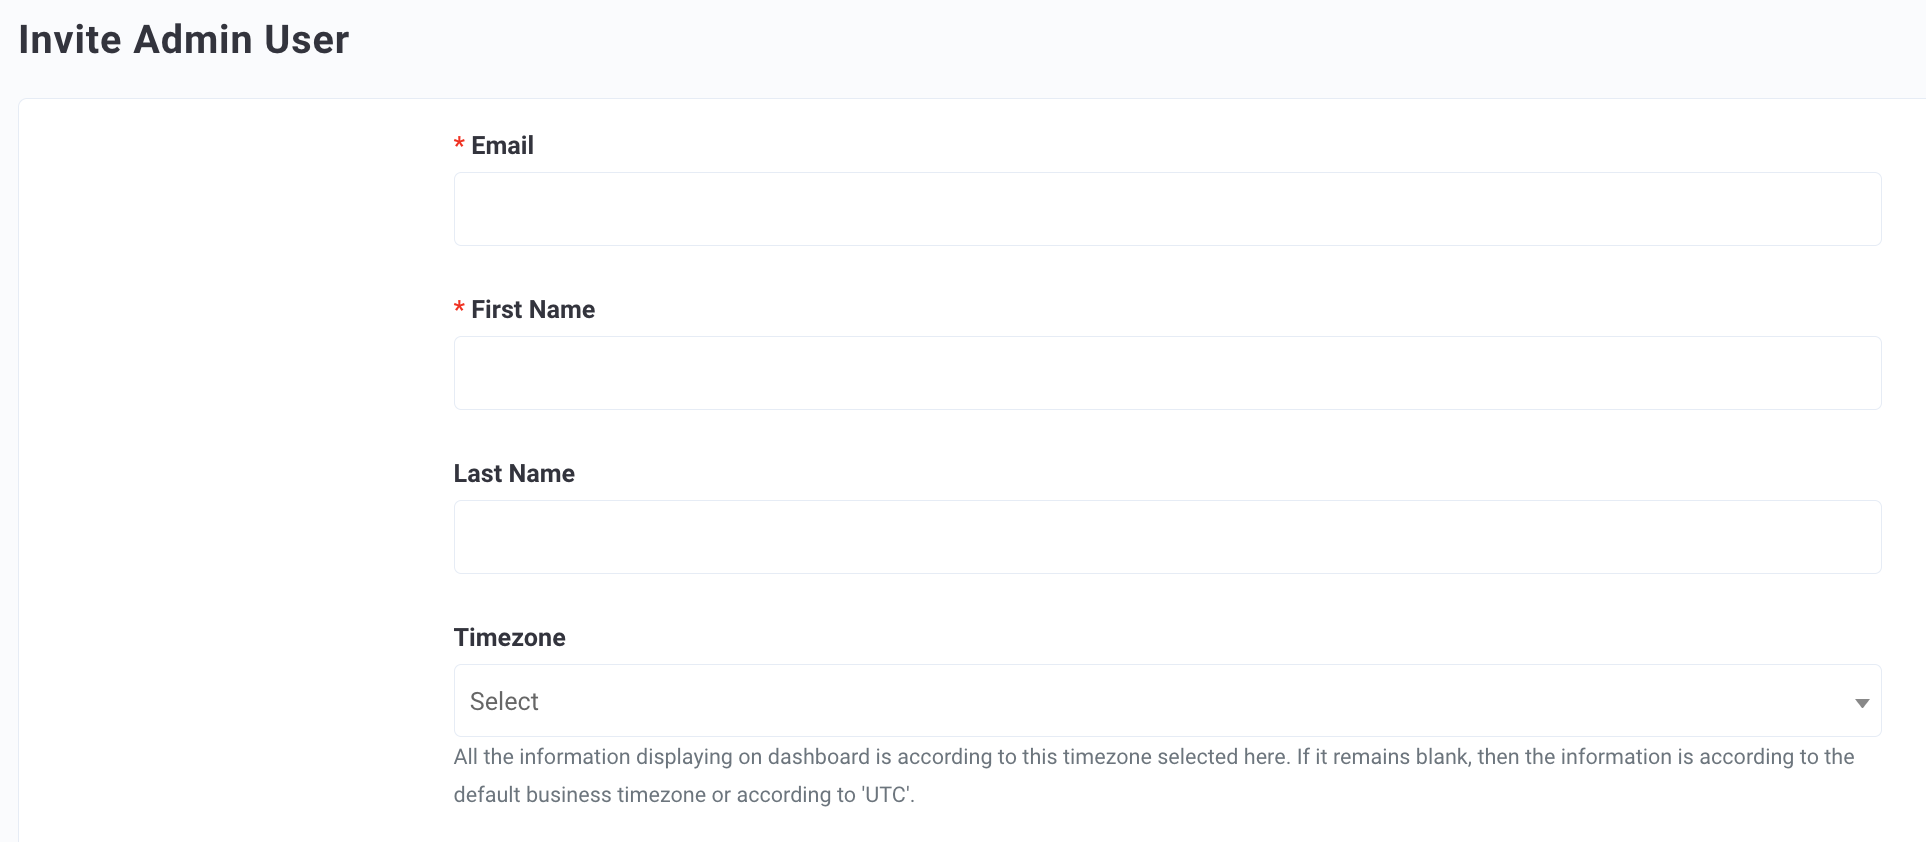
Enter the user's email address, first and last name, and local time zone.
Note: If no timezone is selected, all data will be displayed in the business's default timezone for this user.
-
Email notifications: Select the type of email notifications the user will receive. Notifications will depend on the locations the user has access to. For example, a store owner with permissions for the Albany store will only see the Location Scorecard for that store. However, a Business Owner with permissions for every store/location will receive Location Scorecards for all stores.
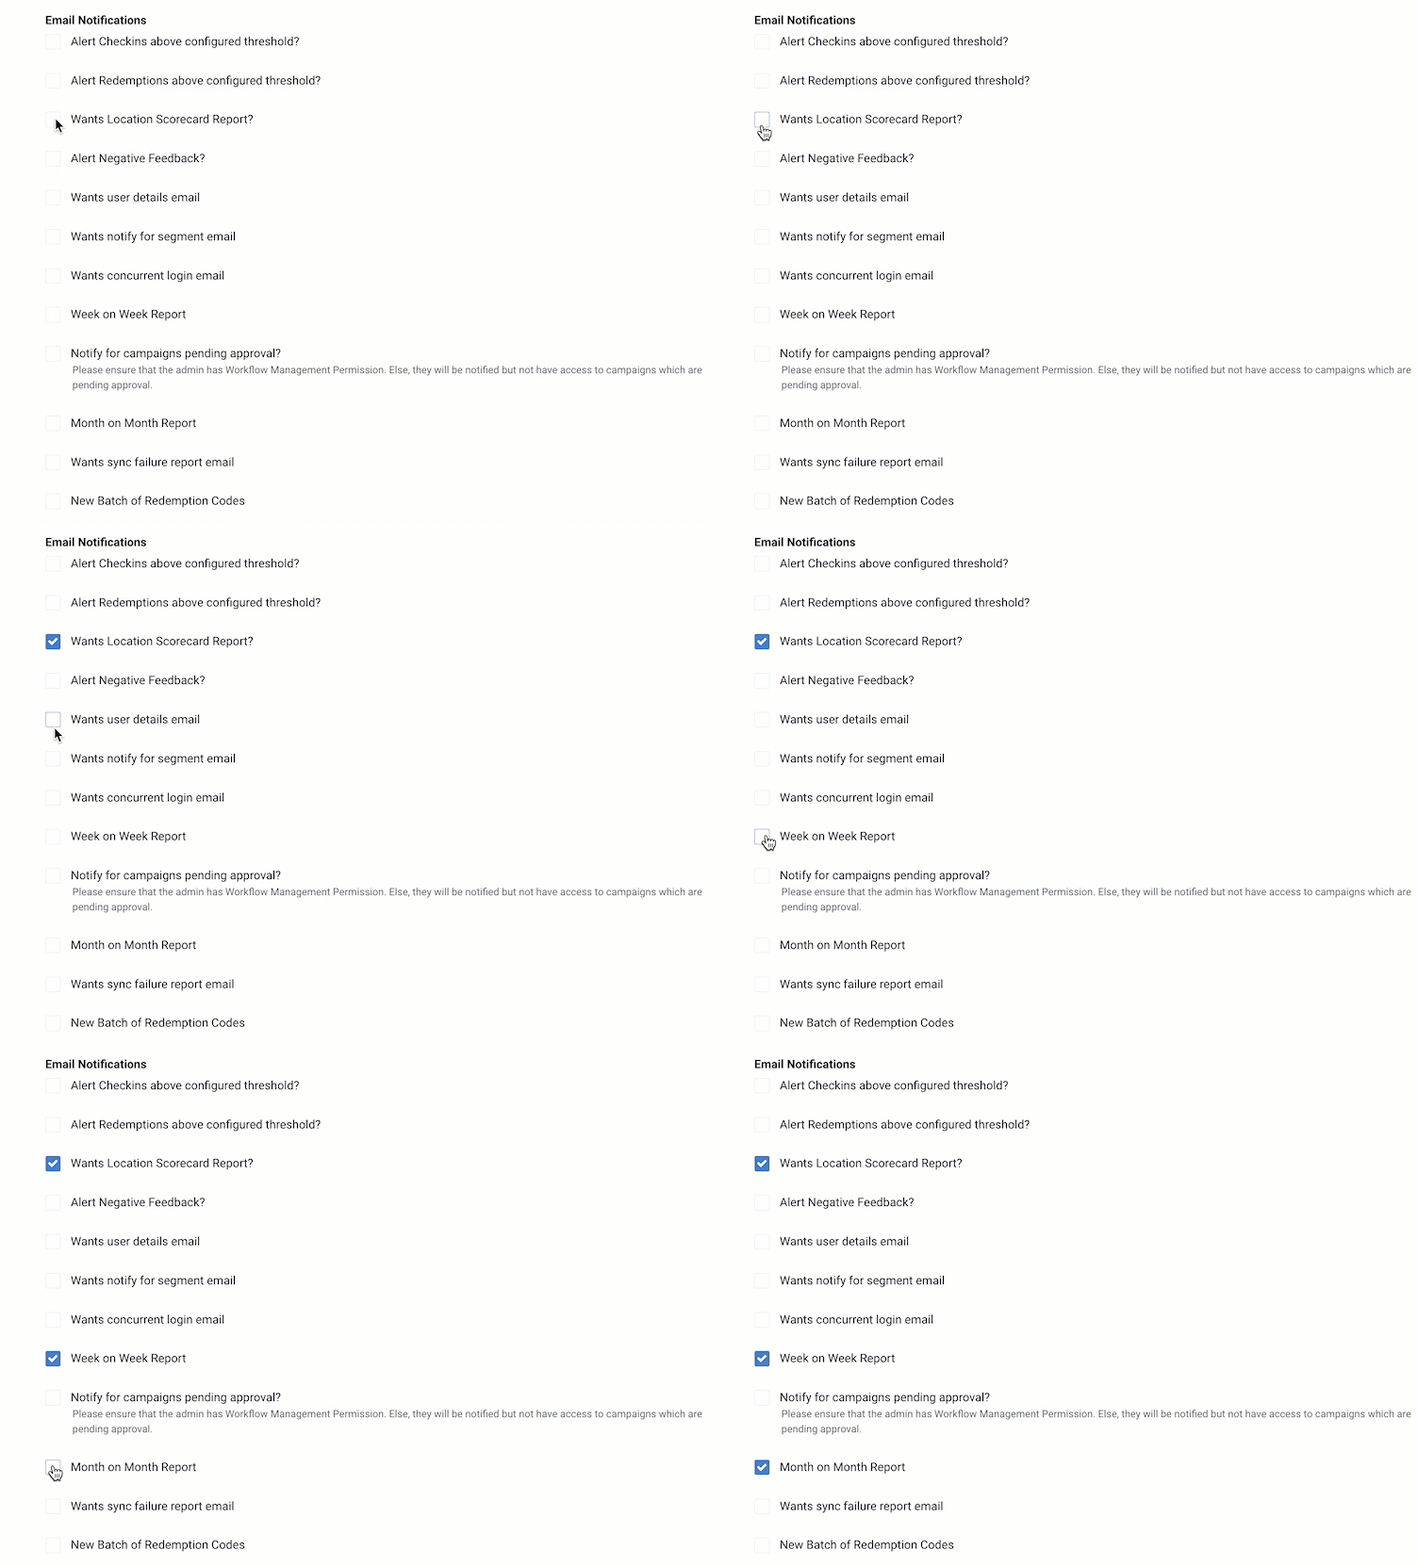
- Alert Checkins above configured threshold: Alerts when a guest has checked in too many times over a period of days. This is aimed at preventing employees, as well as guests who live or work next to one of your stores, from checking in based on proximity without actually making a purchase.
- Alert Redemptions above configured threshold: Alerts when a guest has surpassed a set number of redemptions within a defined time period.
- Wants Location Scorecard Report: Report comparing one of your location's benchmarks against the average of your top 20% performing stores company-wide. This allows you to see how each location is performing relative to a high-performing baseline.
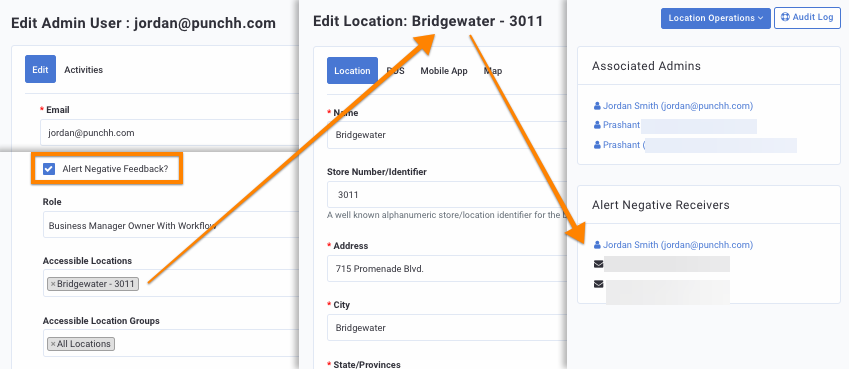
- Alert Negative Feedback: Whenever one of your locations receives negative feedback, whoever is designated as an "Alert Negative Receiver" for the location will receive notifications alerting them of the bad review. In order for this to happen, the individual user must have this setting checked and an associated Accessible Location or Accessible Location Groups. If this is checked but the user is not associated with any locations, they will not receive any feedback alerts. In the example below, the user is associated with the "Bridgewater" location with the Alert Negative Feedback flag turned on. In the location settings for "Bridgewater", he will be listed as an "Alert Negative Receiver". To receive negative feedback for all locations, you can set the Accessible Location Groups for a user to "All Locations".
- Wants user details email: When a guest requests to have the information collected for their guest account sent to them as part of CCPA or GDPR requirements, having this box checked will send the user's details to the Admin User as well.
- Wants notify for segment email: Alerts when a custom segment has finished processing and is ready for use.
- Wants concurrent login email: Security alert for when someone is logged into a user's account at the same time.
- Week on Week Report: Contains KPI stats about how loyalty guests' spending for the past week compares to the week before that. By default, the Week on Week report is scheduled to export at 9:00 am on Monday to capture the previous Monday through Sunday business week.
- Notify for campaigns pending approval: As part of the Workflow Management approvals process, admins may receive email notifications alerting them about campaigns awaiting their approval.
- Month on Month Report: Contains KPI stats about how loyalty guests' spending for the past month compares to the month before that. By default, the Month on Month report is scheduled to export at 11:00 pm on the 10th of each month.
- Wants sync failure report email: Details coming soon.
- New Batch Redemption Codes: Specific Alerts for businesses or stores with a POS system that is not integrated to the Punchh server. The admin will receive batches of pre-assigned redemption codes for a specific location as needed.
-
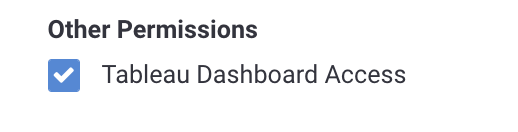
Other Permissions: Check the box to add access to the Tableau Dashboard. This permission determines whether or not the Admin User is able to see the reporting that lives within the Analytics section of the Punchh Platform.
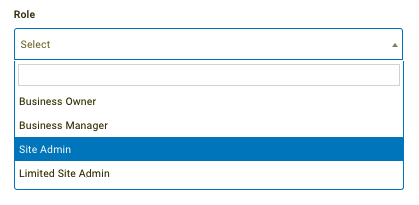
- Role: Using the drop-down, select the appropriate role for the new user.
- Franchise: (Only available for businesses with a Franchise Model) Select from the drop-down list the appropriate Franchise location the Admin will have access to.
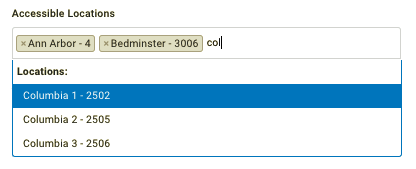
- Accessible Locations and Accessible Location Groups: Select one or more locations to which this user's access will be limited.
Note: Leaving this field blank grants the user access to ALL locations.
- Once finished, click Create to save the new user.
The user will then be sent an invite email. Once they accept, they'll be prompted to set up a new password before logging in for the first time.
Edit an Admin's Profile
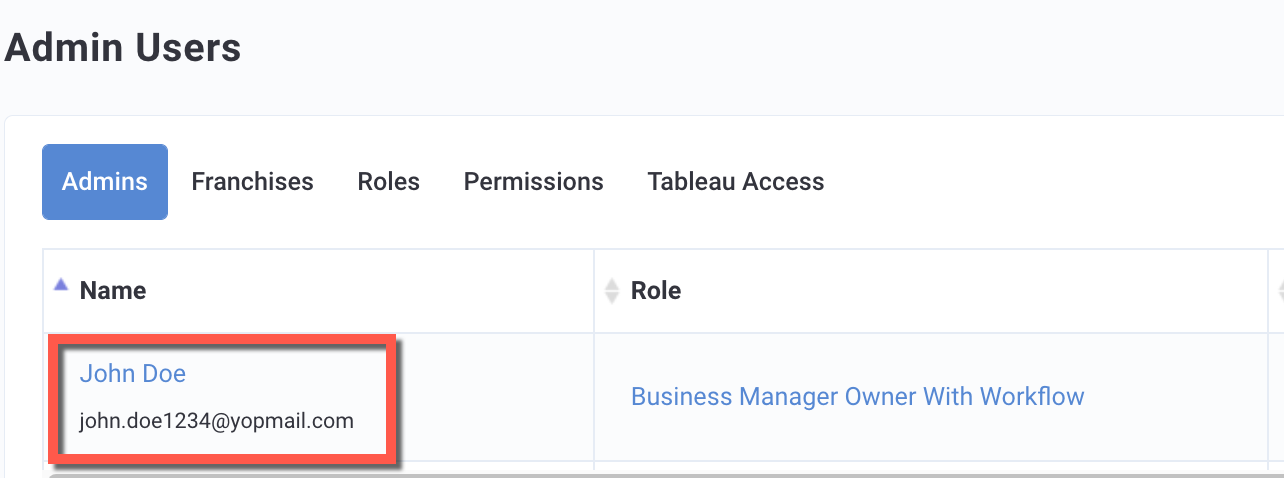
To make changes to a user's profile, click on their name on the Admin page.
Suspend an Account
If an employee has left your company, you can remove them from the Punchh system by suspending their account. This effectively removes all access to their account while still preserving the loyalty data associated with it. Deleting the account would also delete the connected data and is therefore not recommended.

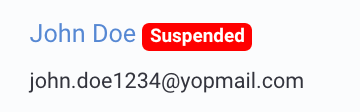
Once an admin is suspended, their name will be tagged with a red Suspended tag. Click Activate to activate their account again if needed.
Reset an Admin's Multi-factor Authentication
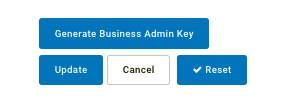
While editing a user's profile, click the blue Reset button to reset their active multi-factor authorization. This is useful on occasions when a user might have lost or damaged their mobile device they use for MFA. Resetting this here forgets the association with the old device and allows the user to associate their MFA with their new device.
Generate Business Admin Key
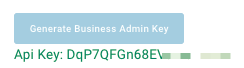
In relation to the "dashboard config" API, the Business Admin key is generated to validate the identity of an admin and grant them access if an API call is made on their behalf. (We don't want admins sending their email/dashboard passwords through the API.)
Admin Gifting
Review any admin user who has gifted points, rewards, or redeemables by clicking Gifting in the top right corner.
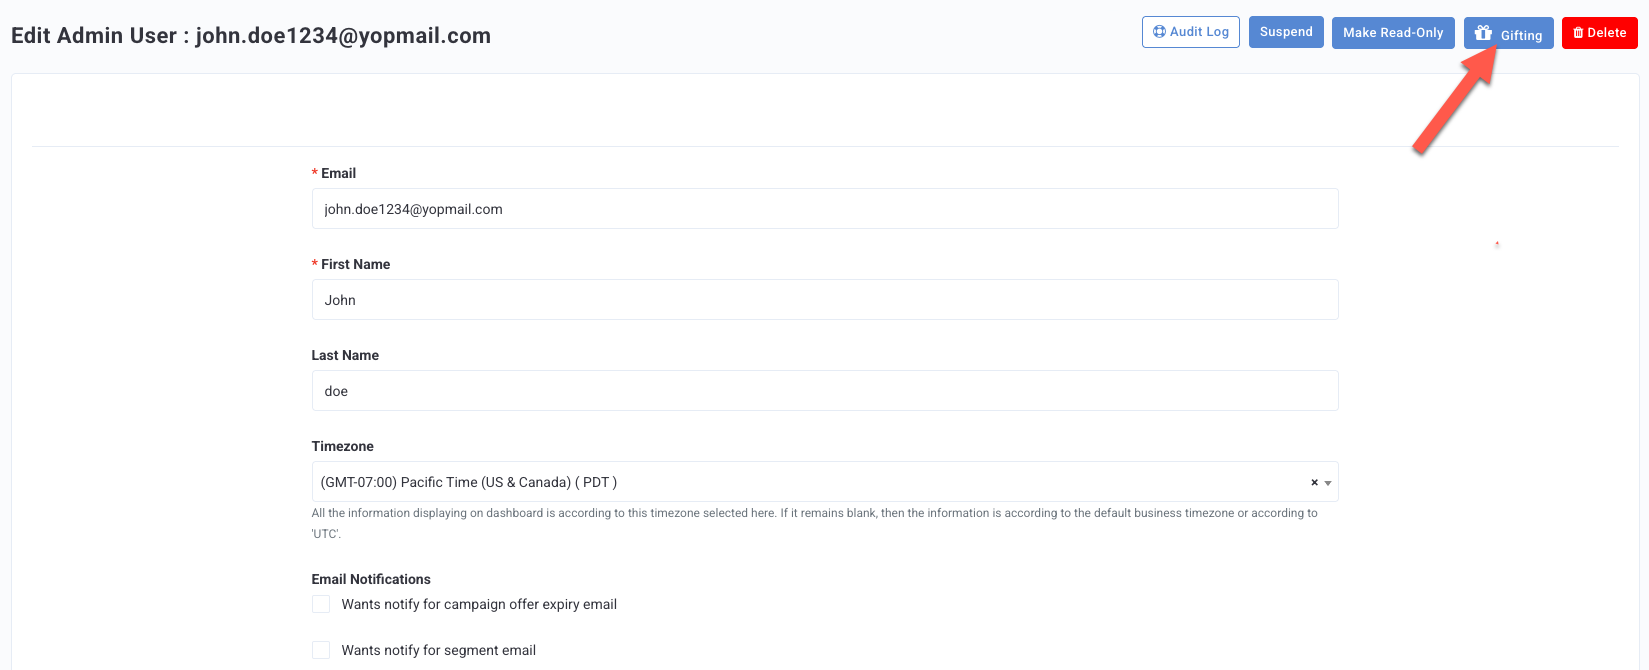
The Admin Gifting Details for that user is displayed.
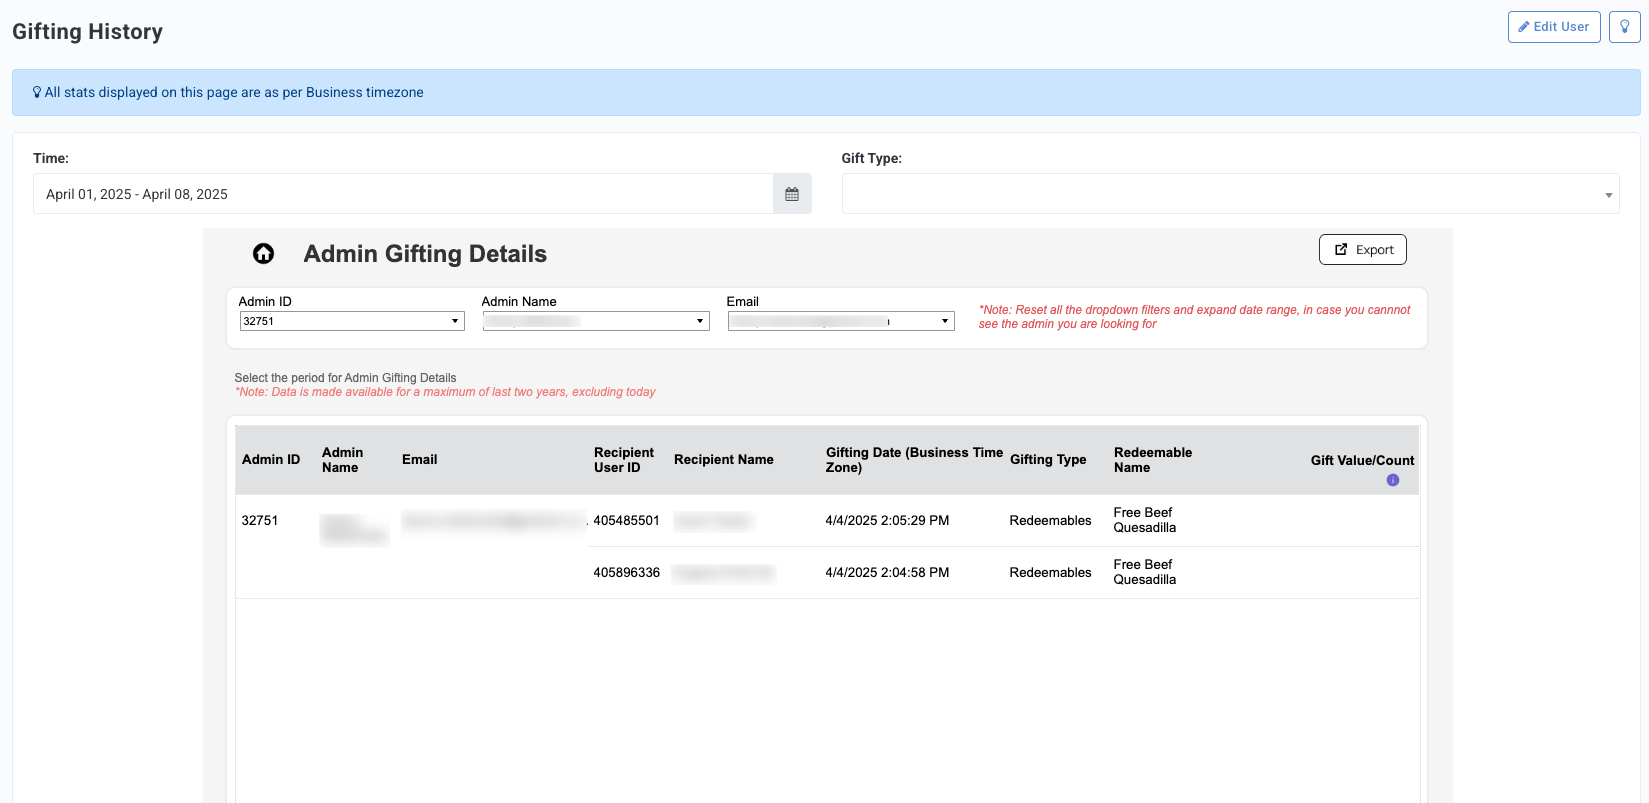
- The admin's gifting history can be filtered by Time or Gift Type (e.g., Points, Redeemables, etc.).
- Click the Edit User button in the top right corner to navigate back to the Edit Admin User page.
You can also view a specific admin's gifting details through Loyalty Program > Gifting Metrics. Select an Admin's Name to navigate to the Admin Gifting Details tab. See Gifting Metrics for more details.
