Refund Reasons & Registers
Refund Reasons
Refund reasons are listed for the employee to choose when the 'Refund' button behavior is executed.
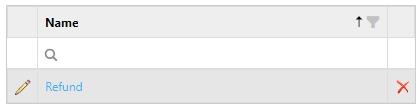
To add a new refund reason, click Add. To edit an existing refund reason, click its name in the list.
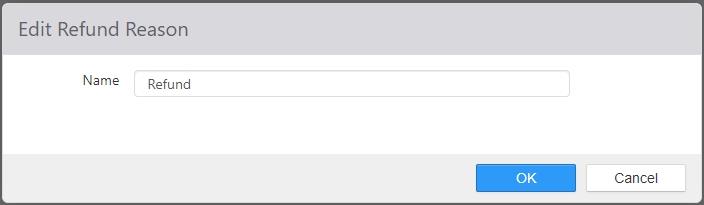
- Name: Name of the refund reason.
Registers
Registers are the physical terminals or tablets running the Register application.
-
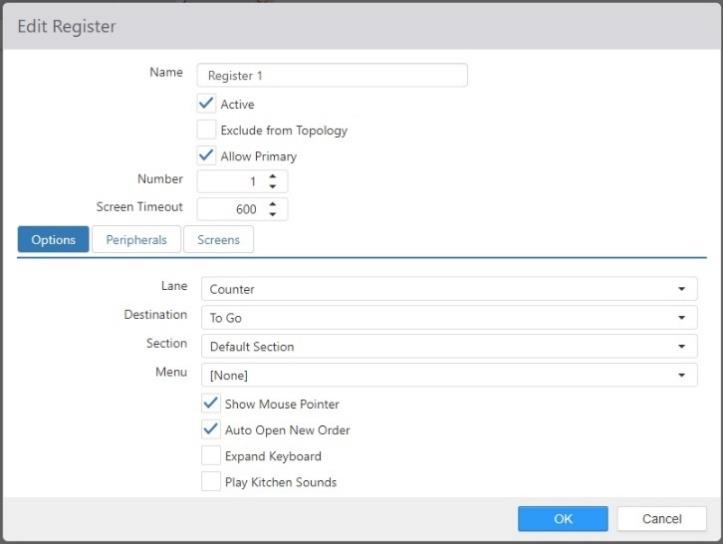
Name: Name of the register.
-
Active: Register application can run on terminal.
-
Allow Primary: If this register is configured as a secondary register, allow the system to make it the primary register if the configured primary register goes offline.
-
Number: Terminal number to be entered into the Register.cfg file.
-
Screen Timeout: Number of seconds with no activity before the Register application automatically logs out the current employee and returns to the login screen.
-
Options tab:
- Lane: Default lane to display, can be overridden by Job > Lane.
- Destination: Destination of new orders created on register.
- Section: Section of new orders created on register.
- Menu: Default menu to display, can be overridden by Job > Menus.
- Show Mouse Pointer: Displays the Windows mouse pointer within the Register application.
- Auto Open New Order: Automatically created a new order in the current lane when employee logs in.
- Expand Keyboard: Increases the size of the displayed keyboard for easier use.
- Play Kitchen Sounds: Plays sounds on the register that are configured to play on kitchen displays. See Sounds and Kitchen Displays for more information.
- Screen Saver Image: Image to display when the register is idle and no employee is logged in.
-
Peripherals tab:
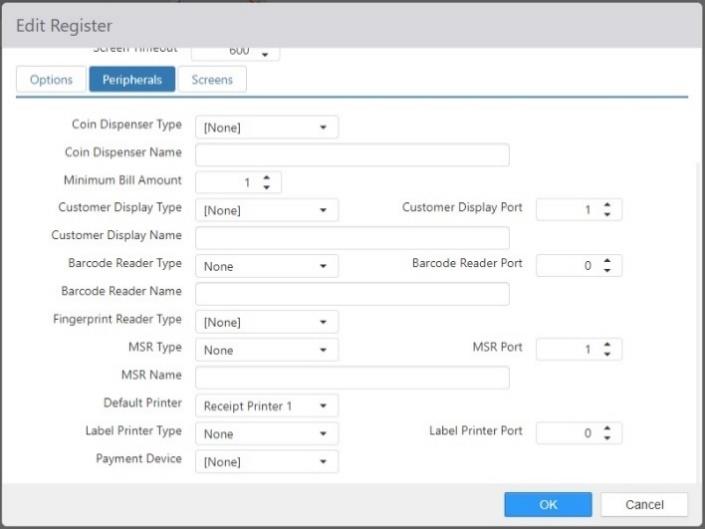
- Coin Dispenser Type: Interface type of the coin dispenser connected to the terminal.
- Coin Dispenser Name: LDN of the coin dispenser defined in the device's OPOS drivers.
- Minimum Bill Amount (Canadian T-Flex only): Any change below the indicated denomination will not be given in bills, and therefore $1 and $2 coins will be dispensed for amounts lower than the setting. Maximum setting is 100.
- Customer Display Type: Interface type of the customer-facing VFD 2-line display connected to the terminal.
- Customer Display Port: COM port the device is connected to.
- Customer Display Name: LDN defined in the device's OPOS drivers.
- Barcode Reader Type: Interface of the barcode scanner connected to the terminal.
- Barcode Reader Port: COM port the device is connected to.
- Barcode Reader Name: LDN defined in the device's OPOS drivers.
- Finger Scan Reader Type: Brand and model of the biometric finger scanner connected to the terminal.
- MSR Type: Interface type of the magnetic card reader connected to the terminal.
- MSR Port: COM port the device is connected to.
- MSR Name: LDN defined in the device's OPOS drivers.
- Default Printer: Printer to print all local print jobs to, such as order receipts and clock in/out chits.
- Label Printer Type: Interface type of the label printer connected to the terminal for printing item SKU labels.
- Label Printer Port: COM port the device is connected to.
- Payment Device: Payment device to communicate with when the 'Payment Device' button behavior is executed.
-
Screens tab:
-
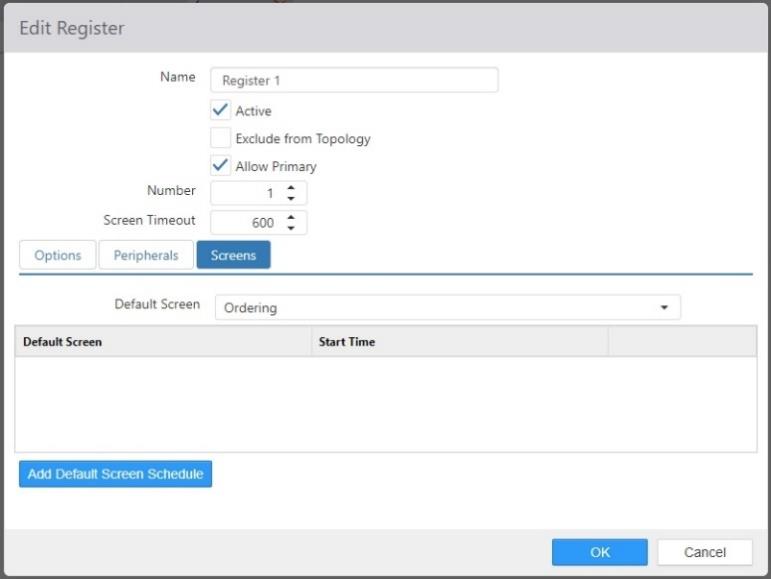
Default Screen: Use the drop-down list to select the screen that displays when an employee logs in to the register. Can be overridden by Jobs > Screens settings.
-
Default Screen list: Displays screens that are configured to be displayed starting at certain times of day (for example, a breakfast screen starting at 6:00 a.m. or a dinner screen starting at 4:00 p.m.). Click the 'Add' button to add a screen override setting.
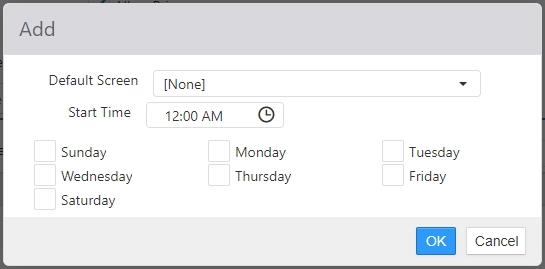
- Default Screen: Use the drop-down list to select the screen to be displayed. Screens are configured on the Screens page.
- Start Time: The time of day to begin displaying the selected Default Screen.
- Days: The days of the week to display the selected Default Screen at the indicated Start Time.
-
