Navigation & Using the Portal
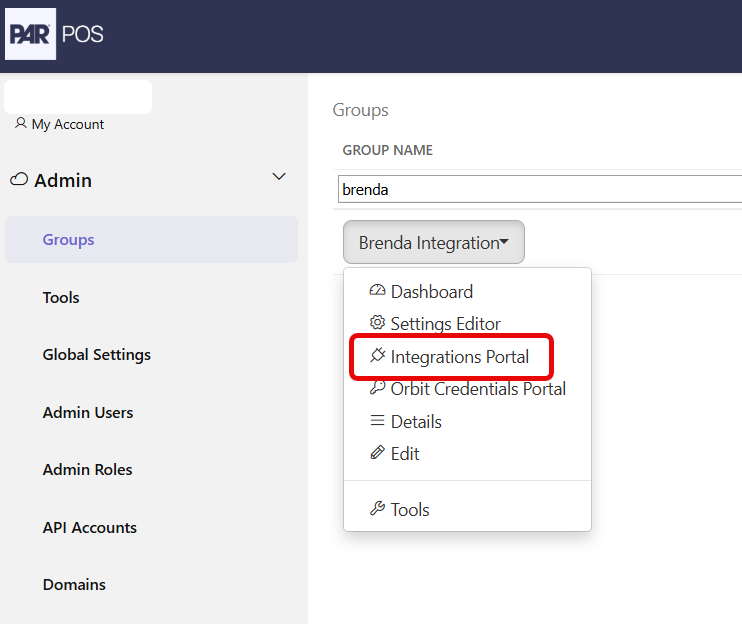
Access to the portal can be found by navigating the following path:
Admin Portal > Groups > Groups dropdown > Integrations Portal
Home Page
-
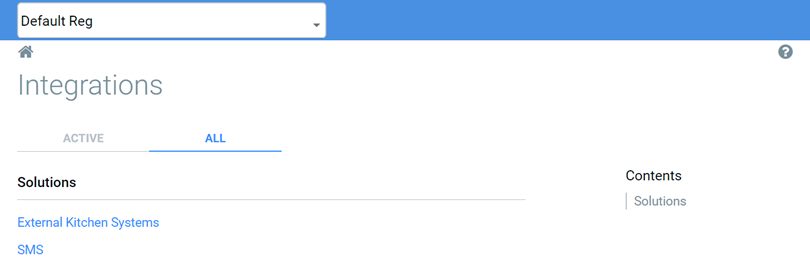
Home icon: Takes the user back to the portal landing page.
-
Dropdown: List of all locations available based on your group configuration.
-
Help Icon (question mark): Links to help/documentation.
-
ACTIVE tab: All active integrations for a selected location.
-
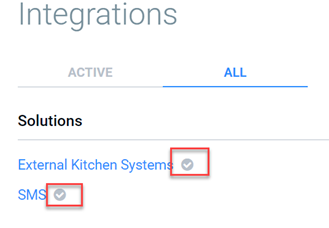
ALL tab: All integrations available on POS for configuration - checkmark next to list item if the integration is active for your location.
-
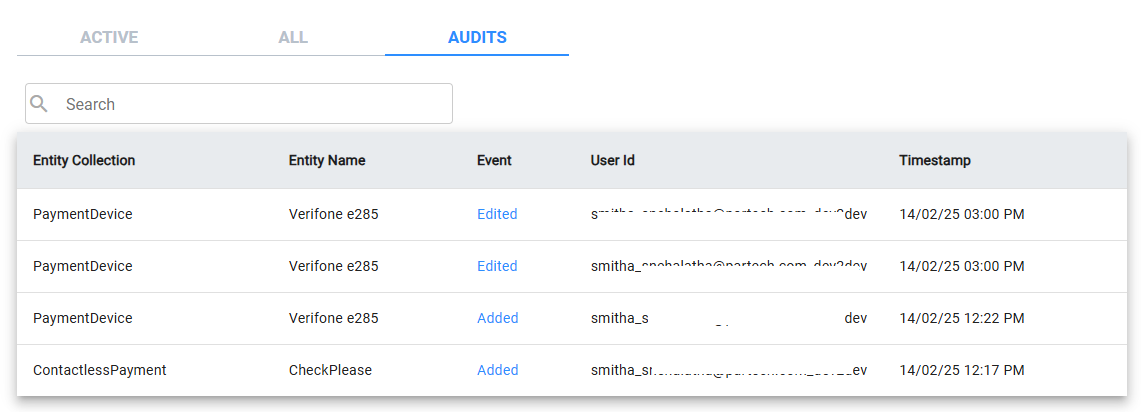
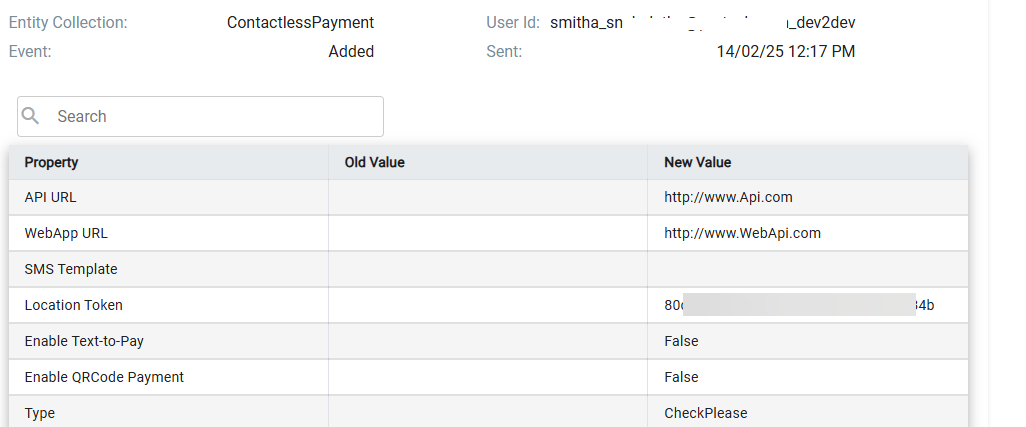
AUDITS tab: Displays an audit trail of changes made to integrations (additions, deletions, and edits to existing integrations). When an "Event" is selected, the portal displays the integration's previous values beside the new, updated values.
-
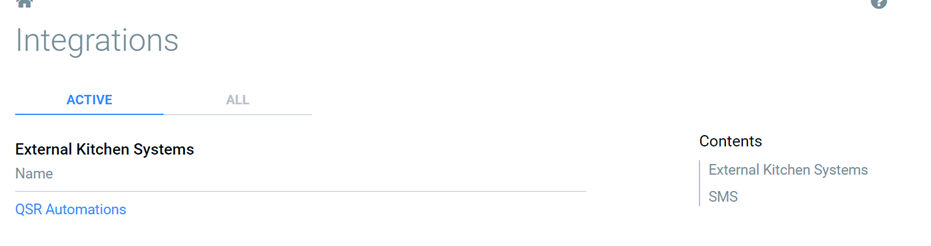
Contents: provides a quick link to access active integrations
Using the Portal
Adding New Integrations
- Select the ALL tab on the portal home page
- Select the integration to add from the Hardware & Devices or Solutions section
- Click the plus sign icon to add an integration to an active list of integrations
- Populate required/desired fields - see Configuration sections for optional/required values:
- Click SAVE to save changes and publish to the register, or CANCEL to return to the home page
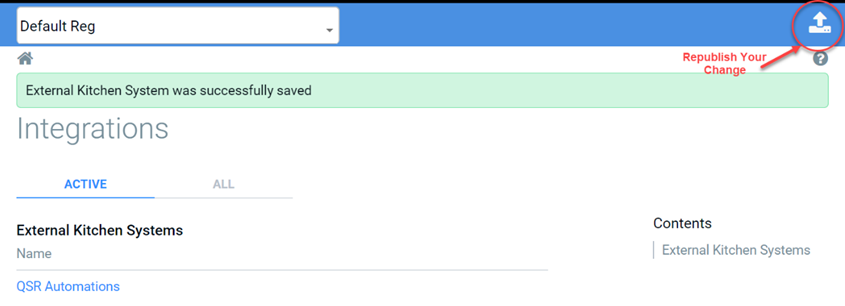
- If errors are encountered, changes may be republished by selecting the Upload icon
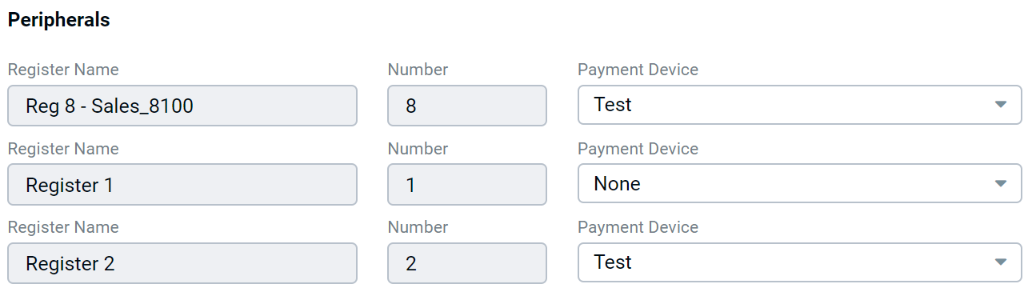
IMPORTANT: Payment Devices must be linked to registers through the following steps:
- Navigate to the ACTIVE tab on the portal Home Page
- Select Peripherals in the Registers section
- Choose a device from the Payment Device dropdown to link it to a register
Editing Active Integrations
- Navigate to the ACTIVE tab on the portal home page
- Select the integration to be edited
- Make the necessary changes to the integration and click SAVE
Deleting Integrations
- Navigate to the ACTIVE tab on the portal home page
- Select the integration to be deleted
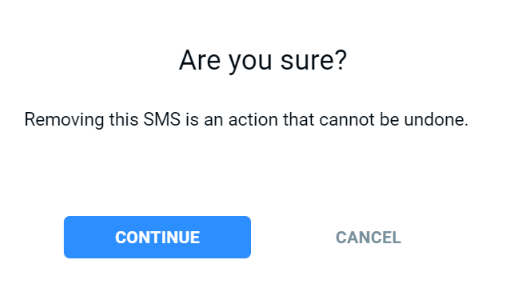
- Click the REMOVE button on the top right-hand corner of the screen
- Select CONTINUE when prompted to remove the integration