POS Synchronization
| User Role | Store Group | Store |
|---|---|---|
| Brand Manager | ✅ | ❌ |
| Area Manager | ✅ | ❌ |
| Store Manager | ❌ | ❌ |
Overview
PAR Ordering syncs item availability and pricing from your POS automatically every 30 minutes. Any pricing or availability changes in the POS show up across all channels (Kiosk, Mobile, and Web) within 30 minutes.
Pricing is always pulled from the local store POS instance, so one item can have different prices across stores in the same store group.
If you have an integrated POS system, prices are automatically synced from the POS every 30 minutes. This means the option to manually change prices at the store level is not available. If you do not have an integrated POS system, you can set prices at the store level.
Before you can run a POS sync, you need to establish a POS connection for the store group. This enables the POS Synchronization page in the Management Center. You also need to complete POS mapping for items, combos, modifier groups, and modifiers at the store level.
If your brand uses multiple POS systems, create a separate store group for each one. This connects the stores that share the same POS system so their products sync correctly.
Navigate to the POS Synchronization Page
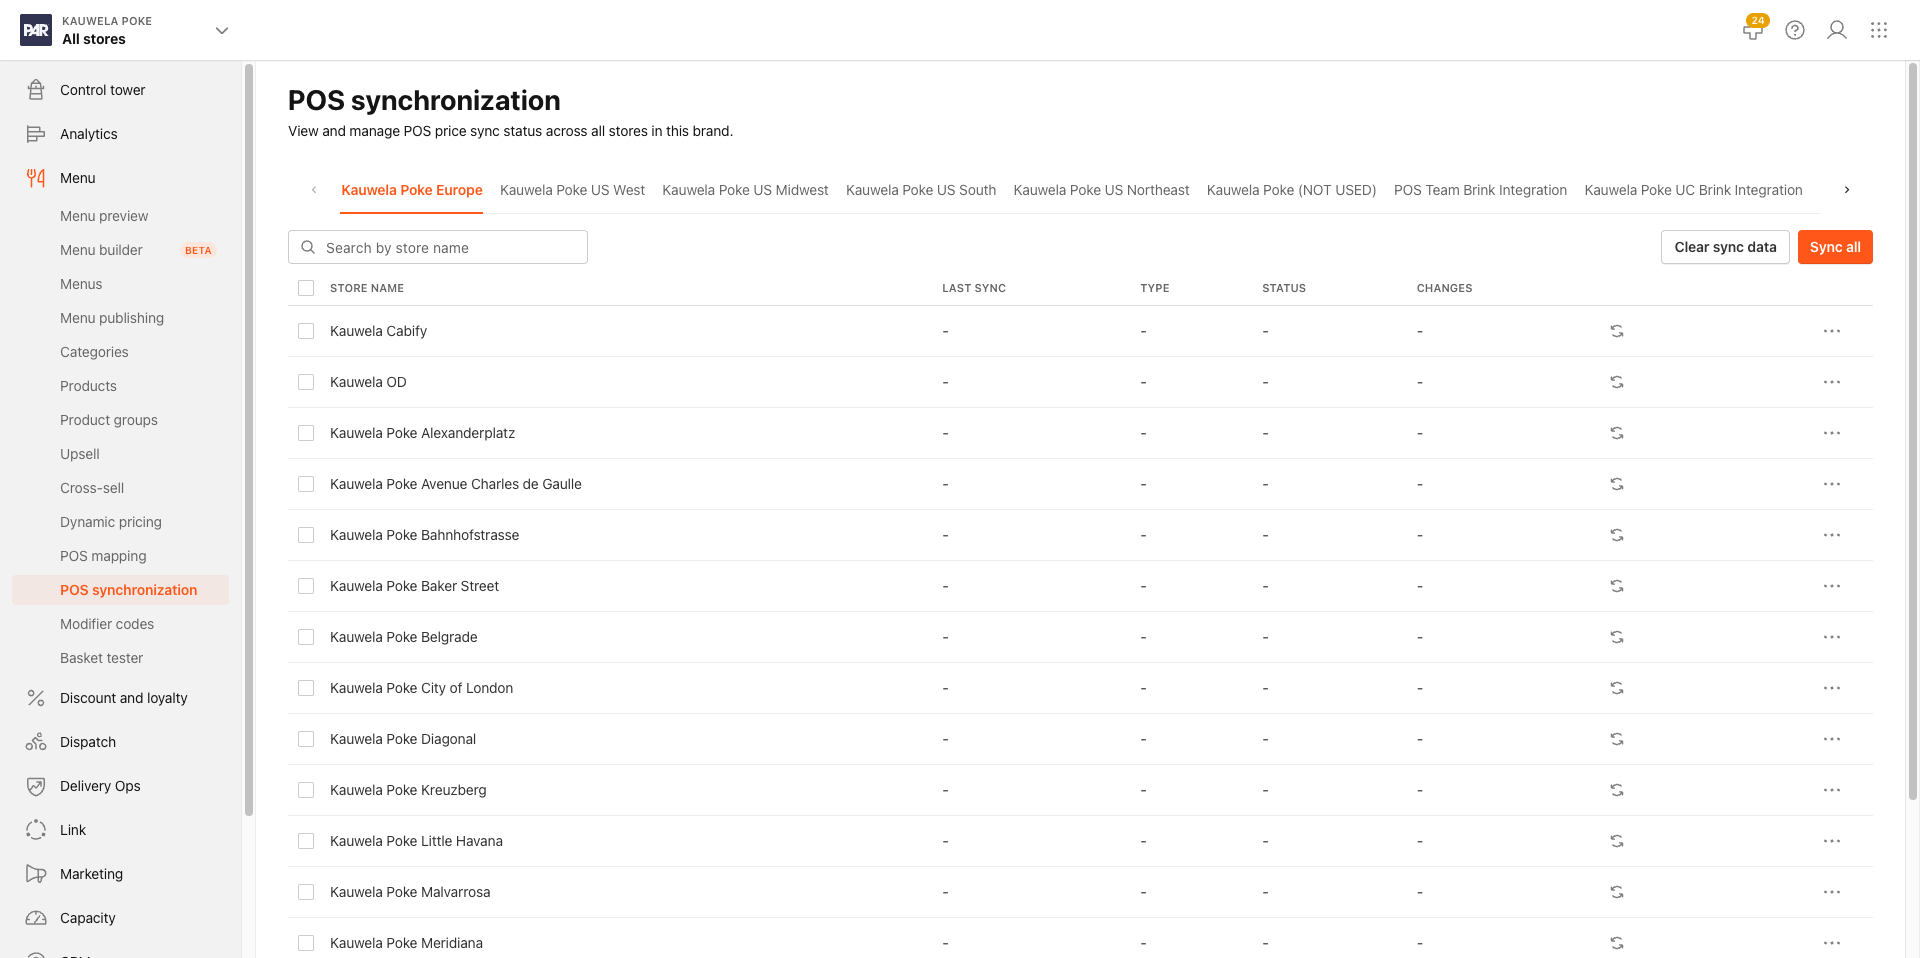
- In the Management Center, select your store.
- In the left sidebar, go to Menu > POS Synchronization.
- You can also find it on the Control Tower > POS tab at the Brand Level.
Sync History
The POS Synchronization page lists your five most recent sync runs, newest first. Each row shows the following:
| Column | Description |
|---|---|
| Last Sync | Timestamp of the sync. If your timezone differs from the store's timezone, both are shown. For example: Mar 24, 2026 at 10:32 AM (Mar 24, 2026 at 4:32 PM – Your time). |
| Type | How the sync was triggered. See Sync types below. |
| Status | Completed, Syncing (in progress), or Error with a message. |
| Changes | The number of pricing and availability changes recorded during that run. Click the count to open the Changes view. Runs with no changes show No changes and are not clickable. |
If your store has never completed a sync, no rows appear on this page.
Sync types
| Type | Trigger |
|---|---|
| Scheduled | Automatic 30-minute sync cycle |
| Manual | Triggered by a user (the username is shown) |
| Automatic | Triggered by a menu distribution or publish |
Trigger a Manual Sync
- On the POS Synchronization page, click Sync prices now in the page header.
- A new sync starts immediately. The new run appears at the top of the list with a Syncing status.
- When the sync completes, the row updates to Completed and shows the change count.
You can also wait for the next automatic 30-minute sync cycle. To reflect a POS change right away, use a manual sync.
Review What a Sync Changed
To see what a sync updated, click the change count in the Changes column for that row. A read-only view opens with two sections:
- Pricing changes: items or modifiers whose price changed, with the value before and after the sync
- Availability changes: items or modifiers that moved on or off the menu, with the state before and after the sync
Each section shows a count of affected items. If a section has no entries, it shows as empty.
Availability changes include items removed from the menu because they failed POS sync qualification, for example, an item with no valid price. These show as a change from Available to Unavailable. If you see unexpected availability changes, review your POS item configuration and confirm that all items have valid prices and mappings.
This view is read-only. You cannot export, edit, or re-sync from here.
PAR Ordering keeps change data for your five most recent sync runs and prunes older records automatically. If you use Clear sync data from the brand-level POS Synchronization page, change history for the affected stores is also cleared.
Import Tickets
The Import Tickets feature imports all tickets for a Dine-in order type. When a customer pays through the PAR Ordering app, the POS sends the ticket (the customer's bill). Use this feature to pull those tickets into the Management Center.
To import tickets, click the overflow menu (⋮) on a row and select Import Tickets.
Ticket imports apply to Dine-in order types only and do not appear in the sync run history.
Flush the POS Cache
Flushing the cache clears the stored POS data for this store. Use it when POS data in the Management Center looks stale but you don't need a full sync yet.
- On the POS Synchronization page, locate the relevant row.
- Click the overflow menu (⋮) on that row.
- Select Flush POS cache.
Flushing the cache clears the stored data but does not push prices to the POS. It forces a fresh data pull on the next sync cycle. To update prices right away, trigger a manual sync after flushing.
