eClub Guests
Added Module - The eClub Guests page is part of the eClub Added Module available for an additional cost. To enable the eClub module, speak to your Punchh representative about adding it to your service contract.
The eClub Guests section, found under Guests > eClub Guests, allows your business to upload CSV lists of emails gathered from outside sources such as store openings, events, or purchased lists. These users are not yet loyalty customers, so they are not yet part of the Punchh dashboard, but they can still be marketed to via email campaigns.
Once uploaded, you can use these eClub lists of emails in conjunction with Punchh to improve your marketing effectiveness and track the user acquisition process from start to finish.
Note: eClub guests are different from users in the Awaiting Migration table, as we have at least some cursory information about those guests, and they have some previous experience with your loyalty program. For this reason, you should try to educate eClub guests about your program.
eClub Guest Metrics
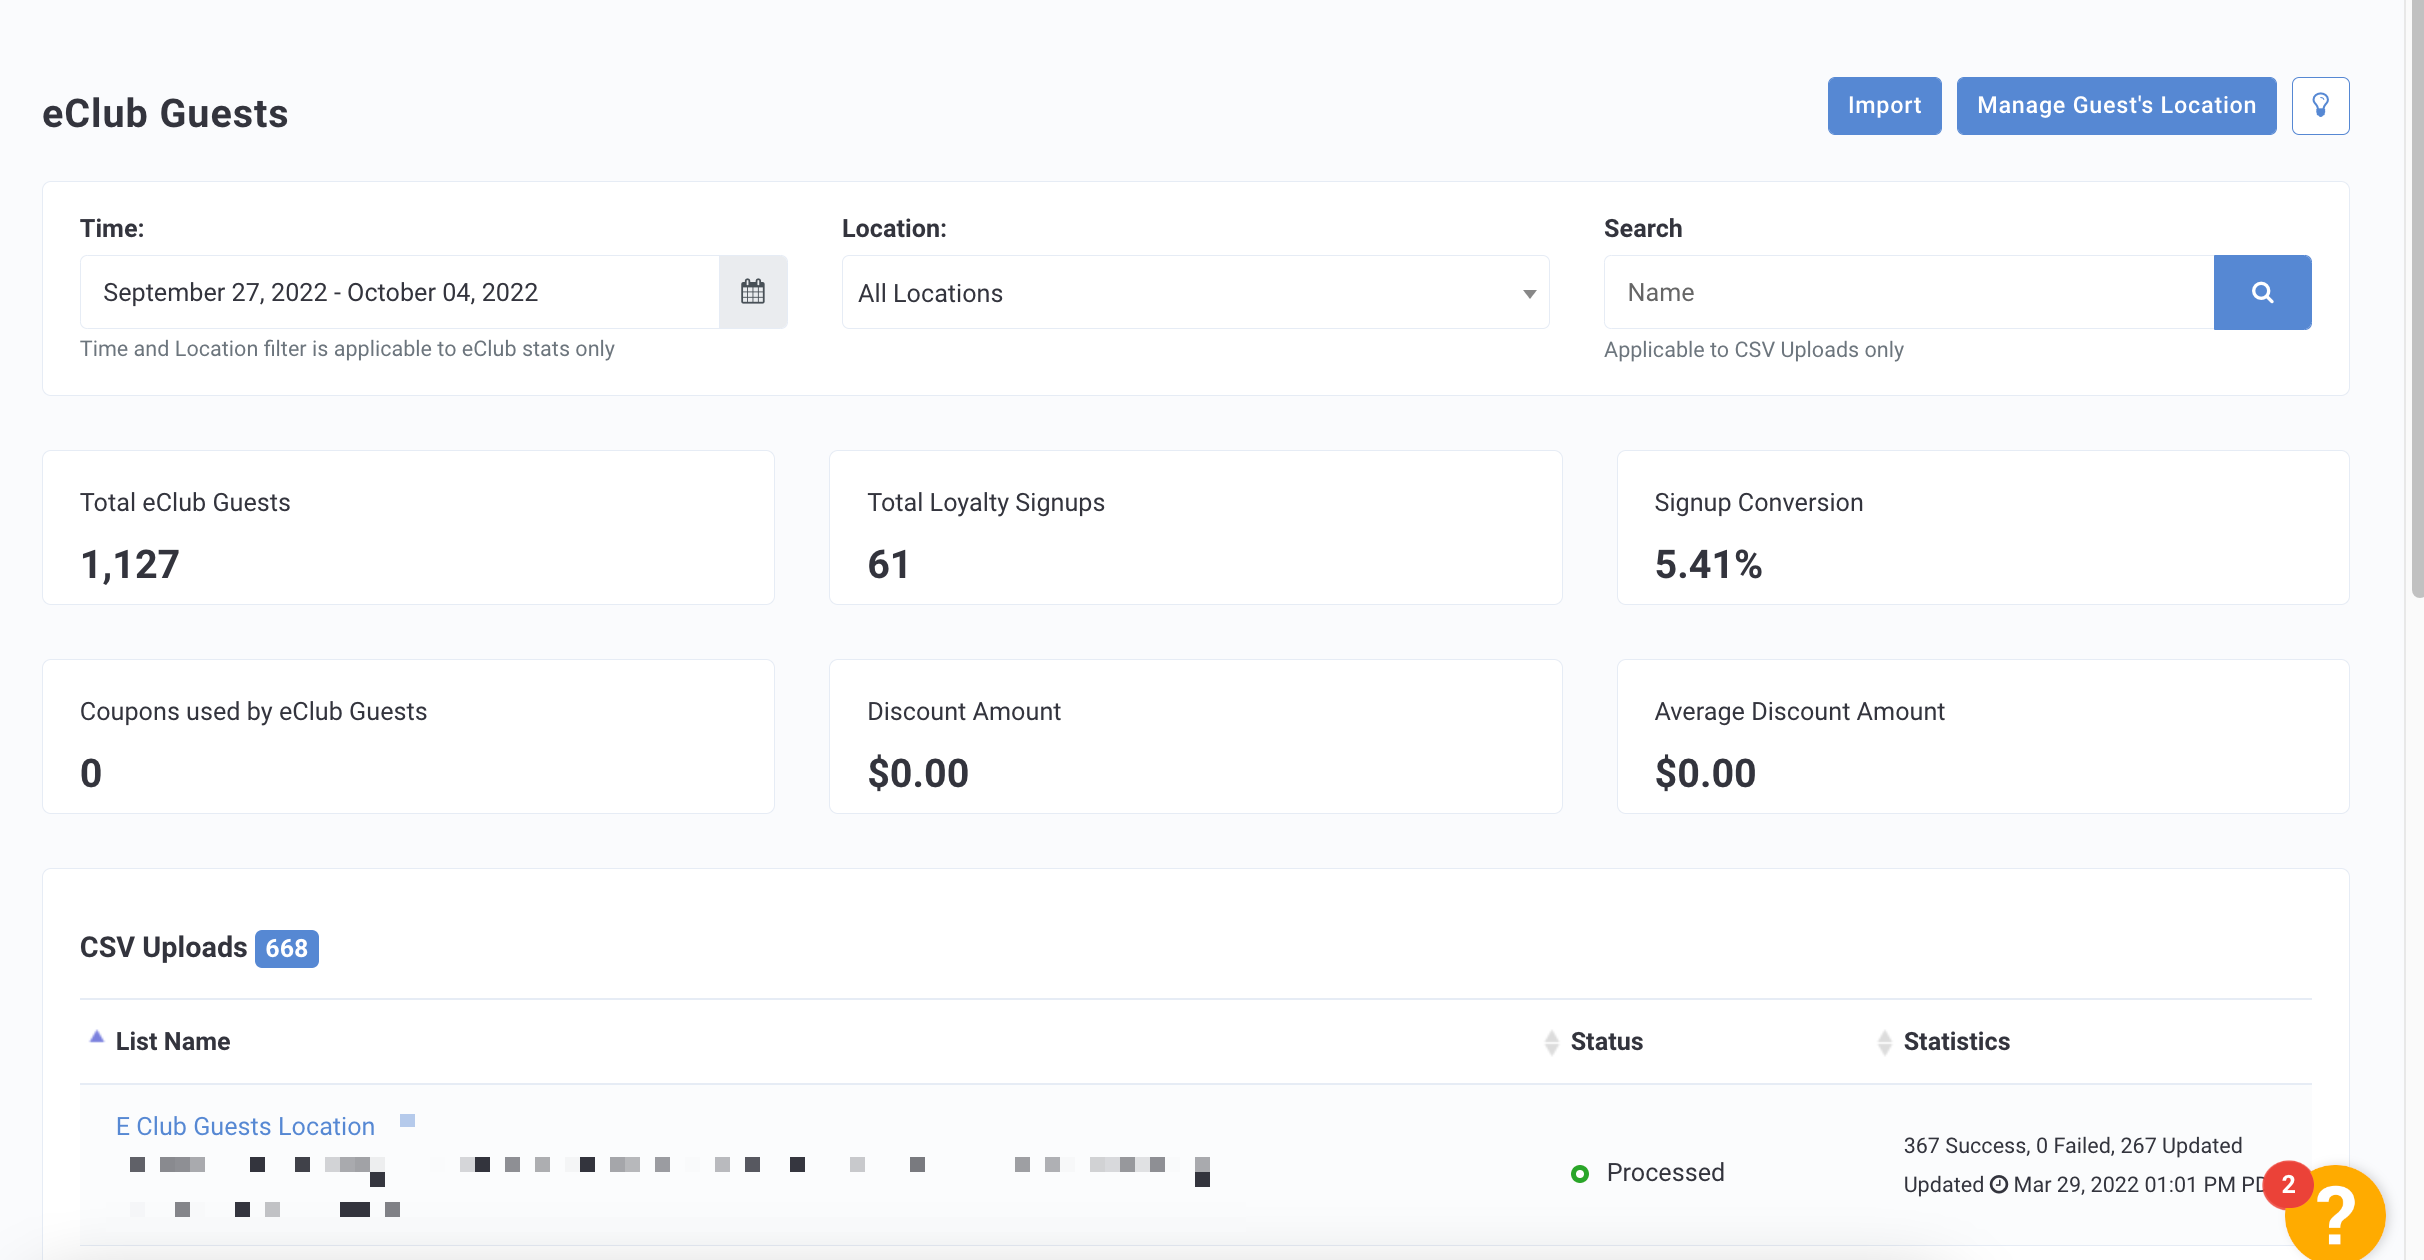
Your eClub Guests metrics are displayed at the top of the page. These metrics offer you at-a-glance data about the total number of eClub guests, signup conversion, and more. Use the filters at the top of the page to filter the data based on Time, Location, or a specific eClub Guest List.
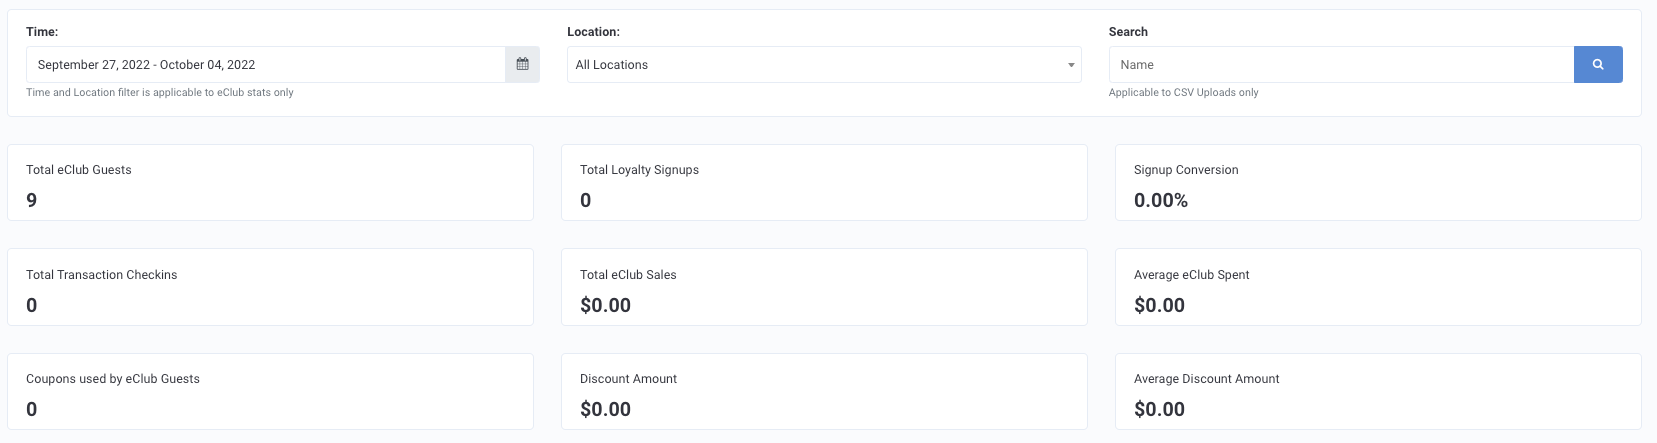
You may see the following sections in your eClub Guest Metrics:
- Total eClub Guests: This metric looks at all users for the business whose "sign up channel" was eClub and applies the location restrictions and date range selected in the filters.
- Total Loyalty Signups: This metric is a "subset" of the same group of users but only includes those guests that signed up via channel eClub AND converted to loyalty (within the same date and location filter range).
- Signup Conversion: This metric is the percentage calculation showing how many eClub guests signed up for loyalty, keeping all the previous applicable filters.
- Total Transaction Checkins: This metric looks at all the guests but include only those guests that are joined via eClub or converted to loyalty.
- Total eClub Sales: This metric is the total receipt amount by the guests who joined through eClub.
- Average eClub Spent: This metric is the average division of total eClub sales to total transaction checkins.
- Coupons Used by eClub Guests: This metric looks at the count coupons used by guests but only includes those guests that joined through eClub or converted to loyalty.
- Discount Amount: This metric is the total discount amount by the guests who joined through eClub.
- Average Discount Amount: This metric is the average division of discount amount to total number of coupons used by eClub guests.
CSV Uploads
Upload an eClub Guest Email List
You can pull in customer data from other sources by importing a CSV file. Once imported, Punchh will automatically sort through and add those guests to your guest database as an eClub list, populating profile fields based on the information included in your CSV. To upload an eClub list:
- Click the Import button on the top right.
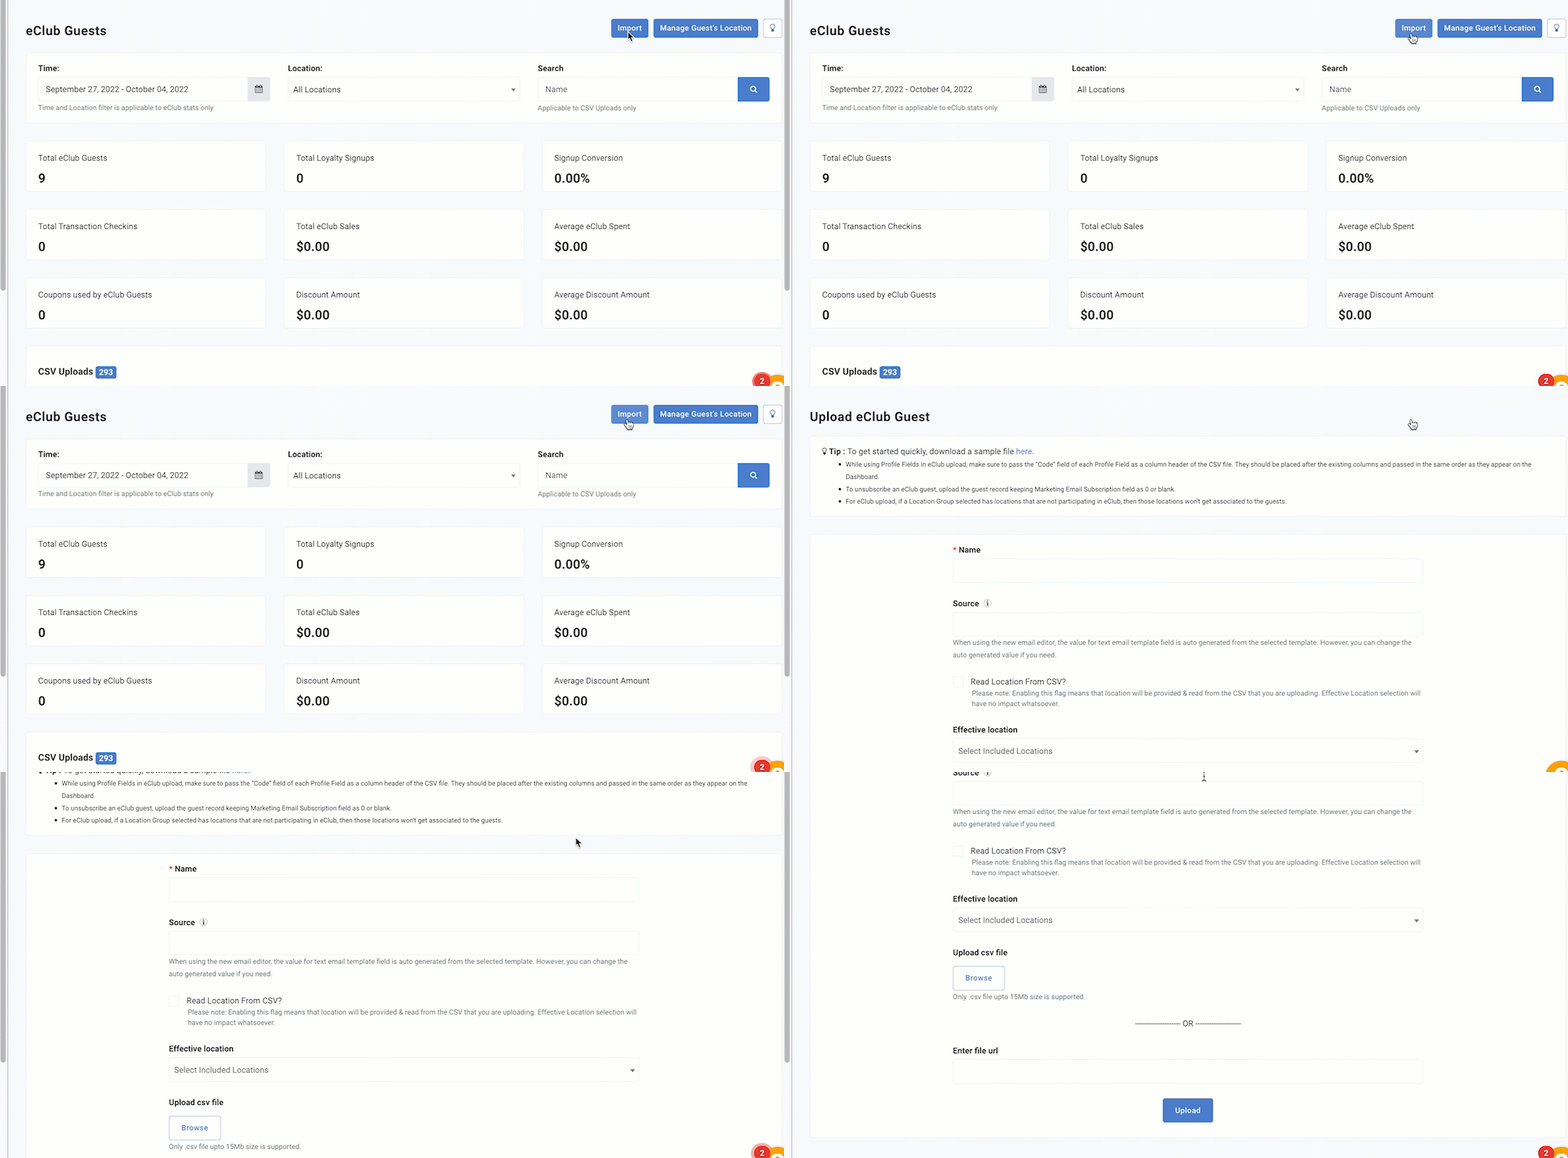
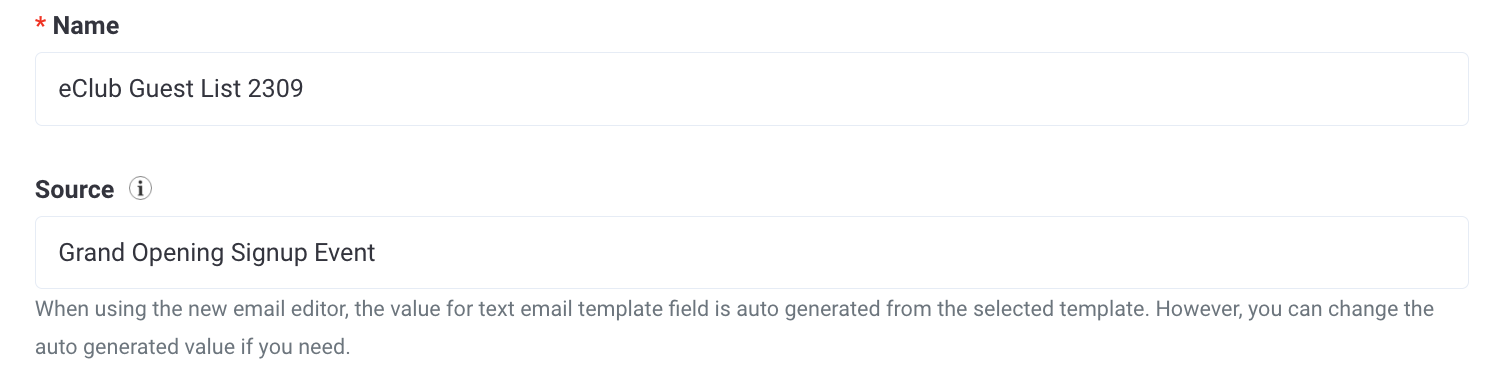
- Choose a Name for the list.
- In the Source field, enter a short description of how the list was acquired, such as "Grand Opening Signup Event".
- Select the Read Location from CSV? checkbox if you want to pull the location from the list instead of entering it in the below step. (Note: The feature is limited to Punchh Super Admins and must be imported by a CSM to utilize.)

- Use the Effective Location drop-down to choose the location specific to this list. If you want to apply this eClub list to all locations, you may first create a Location Group that includes all of your locations and then select that group here.
Note: This field is required for Franchisees.
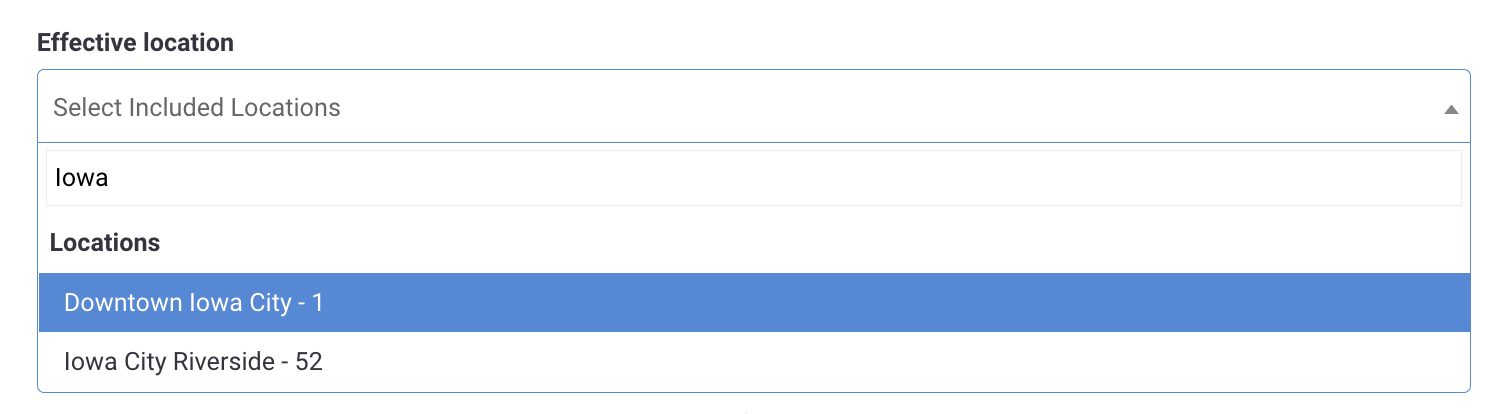 6. Click the Browse button to Upload the CSV file from your computer.
or
Enter the file URL if your CSV file is hosted online somewhere (with read access).
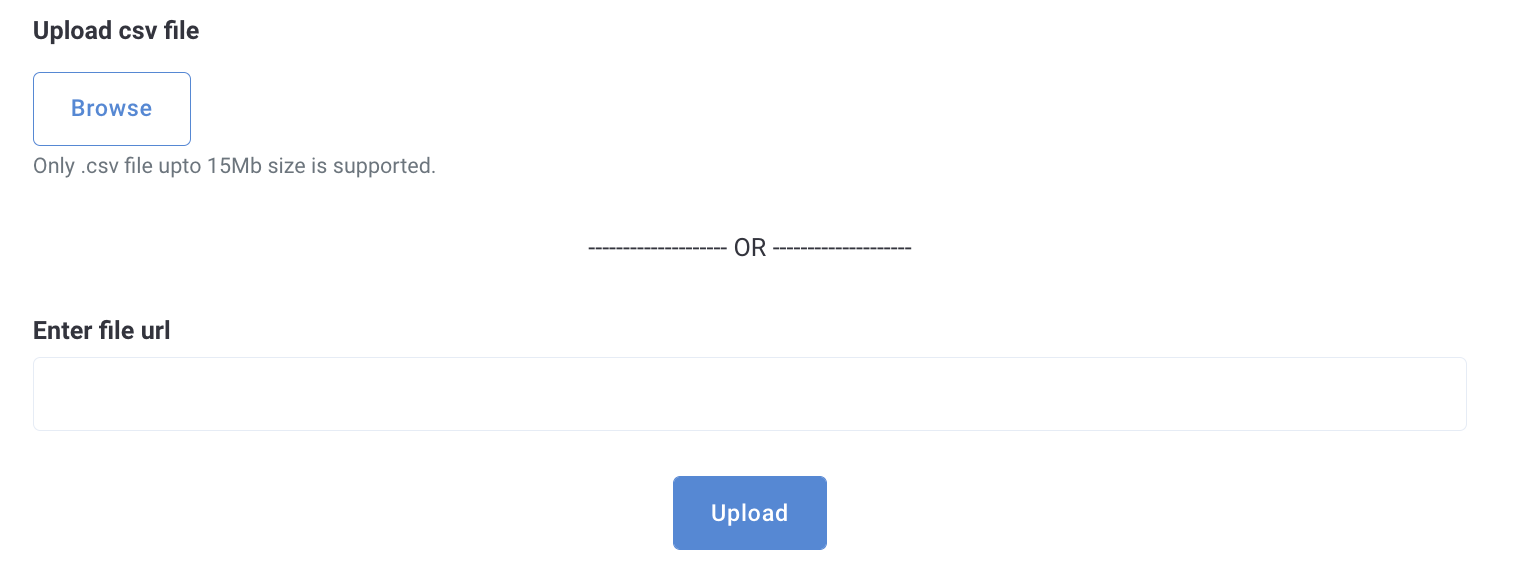
There is a specific format you must use for your CSV files. You can download a sample CSV template on the Upload eClub Guest page in the platform. There is a 15Mb file size limit.
Required Columns
The following columns are required:

- First Name
- Last Name
- Marketing Subscription
- Enter '1' to indicate the guest's email has opted in (subscribed) to receive marketing emails.
- Enter '0' to indicate the guest's email has not opted in to receive marketing emails.
There are other columns that can be included in the CSV such as phone number, birthday, etc. Review the sample CSV file in the platform for how to format each column.
Note: The format for birthday is YYYY-MM-DD. Some systems may display this incorrectly when opening up the sample file.
Favorite Location
If you wish to include the guests' favorite location, you can add a store_ids column to the left of the Email column. You should only do this if you have this information for all guests in the file and all the guests in the file are associated with different locations. If the guests are all connected to the same location use the Effective Location field (above) instead of adding the store_ids column.

Note: If you add this column but leave the field blank for some guests, the guest will automatically have all your store locations listed under "Connected Locations" within their profile. To avoid this, make sure you have the favorite location details listed for all guests in the CSV.
Further Details
The below table details how connected locations are assigned to eClub guests based on certain use cases.
| Action | Connected Location Assignment |
|---|---|
| On the eClub upload page > Effective location field is left Blank (Effective location shows "Select Included locations") | No location would be assigned as a connected location |
| On the eClub upload page > A location group is selected, for example, location group "G1" | All locations in the group "G1" would be assigned as the connected locations |
| On the eClub upload page > A location is selected, for example, location "L1" | Location "L1" would be assigned as the connected location |
| Read Location From CSV checkbox is selected; Effective location field is blank; store_ids column is present in the CSV file with one ID listed per guest | Locations associated with store_id would be assigned as Connected Location |
| Read Location From CSV checkbox is selected; Effective location field is blank; store_ids column is blank in CSV file | Record creation failed [Association Error: Invalid Location eClub Configuration.] |
| Read Location From CSV checkbox is selected; Effective location field is blank; store_ids column has invalid values e.g. "ABC" in CSV file | Record creation failed [Association Error: Invalid Location eClub Configuration.] |
| Read Location From CSV checkbox is selected; Effective location field has a location selected | Error while uploading in dashboard [You can select only one option to attach locations.] |
| Read Location From CSV checkbox is selected; Effective location field is blank; store_ids present in CSV file but the location has "Enable location to participate in eClub?" flag off | Record creation failed [Association Error: Invalid Location eClub Configuration.] |
| Read Location From CSV checkbox is selected; Effective location field is blank; store_ids column present in CSV file has multiple store IDs listed per guest | Record creation failed [Association Error: Invalid Location eClub Configuration.] |
- Click the Upload button when finished.
- Once your list has finished processing, it will appear on your eClub lists page as below. Click the list name to view and/or add more guests (if initial uploading was unsuccessful).

eClub List View
The list view shows the data derived from the list, any upload errors, and the status of each entry, as well as the date and time the entry was added to the list.
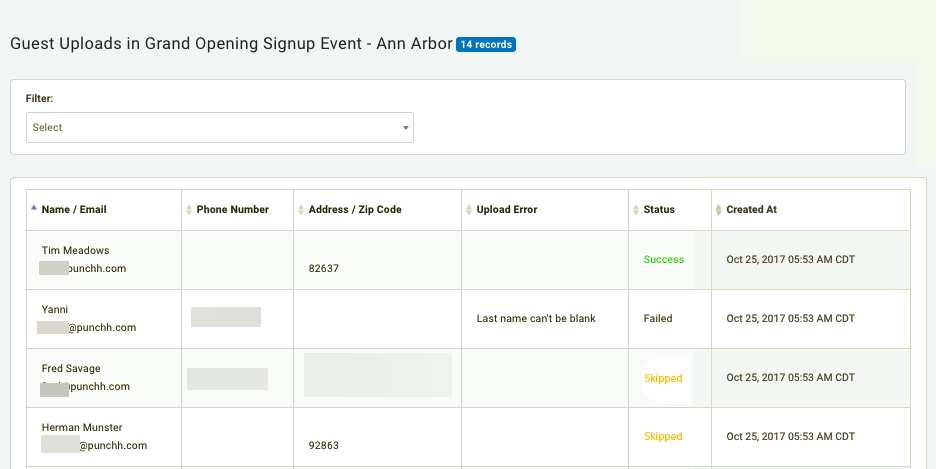
Status definitions:
- Success: A Success status means the entry contained all necessary information and was uploaded correctly.
- Failed: A Failed status means the entry did not upload properly due to a specific error. If a status is Failed you will see an Upload Error, such as "Last name can't be blank", detailing why the entry failed.
- Skipped: If an email address in your list is already associated with a guest in your loyalty program, this entry will be skipped so as not to create duplicate guests. In the event that a duplicate entry contains new or updated information about a guest's favorite location, that information will be amended. These updated entries will also appear as Skipped.
Add to an eClub Guest List
In the event that you need to add more guests to a specific eClub list or if your initial attempt at creating a list yielded no successful entries (either because your CSV was improperly formatted, lacked necessary information, or contained only duplicate entires) you have the ability to add it again. New entries will be added to the list, while duplicate entries will be automatically skipped. To add to an existing eClub list:
- Click the List Name of one of your eClub lists.

- Click the Add to List button at the top right.
- Upload or provide the URL for a CSV list, and then click Upload. (See steps above for more details.)
Create a Segment from an eClub List
In order to start reaching out to your eClub guests, you'll first need to create a segment. We'll use the segment(s) to populate our audience when creating campaigns
- Navigate to Guests > All Segments
- Click + Create Segment.
- Enter a Name and Description for the segment.

- Click + Add Rule.
- Under Segment Type, select eClub List.
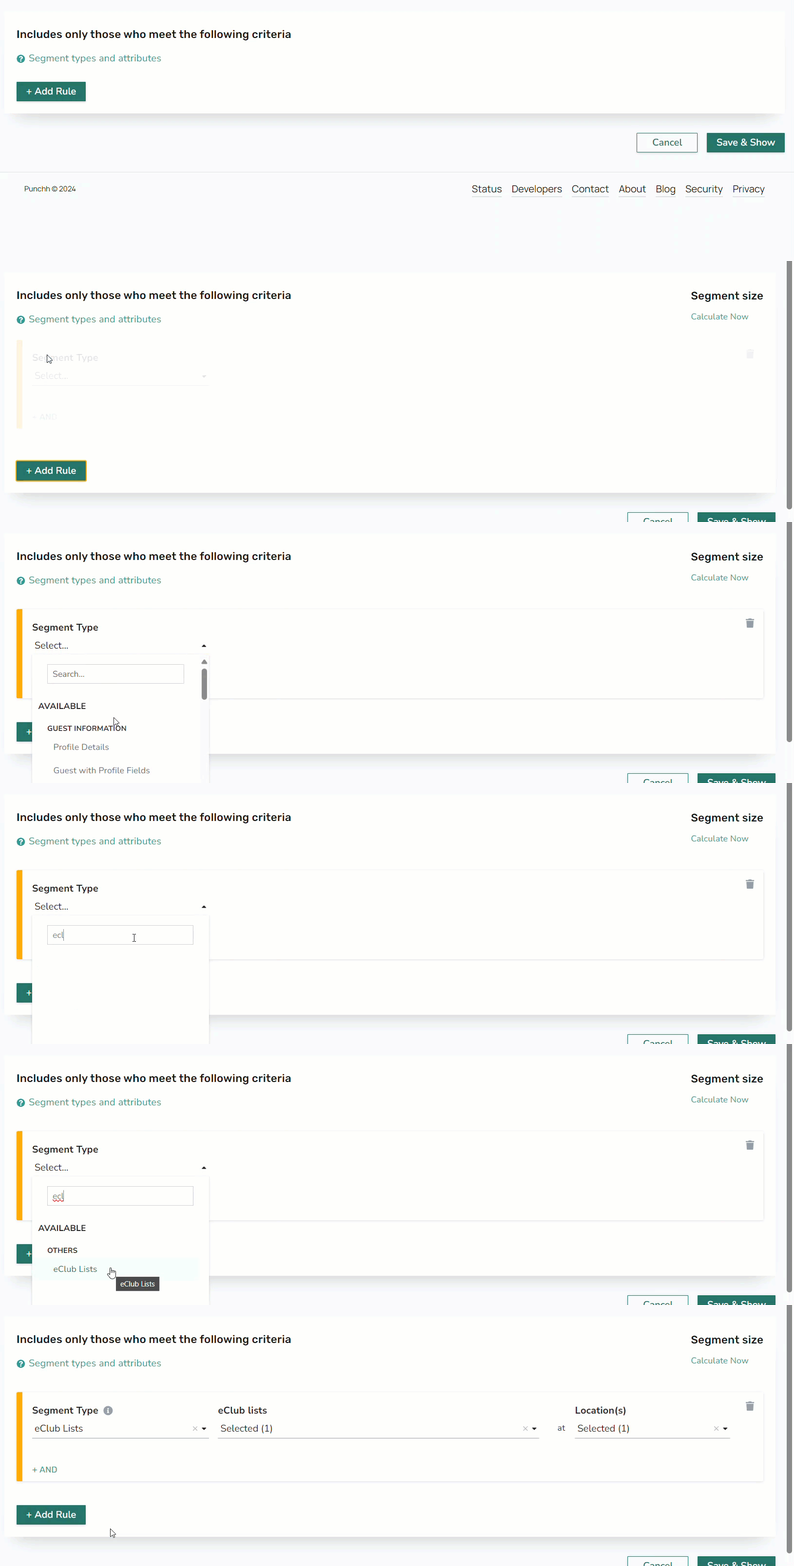
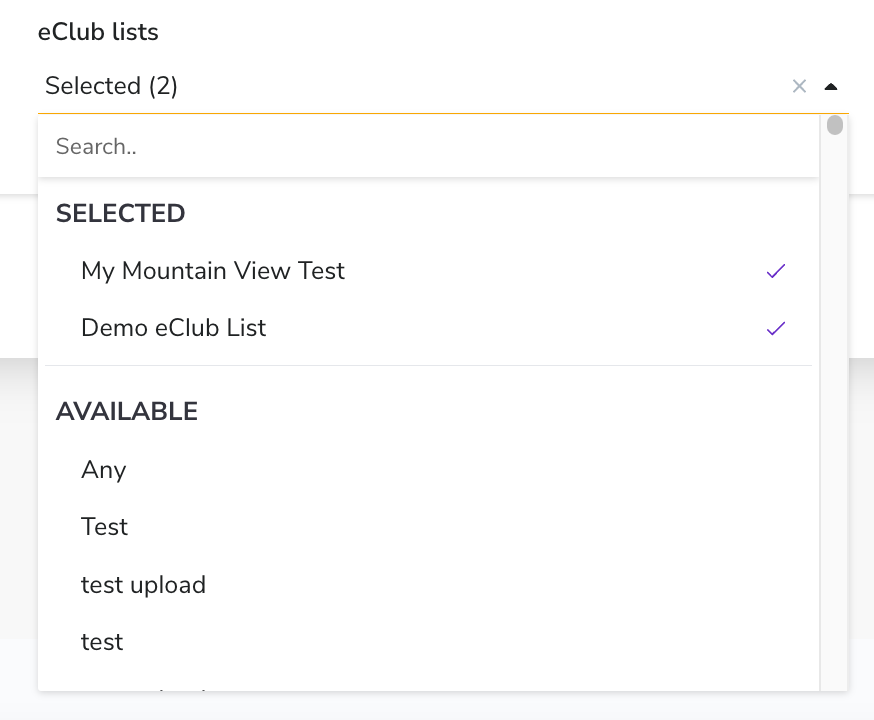
- Select the eClub Lists from the drop-down menu. You may select one or multiple lists.
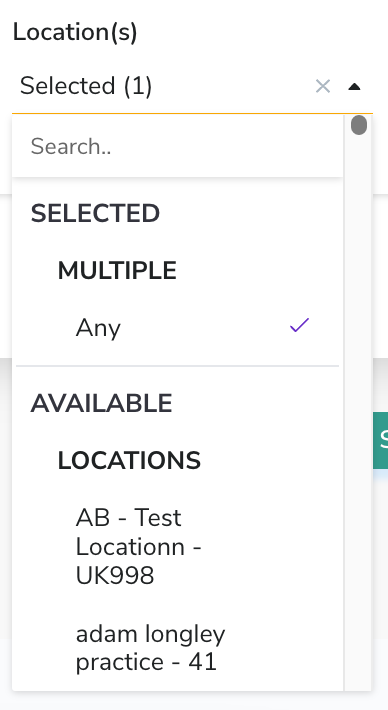
- Select a specific Location(s) as needed. Leave as "Any" for all locations.
- Click Add Rule to create your segment.
eClub Widget Iframe
Punchh can provide you with HTML code to insert a customizable Iframe widget (form) on one of your web pages in order to gather new guest information. The widget can be customized to include distinct information fields such as favorite location or birthday. Guests who enter their information into the widget (perhaps in order to qualify for a promotion or just to add their email to a newsletter) will automatically be imported into an eClub list named "eClub Widget Guests".
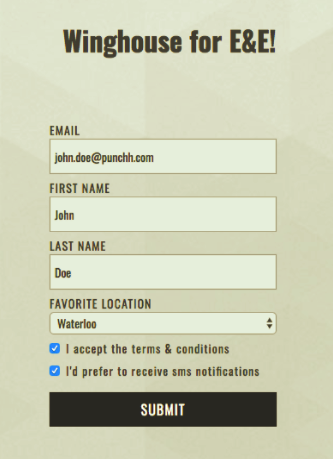
In order to use the eClub widget, your business must first have the eClub module and Iframe configuration enabled by Punchh. Contact your Punchh Customer Success Manager to help you get started.
