Post Purchase Campaign
Added Module Post-purchase campaigns are bundled as part of the Gift Cards Added Module available for an additional cost. To enable the Gift Cards module, speak to your Punchh Customer Success Manager about adding it to your service contract.
The Post-purchase campaign is designed to engage with and reward guests who purchase, reload the balance, or transfer/gift of a virtual (in-app only) gift card.
Note: Post-purchase Campaigns do not capture physical gift card purchases. Physical gift cards purchased in-store at the POS can be rewarded using Post Checkin Campaigns.
Create a New Post-purchase Campaign
Before setting up a new Post Purchase Campaign, you'll first need to create a redeemable (if offering a gift redeemable) or a surprise set (if offering a gift surprise set). To create a new Post Purchase campaign:
- Navigate to Marketing Automation > Campaign Management in your left-hand navigation toolbar.
- Click Create Campaign in the upper right corner.
- Click Automations.
- Select the Post-purchase campaign type.
- Click Create.
Step 1 - What
- Enter a name for your campaign in the Name field.
- Click the Gift Type drop-down and choose what type of reward the guest will receive post checkin. Depending on your choice, complete the following steps for:
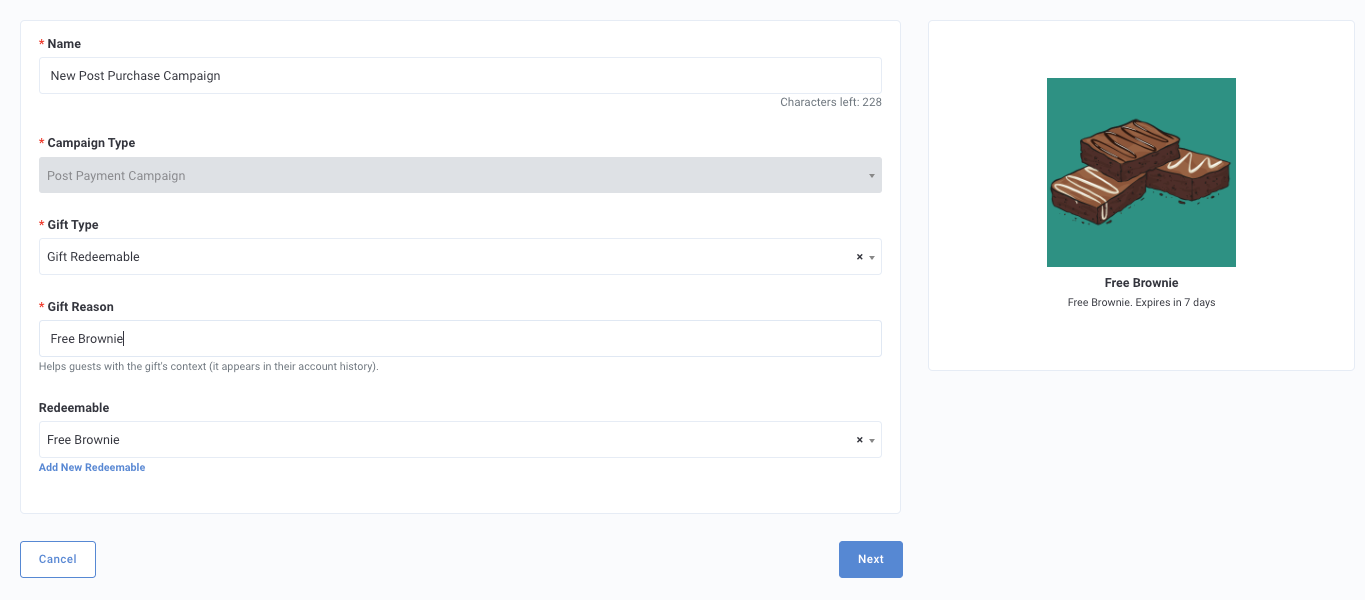
For Gift Redeemable
Click the Redeemable Reward drop-down and select the redeemable you want to associate with this offer. A preview thumbnail for your redeemable will appear along with it title and description.
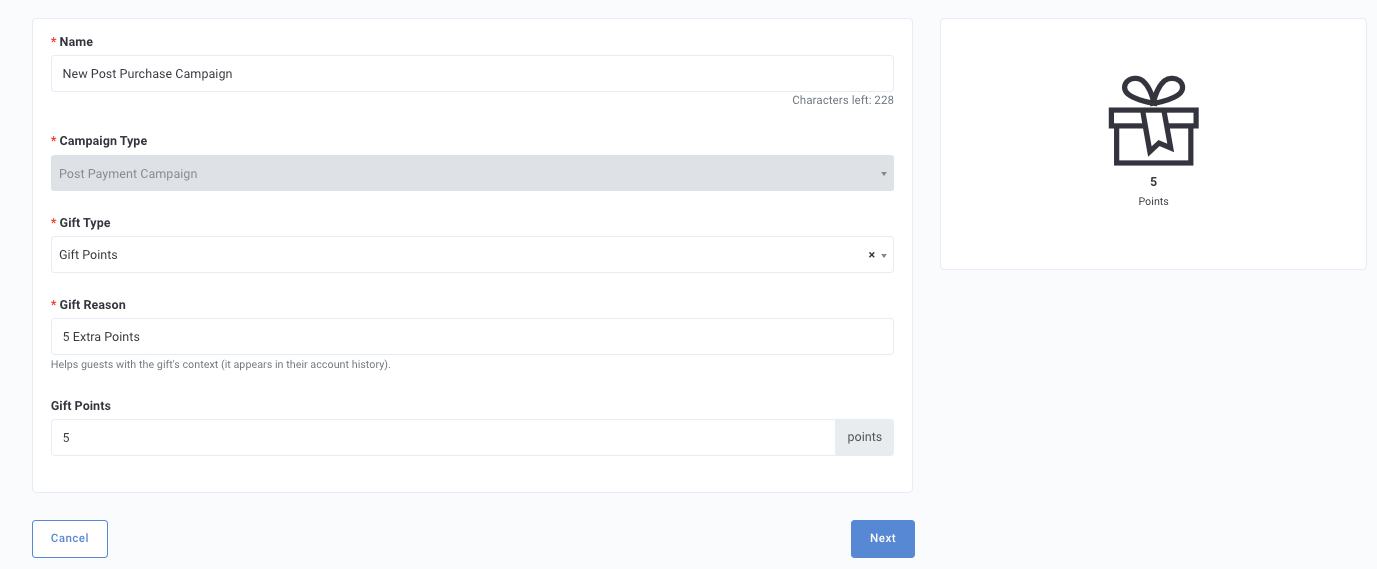
For Gift Points
Enter the amount of (additional) points to gift the guest in the Gift Points field.
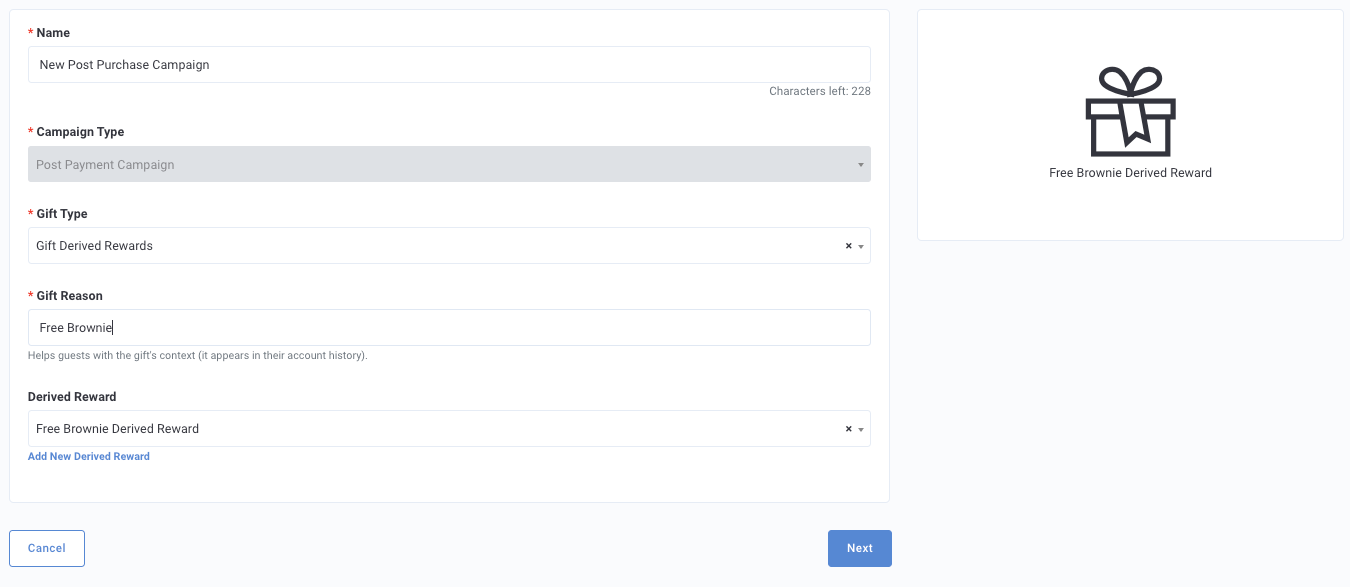
For Gift Derived Rewards
Click the Delight Guest with drop-down to select the surprise set you want to reward.
For Currency
Enter the dollar amount of currency to gift the guest in the Gift Currency field.

Next, you will be able to set the expiry of the currency. You have three options:
- For Expiry (In Days), enter how many days after the guest receives the currency you want it to expire in the Expiry (In Days) field. For example, if you want the currency to expire one week after the guest earns it, you would enter the number 7.
If you want the currency to expire *the same day,*enter '1' for the Expiry (In Days) field, OR enter thesame date into the Explicit Date of Expiryfield. For example, if the campaign is set to deliver on 9/15/25 and you enter '1' into the Expiry (In Days) field, the currency would expire on 9/15/25 at 11:59 PM. The same is true if you had entered 9/15/25 in the Explicit Date field.

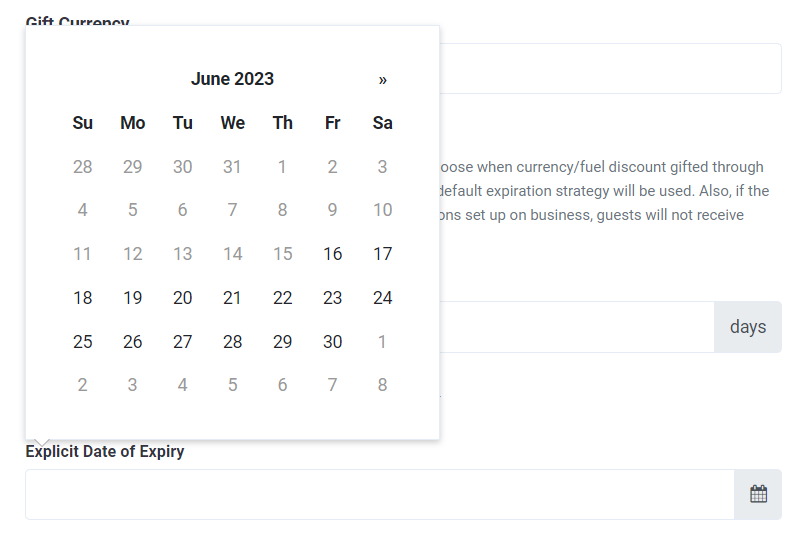
- For Explicit Date of Expiry, click the field and use the calendar to select which day the currency will expire for all guests, regardless of when they earned it.
- For Default Expiry, leave both the Expiry (In Days) and the Explicit Date of Expiry fields blank. This will result in the campaign using the business's default expiration strategy.
- In the Gift Reason field, add a short message describing the type/purpose of this gift-giving campaign. This message will appear in the guest's account history.
- Click Next to move on to Step 2.
Step 2 - Whom
Campaign Settings
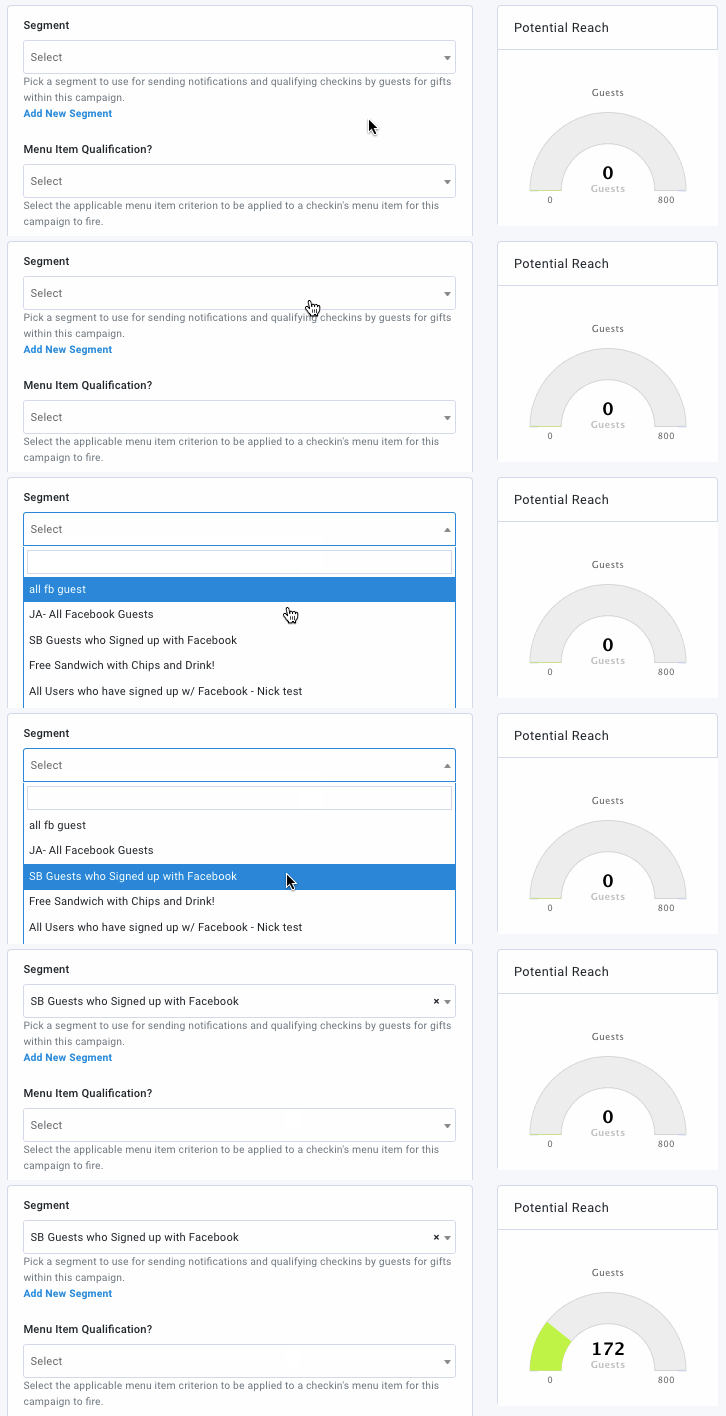
- Segment - Click the drop-down to select from one of your guest segments this offer will be targeted to.
The Potential Reach gauge will show you how many guests are in that segment that could potentially take part in this offer campaign. Leaving this blank will include all guests.
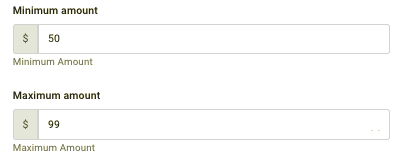
- Minimum Amount / Maximum Amount - Because this offer is based on a guest making some kind of gift card transaction, the minimum/maximum amount fields are an important component for determining the level required to trigger this campaign.
If you have separate campaigns/rewards for $50 and $100 gift cards, set you min/max amounts for the $50 campaign at 50 and 99, respectively. Leaving these fields blank will include transactions of any amount.
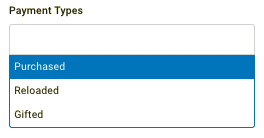
- Payment Types - Use the drop-down to focus your campaign on gift cards that have been purchased, purchased & gifted to another person, or have their balance reloaded. Leave this field blank to include all types of gift cards purchases.
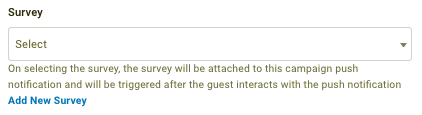
- Survey - Use the drop-down to select one of your saved Surveys. This survey will trigger for a guest once they open the push notification message sent out with this campaign.
The guest must complete the survey in order to receive their reward.
Configure any other campaign settings such as segment targeting and qualifications such as payment type and dollar amount for the gift card purchase.
Messaging
Add messaging for each of the notification types you want to send. Refer to Campaign Message Options for full details.
Click Next to move on to Step 3.
Step 3 - When
Schedule your campaign.
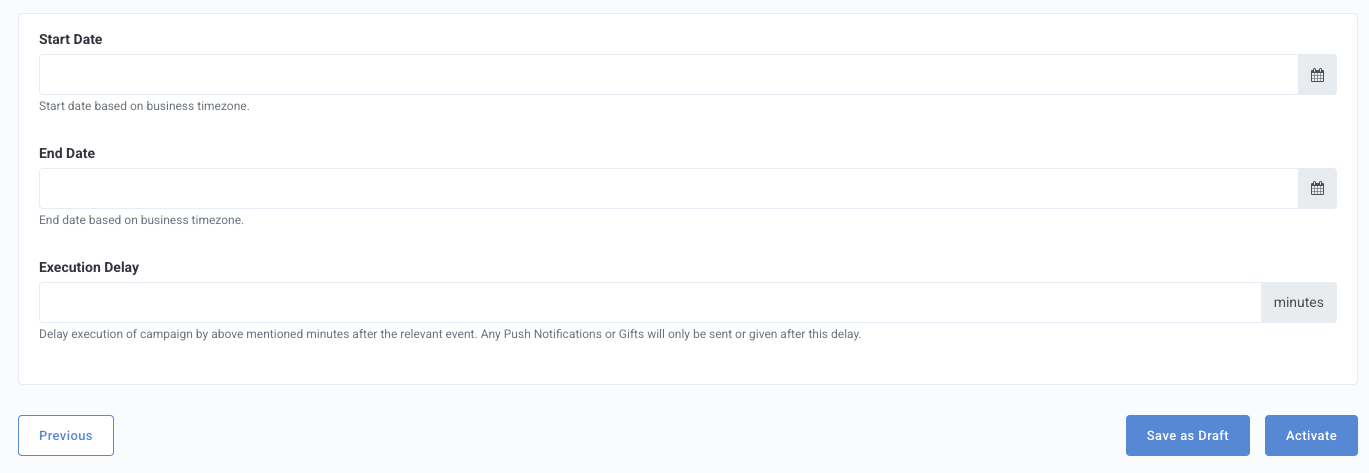
- Choose a Start Date and End Date for your campaign. Leaving these fields blank will activate the campaign immediately, and it will run indefinitely until you deactivate it.
Note: These fields are based on your business timezone. - In the Execution Delay field, enter the time (in minutes) that must pass (after the profile update has occurred) before a guest receives the offer. This is useful for ensuring that, if awarding a free item, the guest doesn't just redeem it immediately, but rather on their next visit. However, if gifting extra points, a delay may be unnecessary.
- Click Save as Draft to save your campaign to activate at a later time, or Activate to start the campaign on the designated start date.
