Post Redemption Message Campaign
Post-redemption Message campaigns are meant to trigger automatically after a guest has redeemed a specific redeemable. You can choose to send a simple thank you message to your guests, or you may take the opportunity to engage your guests with a new offer, incentivizing them to return.
Contact your Punchh CSM if you don't have this campaign type currently available to your brand.
Create a New Post-redemption Message Campaign
- Navigate to Marketing Automation > Campaign Management in your left-hand navigation toolbar.
- Click Create Campaign in the upper right corner.
- Click Automations.
- Select the Post-redemption campaign type.
- Select No to include an offer in this campaign.
- Click Create.
Step 1 - What
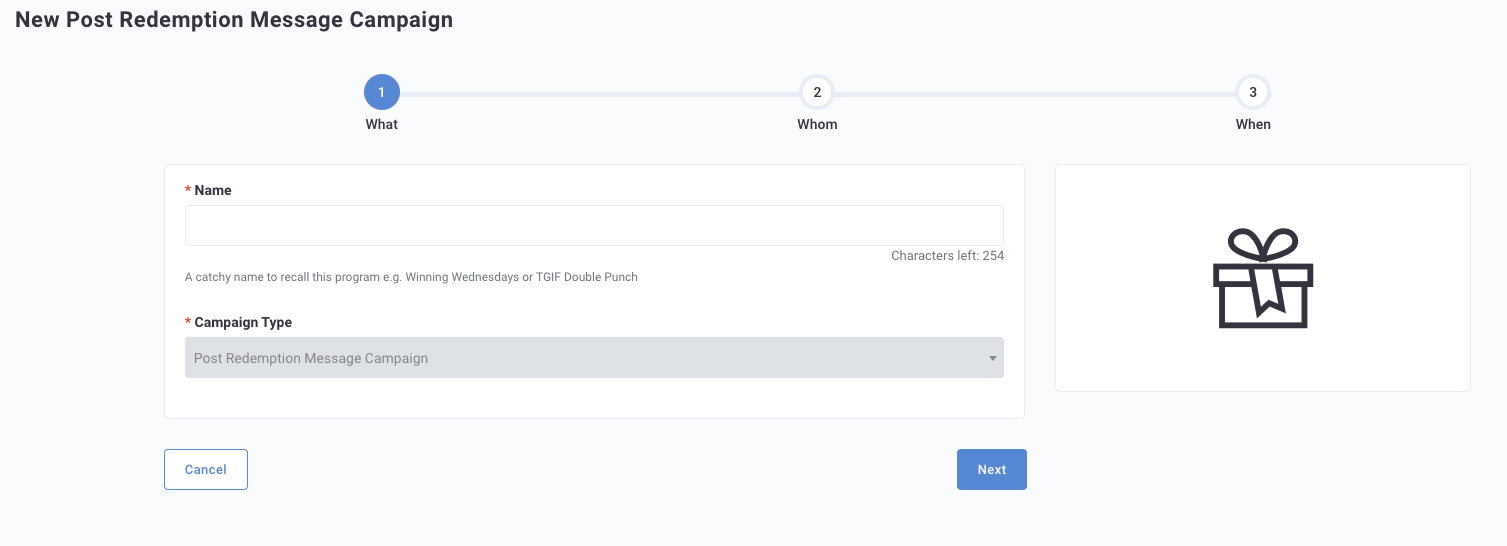
- Enter a name for your campaign in the Name field.
- Click Next to move on to Step 2.
Step 2 - Whom
Configure campaign settings such as audience targeting, qualification criteria, gifting frequency, and other options as described in the section below. Depending on your subscription to Punchh added modules, you may not see all of these settings.
Campaign Settings
-
Segment: Click the drop-down to select from one of your guest segments this message will be targeted to. If left blank, this campaign will apply to all guests who use the assigned redeemable.
The Potential Reach gauge will show you how many guests are in that segment that could potentially take part in this campaign.

-
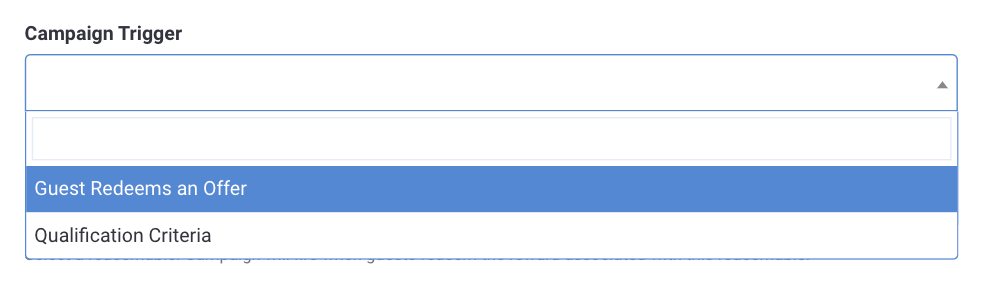
Campaign Trigger: Choose which method will trigger the campaign for a guest; the guest redeeming a reward (Guest Redeems an Offer) or the purchase of a specific item (Qualification Criteria).
-
Redeemable: If you selected Guest Redeems an Offer under Campaign Trigger, you can click the Redeemable drop-down and choose the corresponding redeemable.

-
Qualification Criteria: If you selected Qualification Criteria under Campaign Trigger, you can click the Qualification Criteria drop-down to choose the corresponding qualification criteria.

-
Guest Frequency: Click the drop-down to choose how many times a guest can be notified or rewarded for this campaign.
Gifting frequency is based on scan time, not receipt time.
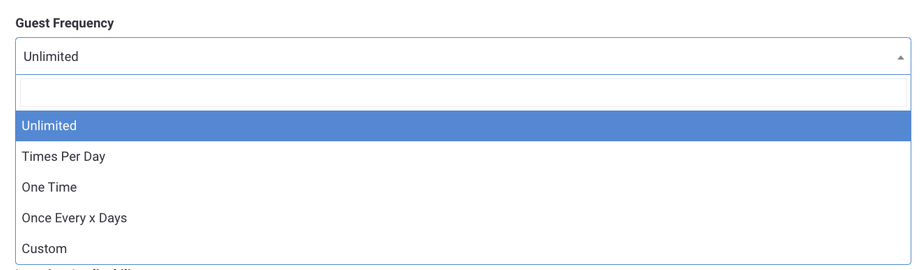
- Unlimited: Guests can be rewarded an unlimited number of times.
- Times Per Day: Enter the number of times a guest can be rewarded in a single day. For example, enter "2" to reward a guest up to two times in a single day.
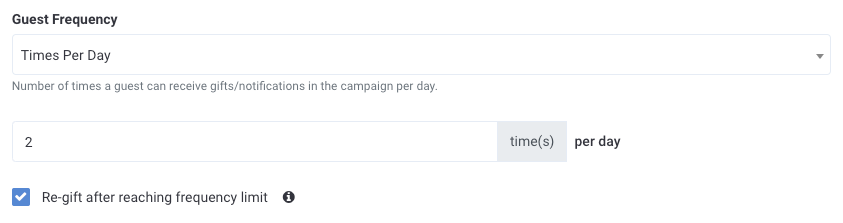
- Re-gift after reaching frequency limit: Select this check box to allow a guest who has reached the defined frequency limit in a single day to be rewarded again the next day. For example, say you set the frequency to two times a day and the guest then triggers this post-redemption campaign for a third time that same day. The guest would then be rewarded again the next day (this would count towards that day's frequency limit).
- One Time: Guests can only be rewarded one time.
- Once Every X Days: Enter the number of days between each time a guest can be rewarded. For example, enter "7" to reward a guest one time every seven days, i.e. once a week.
- Custom: Enter the number of times and/or days a guest can be rewarded. For example, "3" times in "7" days would reward a guest up to three times every seven days. Or, "5" times with the days field left blank would reward a guest up to five times total ever. Or, "30" days with the time(s) field left blank would reward a guest an unlimited number of times within a 30-day period and then never again. (Leaving both fields blank would produce the same outcome as selecting "Unlimited.")

-
Location Applicability: Use the drop-down to select a location/location group to limit this campaign to. This means that only receipts originating from these stores are eligible. If you don't specify a location(s), the campaign will be enabled for all locations.
If you selected a segment for this campaign, Location Applicability will be ignored in favor of the segment. If you need both, you can edit your segment to include location parameters.

-
Survey: (add-on module) Use the drop-down to select one of your saved Surveys or create a new one from this section. This survey will trigger for a guest once they open the push notification message sent out with this campaign. The guest must complete the survey in order to receive their reward. Adding this means the guest has the potential to earn two rewards.

-
Priority: In the event that you have multiple active campaigns, the priority field can be utilized to determine the relative order in which the campaigns will trigger.
The priority field of post redemption campaigns can only be accessed and edited by a Punchh admin. If you'd like to adjust the order of processing for your post checkin campaigns, please reach out to your Punchh Customer Success Manager for assistance.

Messaging
Add messaging for each of the notification types you want to send. Refer to Campaign Message Options for full details.
Click Next to move on to Step 3.
Step 3 - When
-
Click the Start Date field to choose a date from the calendar for your campaign to activate.
-
Click the End Date field to choose a date for your campaign to become inactive.
-
Enter an amount in minutes for any Execution Delay. This will delay any messaging being sent out to guests by the amount entered. This field is often used to delay gifting and encourage guests to come back at a later date vs. using the gifted reward on the same visit.
Execution delays should be set to ZERO (0) minutes, unless there is a strategic reason to not award them immediately.
-
Once you've finished with scheduling, you have the following options for finalizing your new campaign:
- Click Activate to activate your campaign at your scheduled start date (or immediately if your start date is today).
- Click Save as Draft to save your campaign as a draft. All fields you've entered, including Step 3 scheduling details, are saved. You can reopen the draft from the Campaign List at any time to continue editing or schedule the campaign.
- Click Previous to go back and edit settings from the prior step.
Note: Save as Draft is not available after a campaign is activated. To stop an active campaign, you must deactivate it from the Campaign List.
