Email Components (Saved Rows)
This article was previously titled "Content Library (Saved Rows)."
The Email Components page houses all the Saved Rows created by your brand. Saved Rows are individual rows of an email template that can be saved and used repeatedly. For example, if you want your brand's emails to have a specific footer at the end of each email you can create the saved row and use it each time you make a new email template. This saves time and ensures standardization across your messaging. The Email Components page allows you to create, organize, and sort all your Saved Rows in one location.
For more information, check out the Designing Emails & Messaging course in PAR Academy (accessible via Punchh or your ordering platform).
Create a Saved Row
Important! Updating a Saved Row does NOT automatically update any campaigns that already use a template containing that row, whether the campaign is in Draft or Active status. To apply the updated Saved Row to a campaign, you’ll need to remove and reattach the template, or create a new template that includes the updated Saved Row. See Saved Row Actions for how to edit.
You can create a saved row from scratch:
- Navigate to Marketing Automation > Email Components.
- Click on the Category in the left side panel you would like the row to be saved in. (See Adding a Category for how to create a new category.)
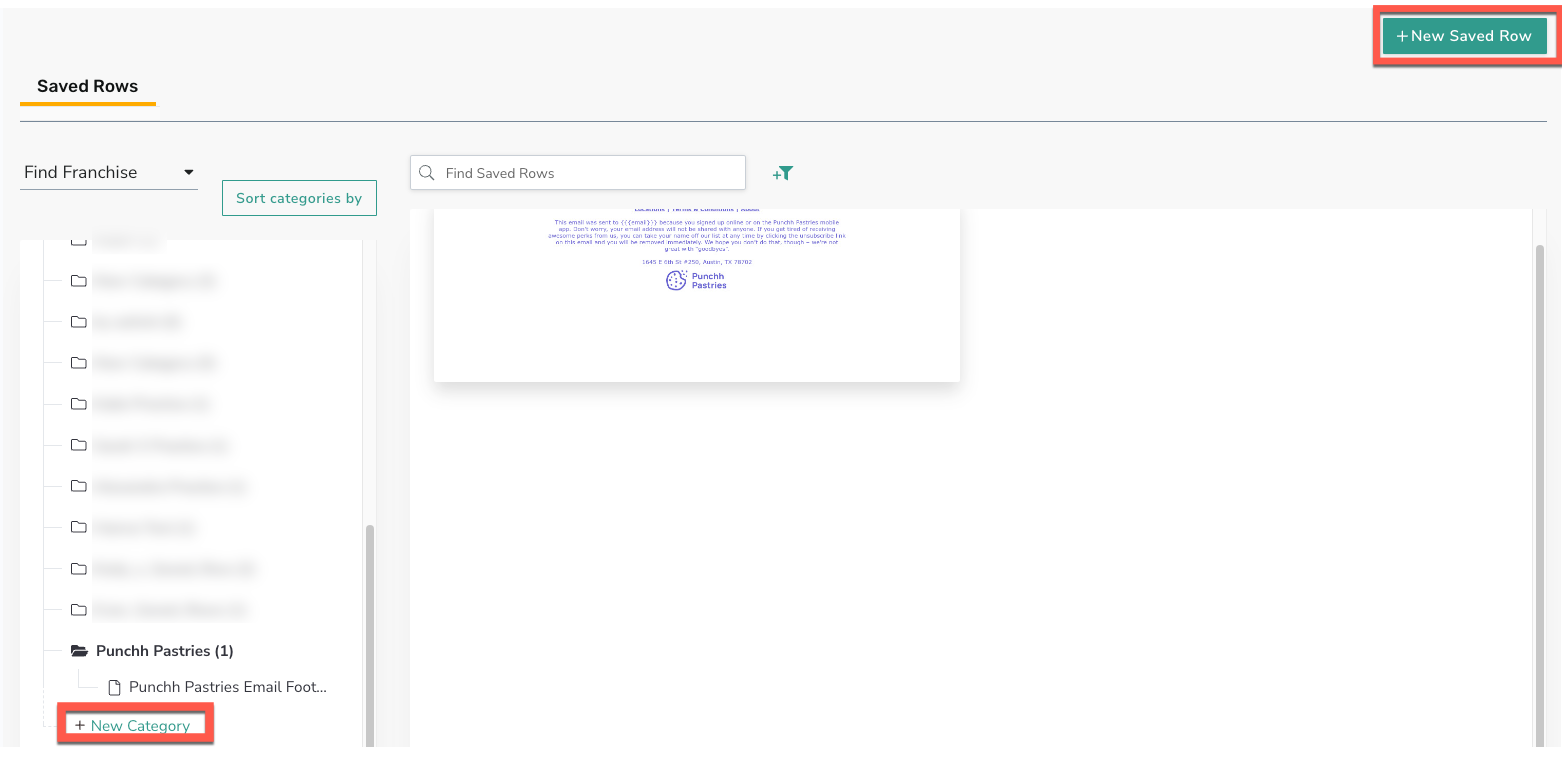
- Click + New Saved Row.
- Create the row design and then click Save.
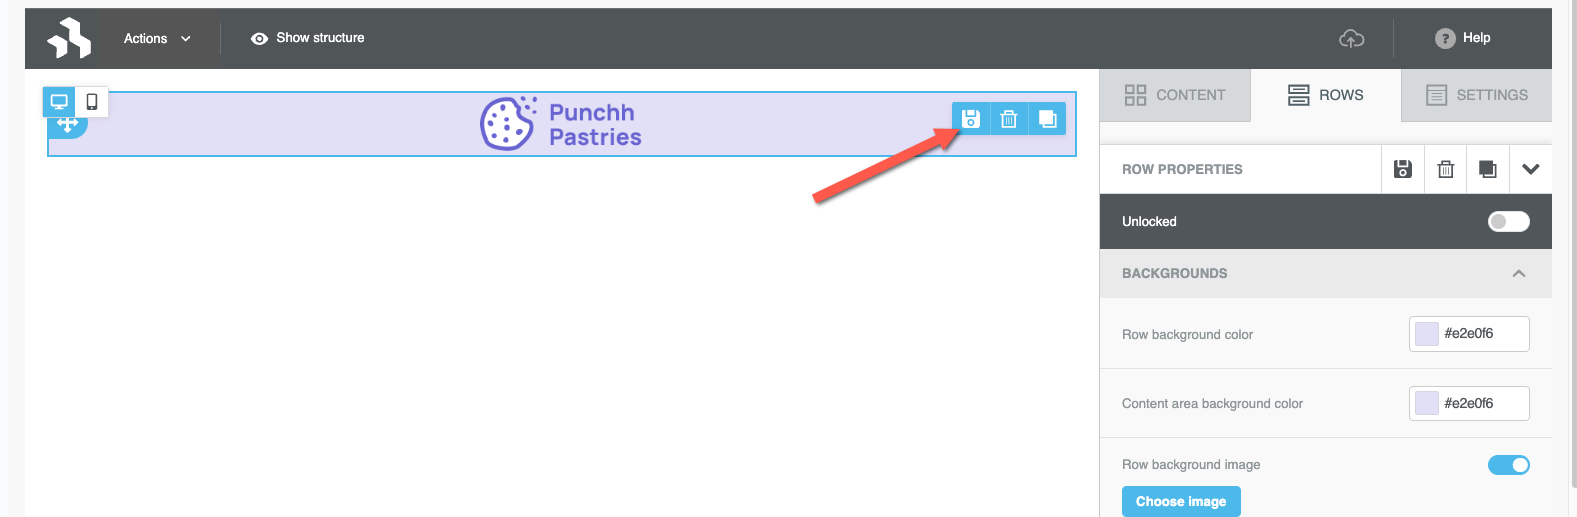
-
Enter a Name for the saved row and include any Tags, as needed.
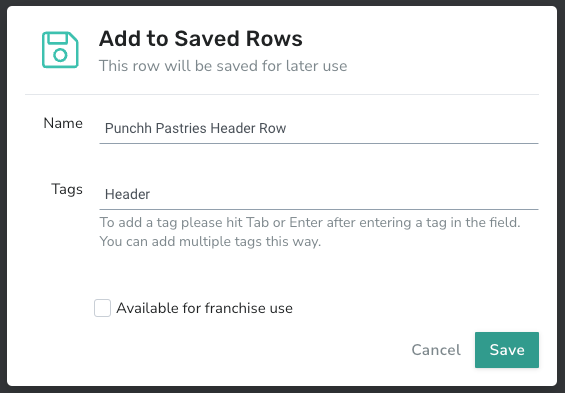
- If you have the Franchise Module enabled, select if the row should be available for franchisee use.
- Click Save.
- The row appears under its category on the Email Components list page.
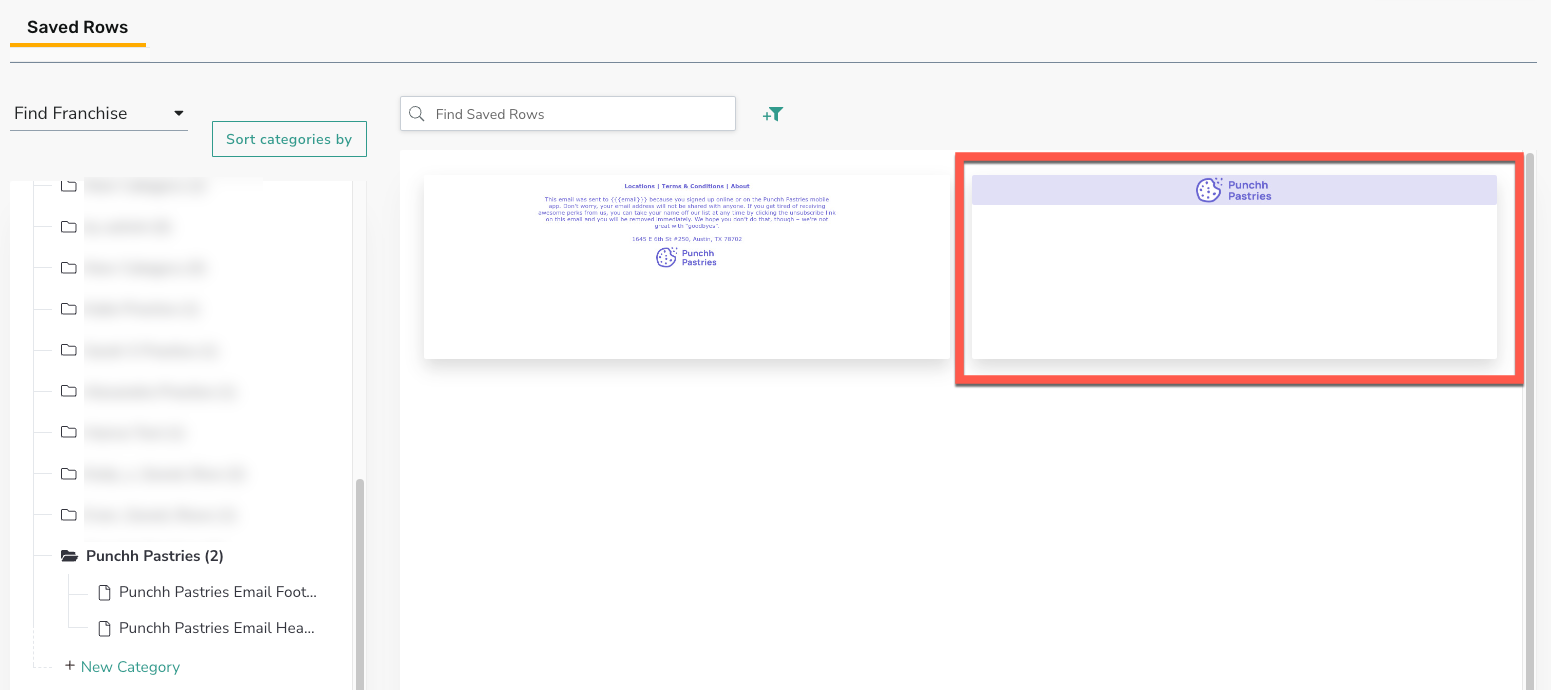
- If you selected to make this row available for franchisee use, the row will appear in your selected category under the Shared with Franchise section.
-OR-
You can save a row from an existing email template:
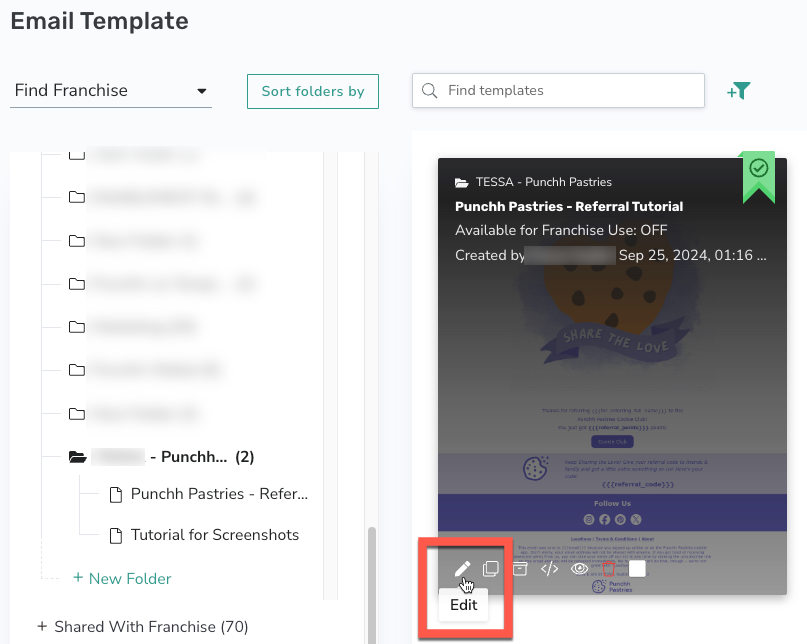
- Navigate to Marketing Automation > Email Templates.
- Click Edit on your desired template.
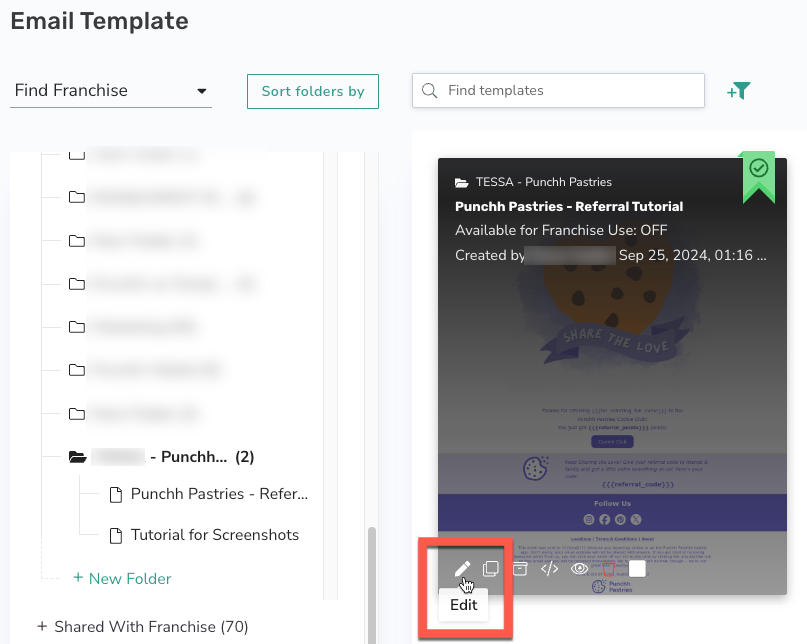
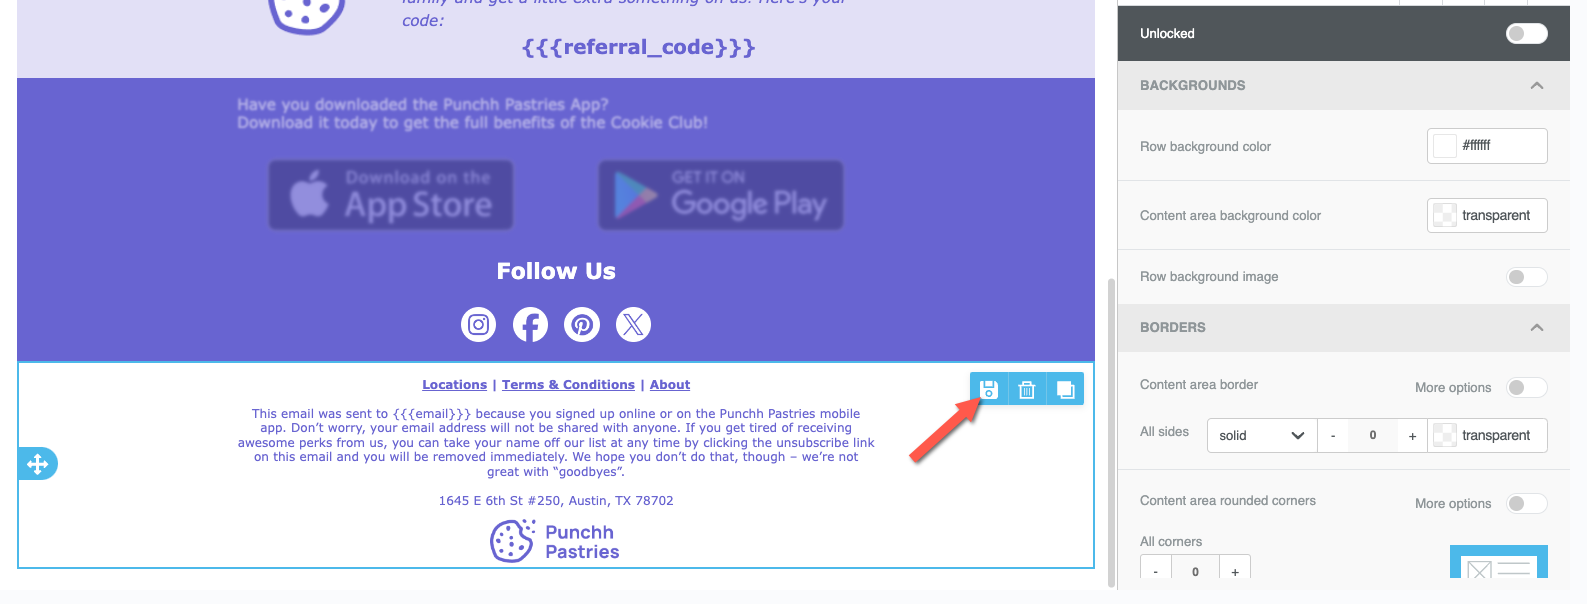
- Select the full row you would like to save.
- Click Save.
-
Enter a Name for the saved row.
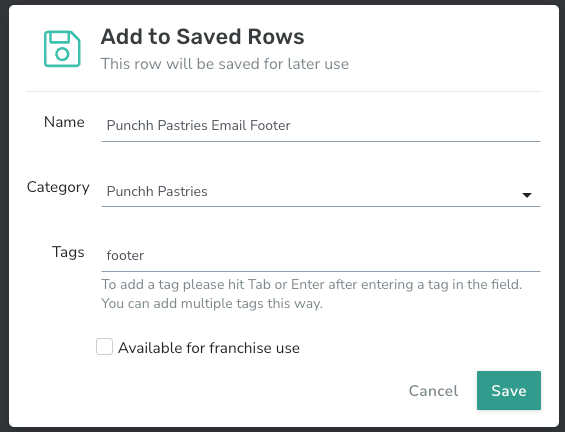
- Select the Category the row will be stored under. (See Adding a Category for how to create a new category.)
- Add any Tags as needed.
- If you have the Franchise Module enabled, select if the row should be available for franchisee use.
- Click Save.
- The row appears under its category in the Email Components page.
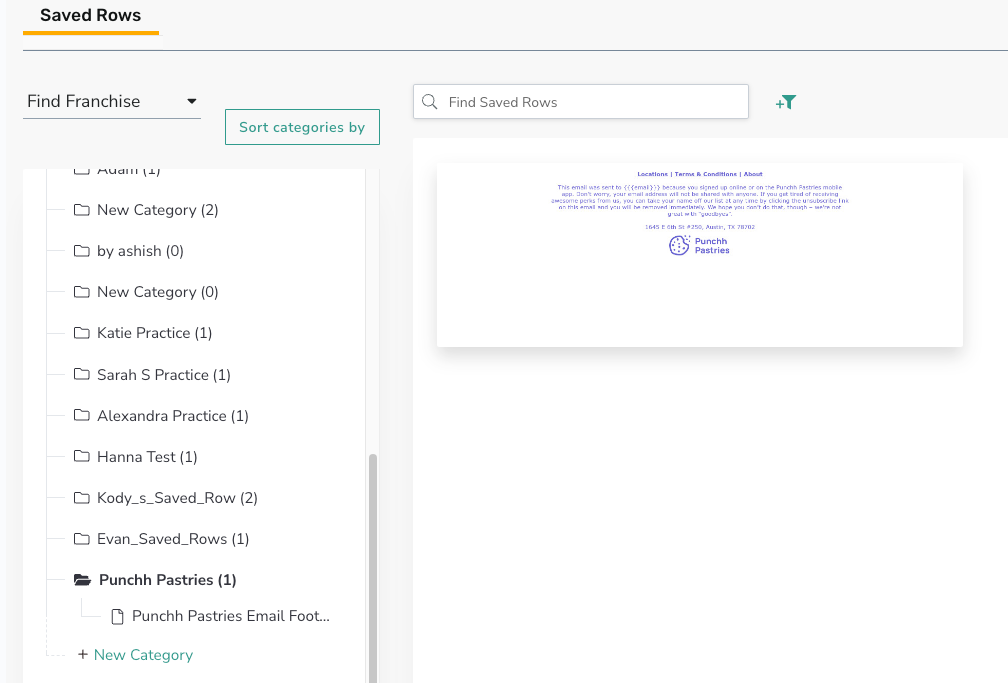
- If you selected to make this row available for franchisee use, the row will appear in your selected category under the Shared with Franchise section.
Add a Saved Row to an Email Template
- Navigate to Marketing Automation > Email Templates.
- Click + New Template to create a template.
-OR-
Click Edit on an existing template.
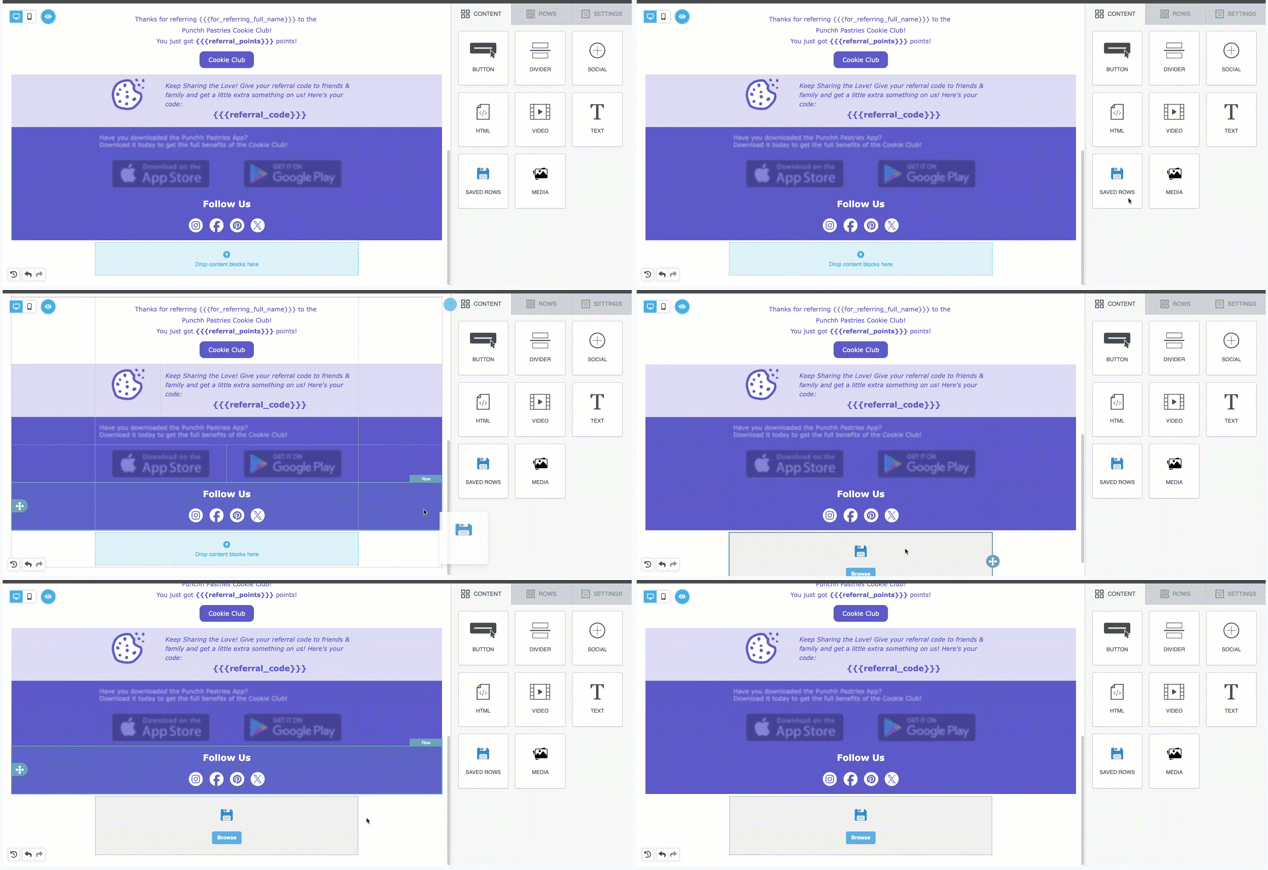
- Add your desired row structure.
- Drag the Saved Row content block into the row.
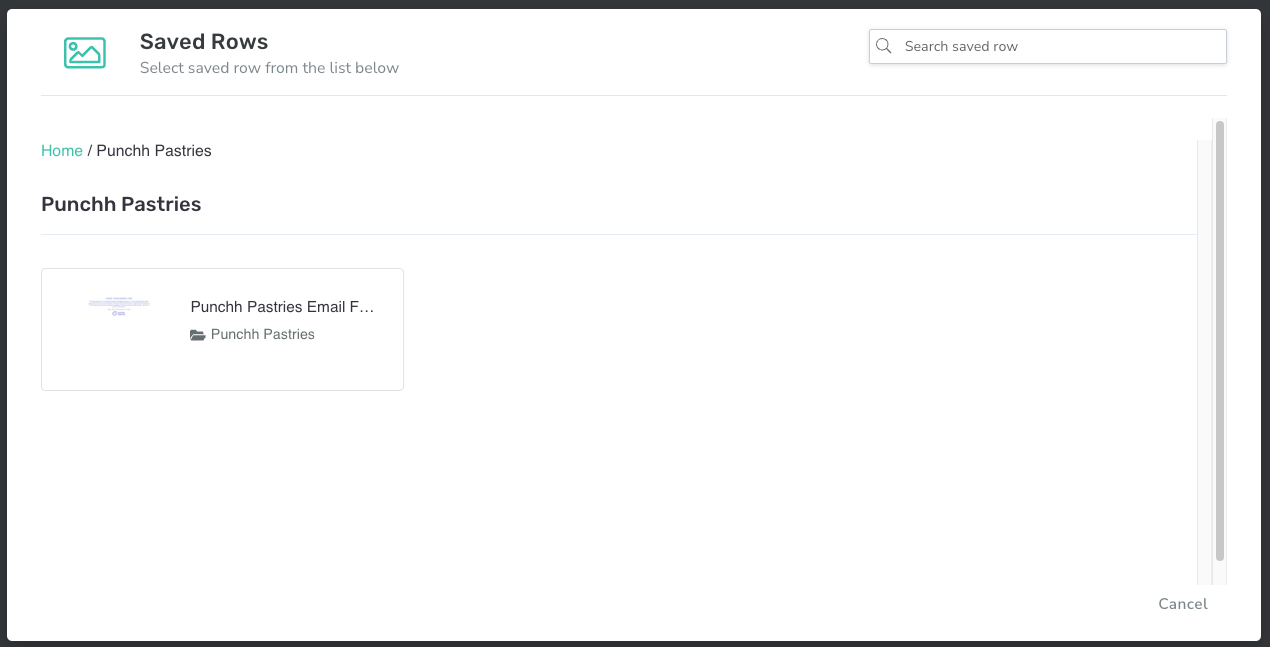
- Click Browse.
-
Search and upload the desired saved row.
- The saved row appears in the template.
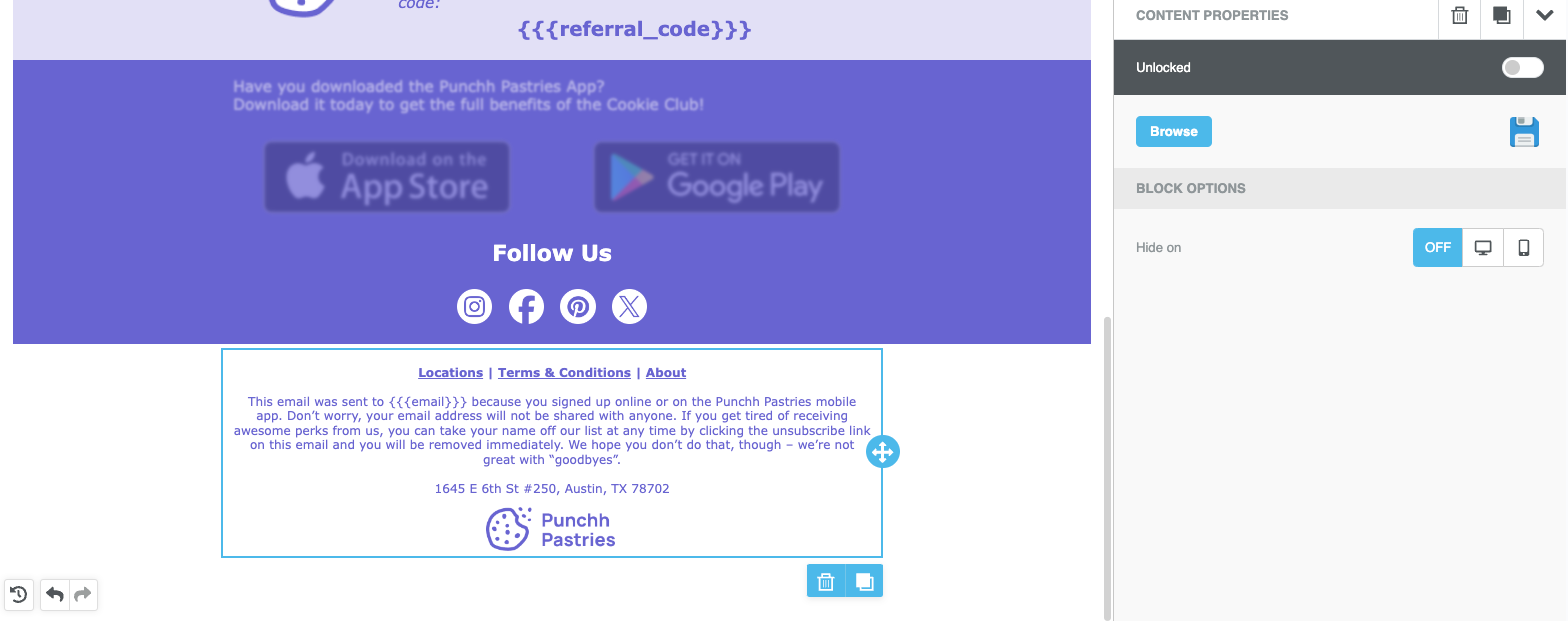
- You have the option to Hide on Desktop or Mobile if desired.
Note: The saved row does not have any other editing options when placed in an email template.
Organizing Your Saved Rows
This section explains how to manage, organize, and search for your various saved rows.
Saved Row Actions
To take certain actions to a single saved row:
- Select your desired category from the Email Components list page.
- Hover over the saved row to view the options:
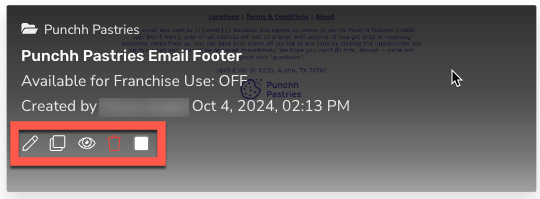
- Edit: Click to open the editor and make changes to the row. Important Note about editing saved rows.
- Duplicate: Click to create a copy of the row. The copy will appear in the same category as the original.
- Preview: Click to preview the row in a separate window.
- Delete: Click to delete the row. This is a permanent action.
- Multi Select: Use this option to select multiple rows at once. See the section below for more details.
Move Multiple Saved Rows
You may wish to move a row(s) from one category to another. To do this:
- Select your desired category from the Email Components list page.
- Hover on a saved row.
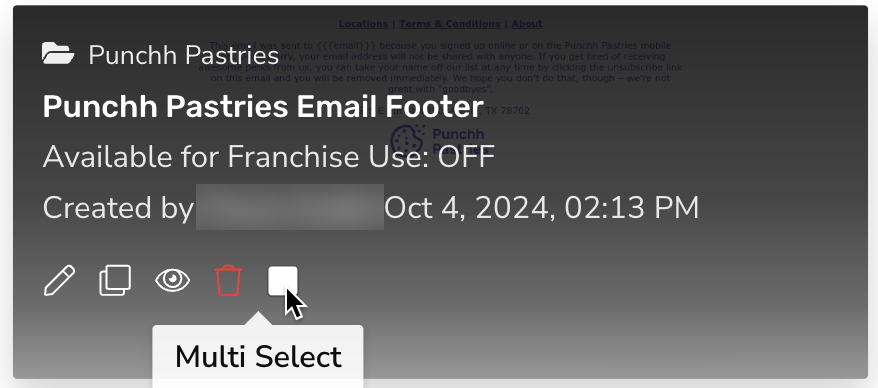
- Click Multi Select.
- Repeat this for all the saved rows that need to be moved.
- Once you have selected all required rows, drag and drop them into the destination category.
- All the checked rows will be moved to the destination category.
To move all rows from a category:
- Check Multi Select on a saved row in the source category.
- Click More Options dropdown at the top of the page.
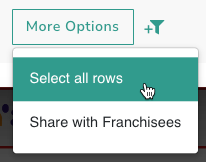
- Click on Select all rows.
- Now drag and drop the rows into the destination category.
Saved Row Categories
Adding a Category
- The left side pane of the Email Components page shows all categories for your brand.
- Most saved row categories are housed under My Saved Rows. If you have the Franchise module enabled you will have further options: Shared with Franchise and Franchise Saved Rows.
- To add a new category, click + New Category at the end of the section.
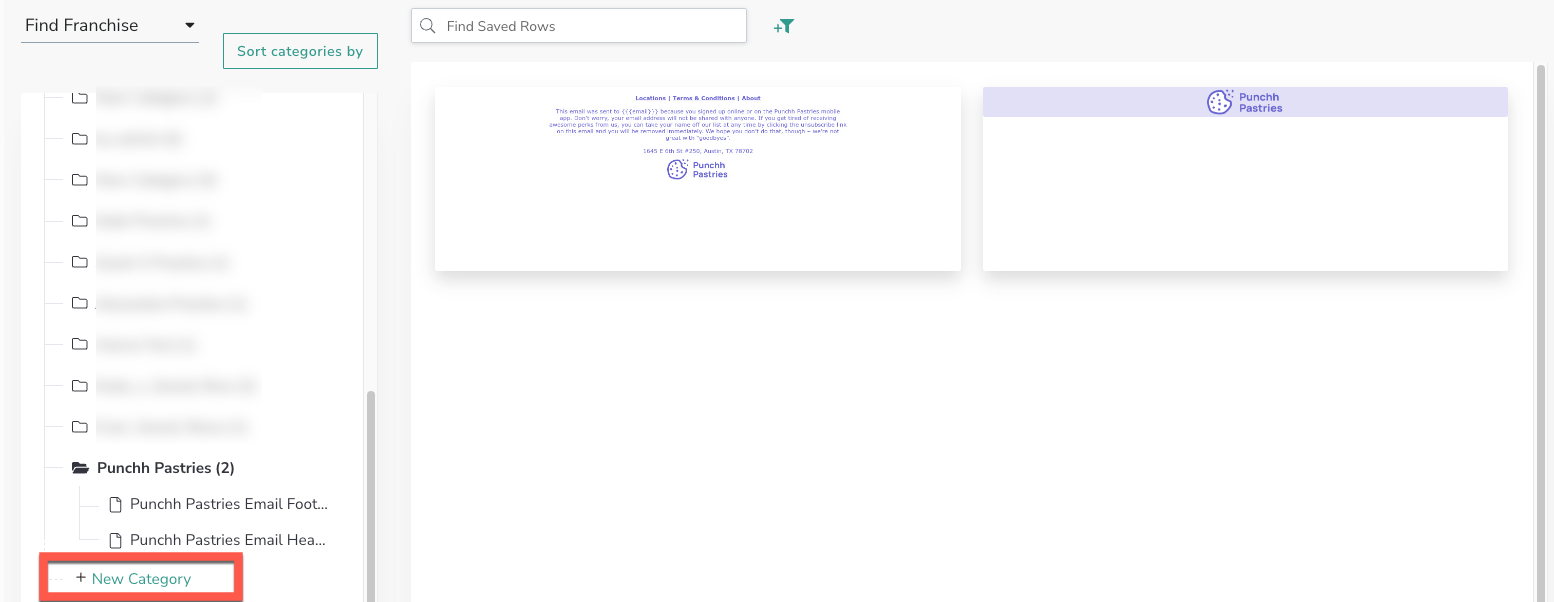
- A folder titled "New Category" appears at the end of the list.

- Hover over the category and click the Edit icon to change the name.
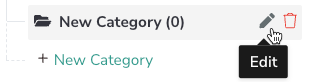
- Click the check icon to save.

Deleting a Category
Deleting a category will delete the category and ALL saved rows associated with that category (including those that are Shared with Franchise).
- To delete a category, hover over the category and click the Delete icon.
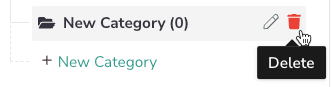
- A confirmation message appears. Click Yes, Delete.
Shared with Franchise
- If you mark a saved row as Available for franchise use it appears in the Shared with Franchise section.
- The category name, and any saved rows within that category that have been marked for franchise use appear under the section.
Sort, Filter, and Find a Saved Row
There are several ways to filter and sort your saved rows so they are easy to find.
Search a Saved Row
- Use the search bar a the top of the page to search for a title, keyword, or tag related to the saved row.
- Make sure you have selected the category or entire section you would like to search in.
Sorting of Categories
- Click on Sort categories by dropdown to expand the list
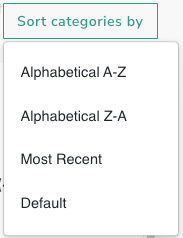
- Click on the necessary option by which you want the categories to be sorted.
Find Franchise
- Find the Find Franchise dropdown above the folder list.
- Click on the dropdown arrow to expand the list
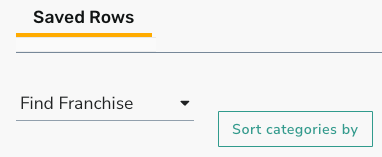
- It will display the list of franchises in the business that has saved rows.
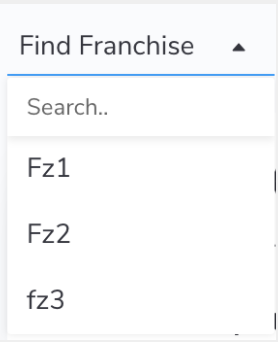
- Click on the required franchise. The repository of the franchise will be highlighted.
- To search for a particular franchise enter the franchise name in the search bar in the dropdown. Matching results will be displayed in the list.
- To clear the filter click on the X icon in the dropdown.
More Filters
- Click on the Filter icon next to the search bar.
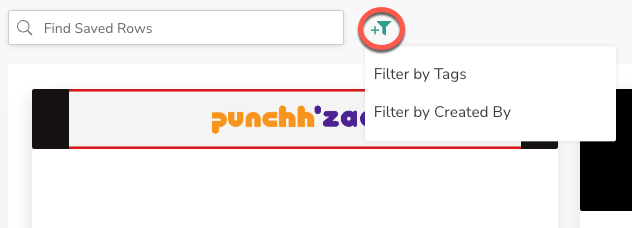
- The following values will appear:
- Filter by Tags
- Click on Filter by Tags.
- Filter field will appear.
- Enter the tag value to be searched for
- List will filter and display results matching the tags.
- Filter by Created By
- Click on Filter by Created By.
- Filter field will appear.
- Enter the user to be searched for
- List will filter and display results matching the user.
- Filter by Tags
Permissions & Access
This section explains how to restrict access to certain content within your rows as well has the various permission levels available. This can be especially important if your brand has the Franchise module enabled.
Lock and Unlock Rows/Content Areas
Admins with full access can now lock rows or content in a row in a template so that admins with restricted access cannot make changes to the locked portions in the template.
How to Lock/Unlock Rows
Admins with full access can lock rows or content in a row in a template so that admins with restricted access cannot make changes to the locked portions in the template.
- Open the email editor for a template.
- Select a row in the design editor.
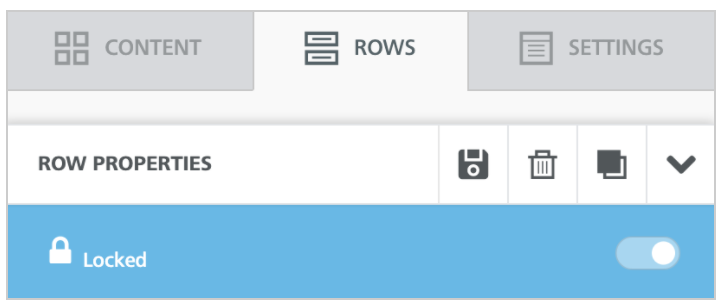
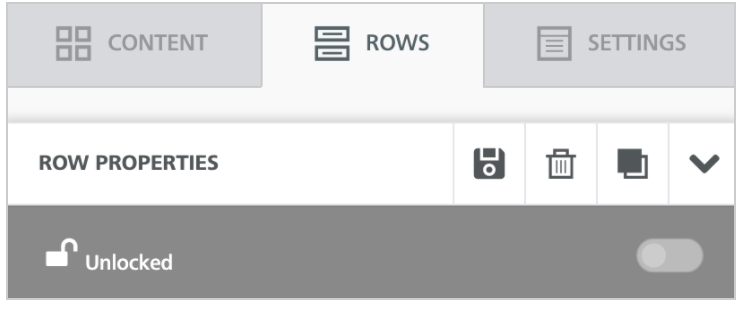
- Toggle the Unlocked option to Locked so the row is restricted from Franchise edits.
-OR- - Toggle the Locked option to Unlocked so the row is open to Franchise edits.
How to Lock/Unlock Contents Areas
- Select a content area in a row.
- Toggle the Unlocked option to Locked so the row is restricted from Franchise edits.
-OR- - Toggle the Locked option to Unlocked so the row is open to Franchise edits.

Share and Revoke Sharing of Saved Rows
This feature is available for all Corporate Full access admins in email templates list.
When sharing is revoked the row is moved to only the My Saved Rows repository under the instance of the same folder where it was existing in 'Shared with Franchise' repository. Revoking will not affect if the row is already attached in any touchpoint. If a category in 'Shared with Franchise' repository does not have any shared template then it will be hidden from the repository view.
How to Share/Revoke Saved Rows
- Select your desired category from the Email Components list page.
- Hover on a row and click Multi Select.
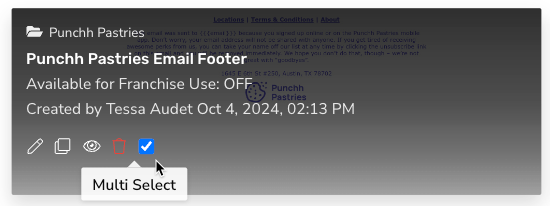
- Repeat this as needed for the rows that need to be shared.
- Click on More Options dropdown at the top of the page.
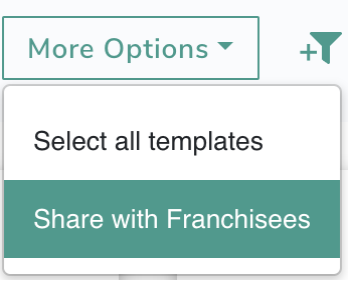
- Click on Share with Franchises.
- A confirmation popup will appear. Click on Yes Share in the popup.
- All the checked rows will be shared to Franchises.
- To share all rows from a folder
- Hover on a row and click Multi Select.
- Click on More Options dropdown at the top of the page.
- Click on Select all templates
- Click More Options dropdown again
- Click on Share with Franchises.
- To Revoke Sharing
- Follow steps 1-3 above.
- Click More Options to expand the dropdown.
- Click on Revoke sharing with Franchisees.
Permissions
- Corporate Full access
- Will have the following repositories in their listing page: 'My Saved Rows repository 'Shared with Franchise' repository and separate repository for each Franchise under them.
- Can perform all CRUD operations to saved rows in 'My Saved Rows repository i.e. Create Edit Delete Duplicate. They can move saved rows within My Templates repository.
- Can perform Edit Delete Duplicate in 'Shared with Franchises' repository. They can move saved rows within Shared with Franchise repository.
- Can perform Edit Delete Duplicate in Franchises repositories. They can move saved rows within a Franchise's repository.
- For business with FZ module enabled admins can share saved rows to Franchises and revoke when needed.
- Franchise Full access
- Will have the following repositories in their listing page viz. 'My Saved Rows' repository 'Shared with Me' repository.
- Can perform CRUD operations to saved rows in 'My Saved Rows repository i.e. Create Edit Delete Duplicate. They can move saved rows within 'My Saved Rows' repository.
- For saved rows shared by corporate they can only preview it and cannot make any CRUD operations.
- Corporate Restricted access
- Read only access to 'My Saved Rows repository 'Shared with Franchise' repository and Franchises repositories.
- Franchise Restricted access
- Read only access to 'My Saved Rows' repository 'Shared with Me' repository.
Related Articles:
