Maitre'D POS Integration Guide
Prerequisites
- Run SetupPunchh.msi installer and follow the prompts.
- Verify that you have the valid Maitre’D Back Office user name and password, which provide edit access to: Interfaces, Screen Designer, Print Designer, and Discounts
- Verify that your Maitre’D configuration includes the Discount Manager license add-on:
- Navigate to Maitre’D Application > Server Control > View > Options.
- Verify that the Discount Manager configuration option is present in the list on the Options applet.
Punchh Configurator Utility
- Launch the provided Punchh Configurator utility: C:\Program Files (x86)\Punchh\PunchhConfigurator.exe
- The Punchh Configurator screen pops up, and by default, you should be navigated to the punchh.cfg screen.
- Update the parameters shown in the image below with appropriate data using drop-down menu options or direct typing.
IMPORTANT: TheAPIparameter must be changed from the default value ofpostoisl.
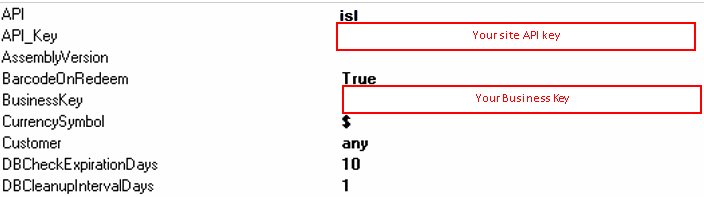
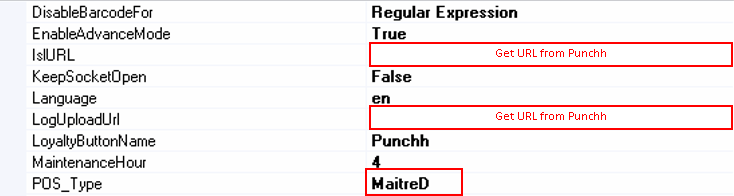
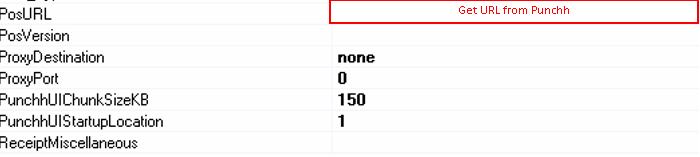
- Log in to the Punchh platform and find the API key specific to your location.

-
- On the punchh.cfg tab, select the API_Key parameter.
- Add the API key to the Enter the API key for your store location field.
- Select POS_Type item, navigate to the Generic field, and open the drop-down list.
- Select the Maitre'D item from the list.
- Click the Apply button.
- On the Punchh Configurator screen, select the Maitre'D.cfg tab.
- Update the parameters shown in the image below with appropriate data using drop-down menu options or direct typing.
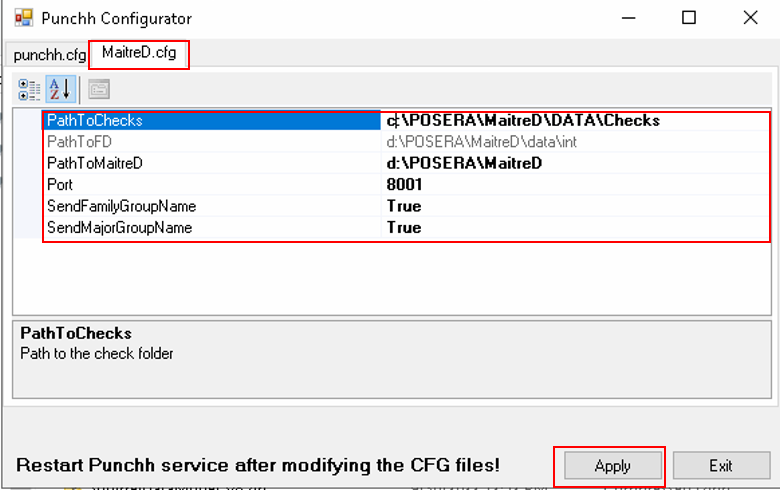
- Verify and update the navigation path for the PathToMaitreD parameter.
- The value for the PathToMaitreD parameter must point to the actual directory where the Maitre'D software is installed.
- The default value is C:\POSERA\MaitreD.
- If you have installed the Maitre'D software in any other location (for instance, in the C:\Program Files\MaitreD location), then you need to update the value with the path to your actual location.
- Verify where the Maitre'D software is installed, and edit this parameter according to the actual location if needed. For instance: C:\POSERA\MaitreD\DATA\Punchh
- The default value, such as 8001, must match the port specified in the External Discount Manager settings.
- On the Punchh Configurator screen, click the Apply button. This step will restart the Punchh service.
- Click the Exit button to close the Punchh Configurator screen.
Punchh Service Setup
- Verify that the Punchh Configurator started the Punchh Service automatically.

- After applying changes you completed on the Punchh Configurator screen and restarting the Punchh Service, the Punchh Service automatically generates the Punchh survey.xml file and adds it to the C:\POSERA\MaitreD\DATA folder.
- Verify that the Punchh Service generated and added the xml file to the C:\POSERA\MaitreD\DATA folder. For instance, C:\POSERA\MaitreD\DATA\survey.xml
- Verify the latest log file (for instance, in the C:\Program Files (x86)\Punchh\Logs directory).
- If there are no issues, then the Punchh Service reports this kind of information in the log file for each location shown below:

- If the xml file already exists in this directory, then the Punchh Service does NOT overwrite the existing survey.xml file and reports such issues into a log file. For instance:

-
- In this case, complete the following steps:
- Rename or delete the existing xml file.
- Restart the Punchh Service.
- Make sure that the Punchh Service added the xml file to the C:\POSERA\MaitreD\DATA folder. For instance, C:\POSERA\MaitreD\DATA\survey.xml
NOTE: The Punchh Service must be restarted manually every time after you manually edit the config files. If you have NOT changed any values in the config files, then there is no need to restart the Punchh Service.
The Punchh Configurator restarts the Punchh Service after you click the Apply button.
- In this case, complete the following steps:
Punchh Integration Setup
Start the Maitre'D Back Office
- Verify that the Maitre’D Back Office can be connected.
- Launch Maitre’D Back Office and enter valid <UserID>/<Password>. For instance, C:\POSERA\MaitreD\PRG\bo.exe /FC:\POSERA\MaitreD\DATA\BO.INI
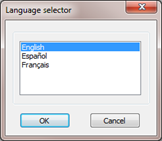
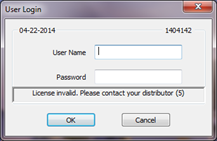
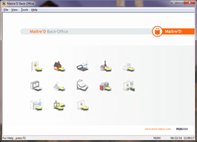
Configuration on the Server Control Screen
- On the main screen, select Server Control.
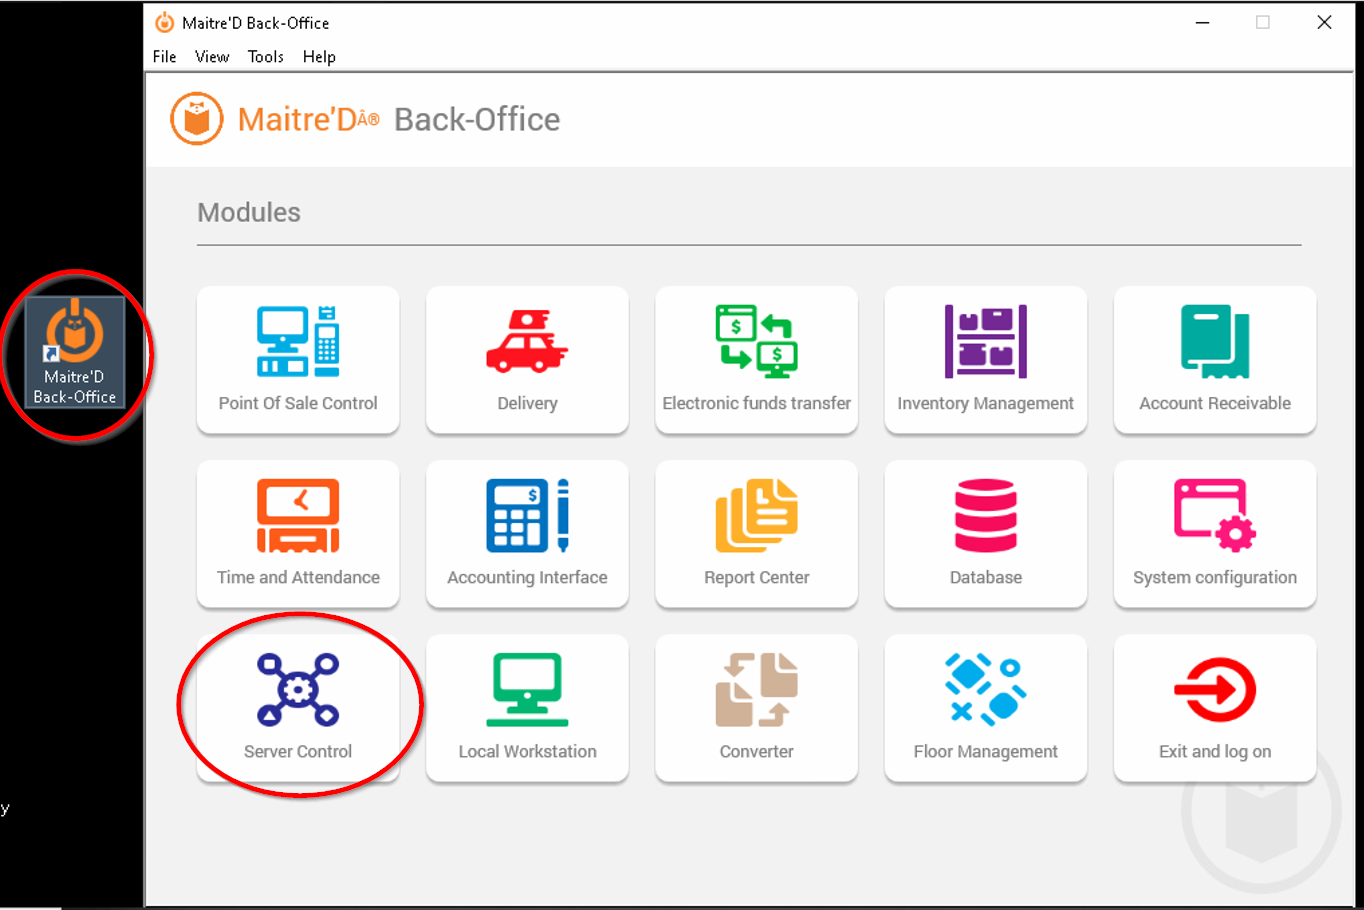
- On the Server Control screen, select View > Options.
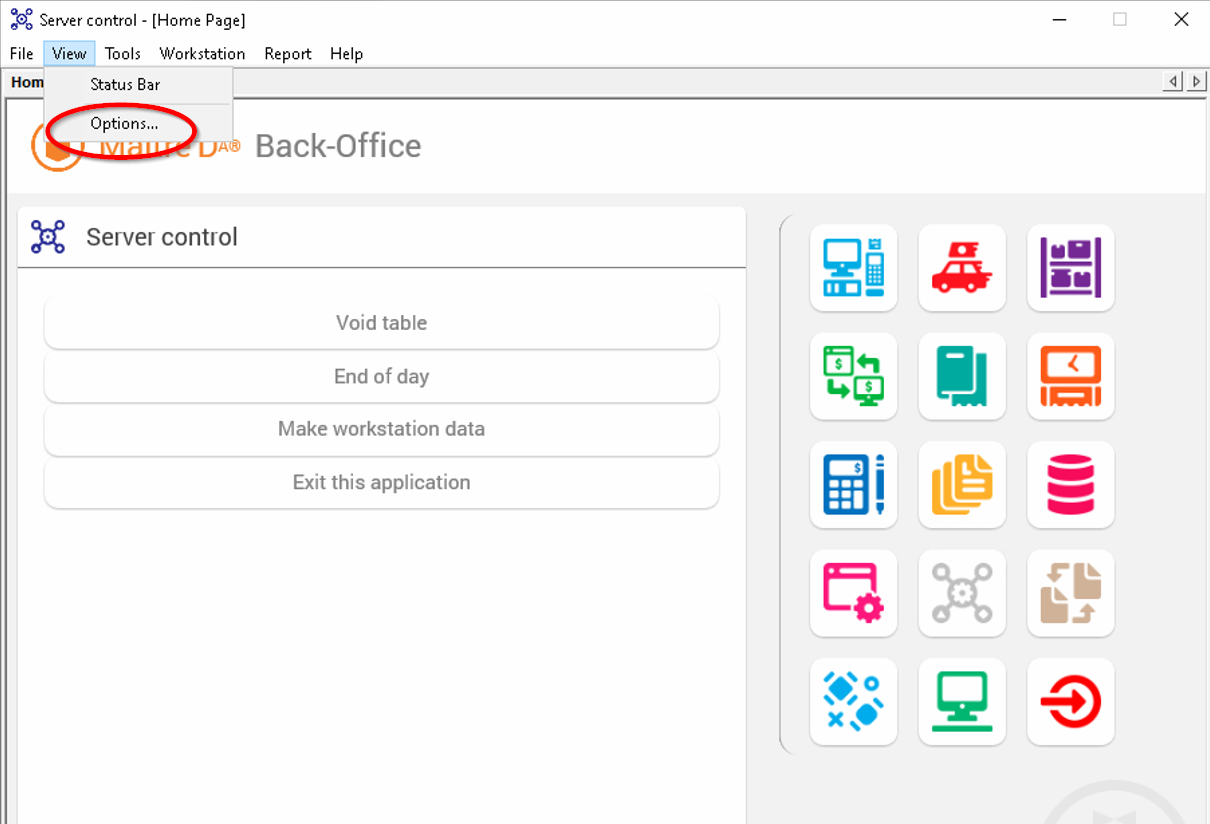
Discount Manager > Communication Option
- On the Configuration screen > Application Map, select Discount Manager > Communication.
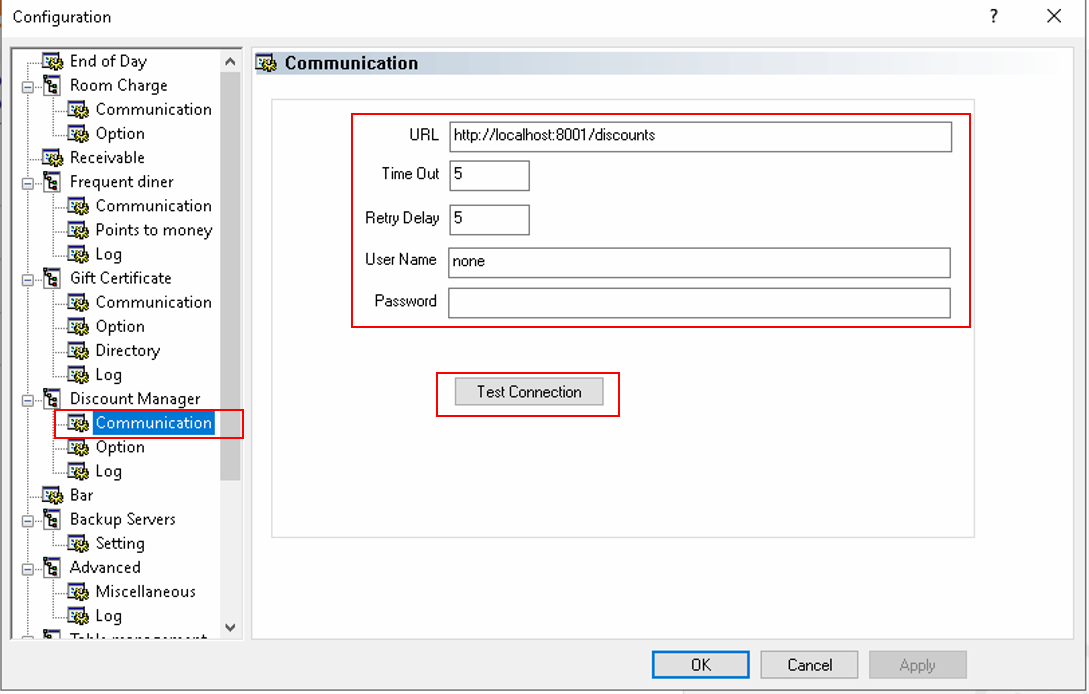
- Validate that port 8001 matches the port set in the Punchh Configurator setup.
- Enter the following values:
- Local Host URL
- Time Out: 5
- Retry Delay: 5
- User Name: none
- Password: <leave blank>
- Click the Applybutton.
- Test the connection.
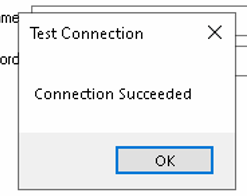
Table Management
- On the Configuration Screen > Application Map, select Table Management.
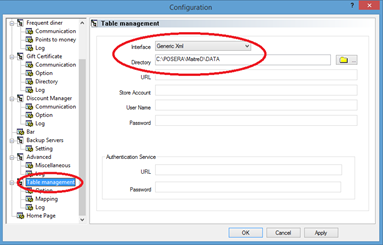
- Enter the following values:
- Interface: Generic Xml
- Directory: <path to the Data Directory> (for instance, C:\POSERA\MAITRED\DATA\Checks)
IMPORTANT: Maitre’D only supports a SINGLE third-party integration vendor. If another application, such as Table Seating Manager integration, modifies this path or reads from this same directory, it will break Punchh functionality.
- Click the Applybutton.
- Close the Configuration screen.
Promotion Setup
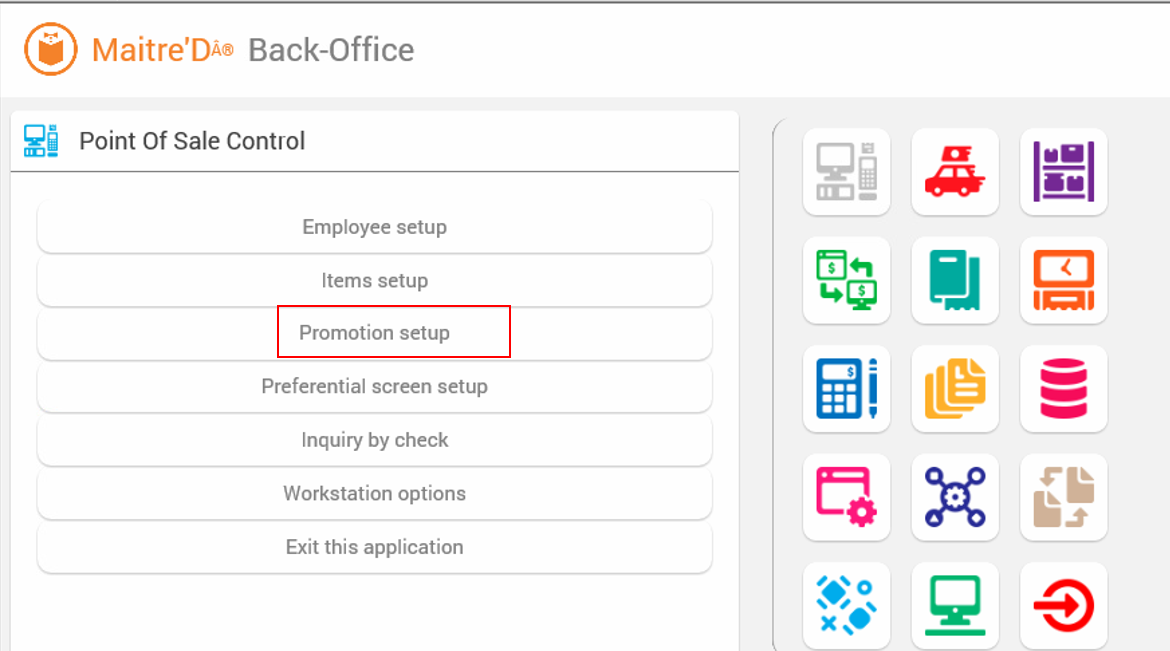
- Navigate to the main screen and select Point of Sale Control.
- Select Promotion Setupon the left applet.
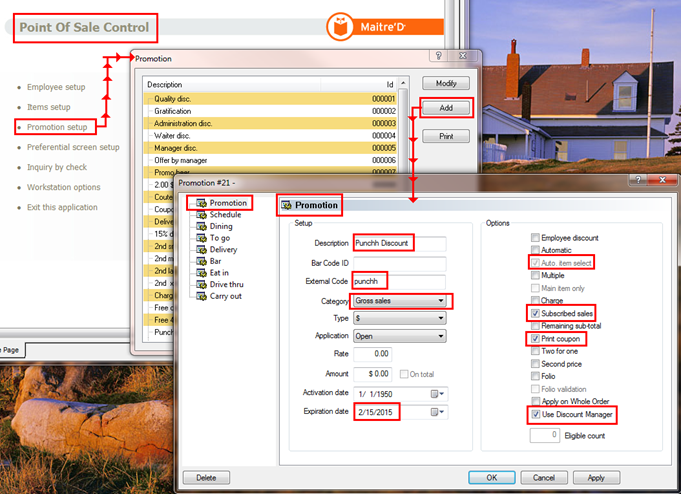
- On the Promotion screen, click the Add button. The new Promotion applet pops up.
- Create a new discount named Punchh Discount, and enter the values as shown in the image below.
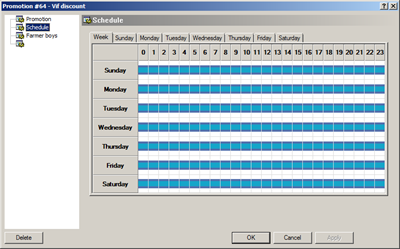
- Select Schedule and enable the promotion for all days.
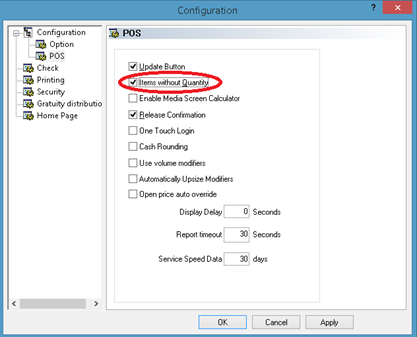
- On the Point of Sale Control screen, select View > Options and then check Items without Quantity.
- Navigate to Employees > Configuration and enable the Punchh discount for all configurations.
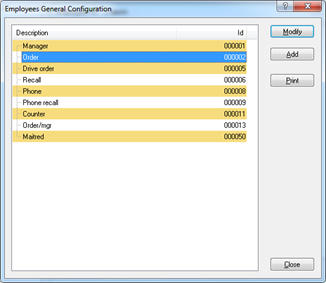
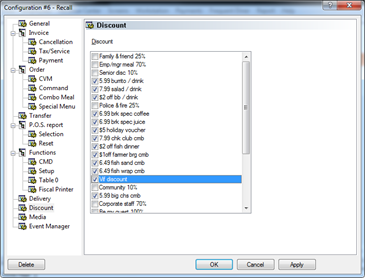
**NOTE:**The Punchh discount is called VIF Discount in the image above.
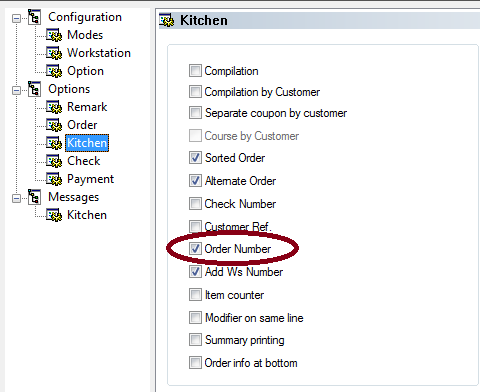
- Under pos control\revenue center\options\kitchen, Order Number must be enabled.
Enabling the Survey Mode Function
- By default, Maitre’D can produce the evaluation sheet. To replace the evaluation sheet with the survey, update the BO.INI file:
- Verify that the BO.INI file exists. For instance, C:\POSERA\MaitreD\DATA\BO.INI
- Update the BO.INI file by adding the SurveyMode=True parameter to the Miscellaneous section.
- Save your changes and close the BO.INI file.
- Stop the Maitre’D Back Office server (for instance, C:\POSERA\MaitreD\PRG\exe), and close all back-office modules as follows:
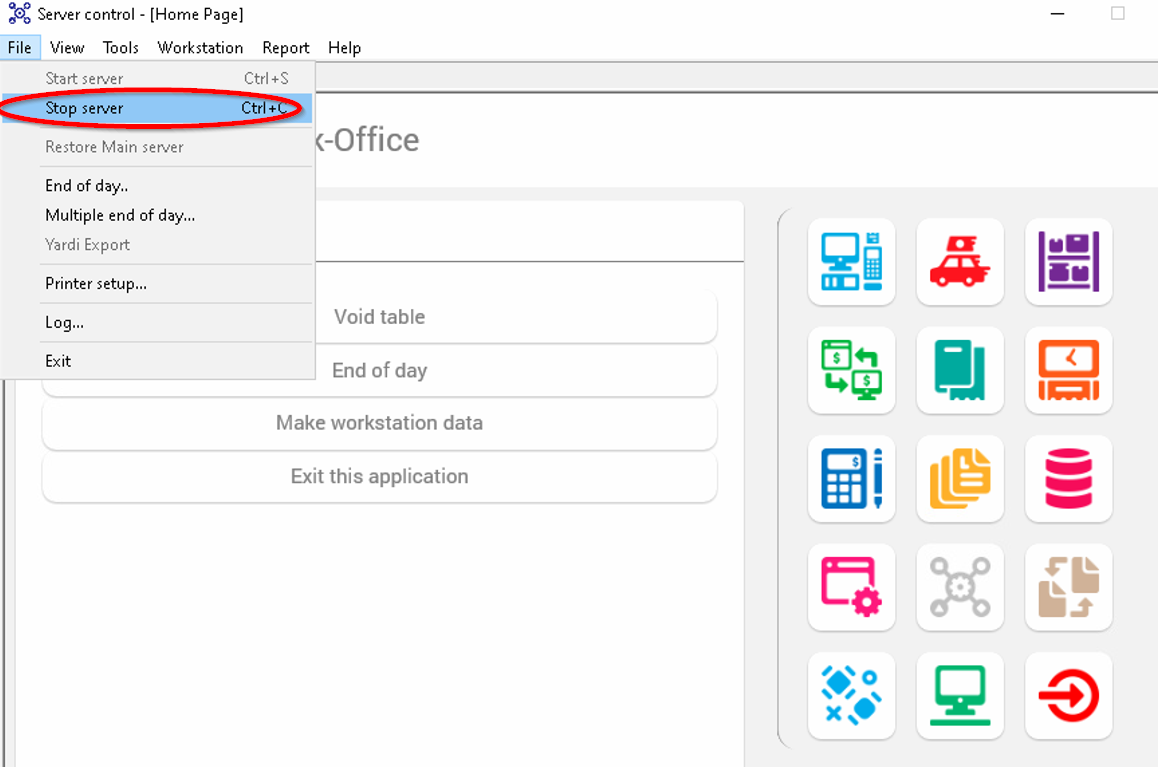
- Navigate to the Server Control screen.
- Select File > Stop Server.
- Start the Maitre'D Back Office and enter <UserID>/<Password>. For instance, C:\POSERA\MaitreD\PRG\bo.exe /FC:\POSERA\MaitreD\DATA\BO.INI
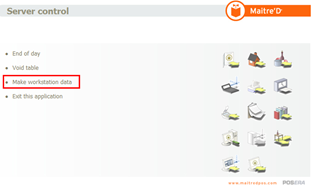
- Navigate to the Server Control screen.
- Select Make Workstation Dataon the Menu applet.
- Start the Maitre’D Back Office server (exe):
- On the Server Control screen, select File > Start Server.
- Close the Server Control screen.
Configure Survey Printing
- Navigate to the Maitre’D Back Office main screen and select Point Of Sale Control.
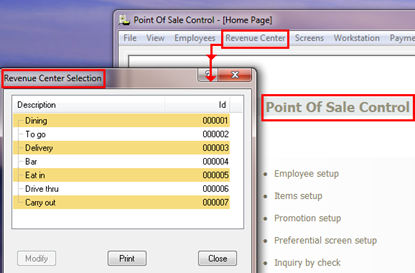
- Select the Revenue Center > Options. The Revenue Center Selection screen pops up.
-
Update values for the Modes and the Workstation parameters for every revenue item available in the list as shown in the image below, or update just some of the items as needed. For instance, Dining
-
Modes
- Double-click the Dining revenue item. The Configuration by Revenue Center #... – Dining screen pops up.
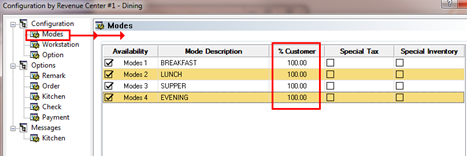
- Navigate to the Menu applet and select Modes. The Modes applet appears.
-
Edit every mode and put the value 00 into the % Customer field as shown in the image below. It means that 100% of checks will have a survey printed.
-
Workstation
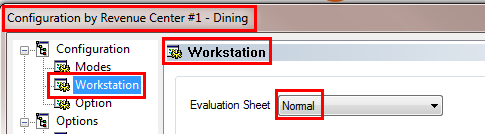
- On the Configuration by Revenue Center #... – Dining screen, navigate to the Menu applet and select Workstation. The Workstation applet appears.
- Select the Normal evaluation sheet.
-
Troubleshooting
If you are getting errors when applying redemptions or trying to scan a QR code to earn points, check the Punchh logs for errors. Logs are located under: C:\Program Files (x86)\Punchh\Logsor C:\Program Files\Punchh\Logs
Log files are named by date; for example, 2025-0223-000050.log was created on Feb 23, 2025.
