Google Passes
Added Module: Smart Passes is available for an additional cost. Contact your Punchh representative to learn more.
Overview
Digital wallets make it effortless for guests to keep everything in one place, boarding passes, tickets, gift cards, and loyalty cards, often referred to as a Pass. By leveraging Google Pass, your brand can deliver powerful benefits: invite guests to join your loyalty program during checkout, enable quick check-ins and redemptions without opening your app, and send timely push notifications for personalized engagement. It’s a smart, convenient way to keep your brand connected and top-of-mind.
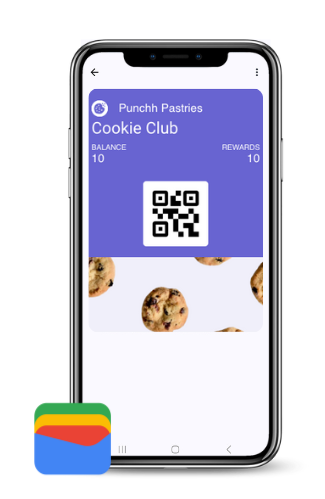
Punchh currently supports the usage of Loyalty Passes for loyalty checkin on Android devices through Google Wallet. Loyalty Passes contain information like the points balance for a guest's loyalty account, and the pass allows guests to check in to your loyalty program without having an app.
From a technology perspective, Google Passes can work in two ways: with or without NFC (Near Field Communication) capability. To use an NFC-enabled pass, you must have NFC-enabled payment POS terminals in-store. NFC-enabled passes allow the guest to “tap” to transfer their loyalty or offer information to the terminal. Non-NFC passes will display a QR code or barcode that can be scanned at checkout, similar to the app experience, but within the guest’s Google Wallet.
Want to know more about these passes? Our article on Smart Passes. discusses how to use these passes as part of your system messages and campaigns.
Configuring Google Wallet
In order to integrate Google Pass and enable your business to use loyalty passes, your brand will need to set up a Google Wallet account, obtain an Issuer ID, and configure the necessary credentials.
Upon enabling Smart Passes for your business, Punchh can perform the initial setup and configuration of the Google Wallet account.
Expand for details
Step 1: Set Up a Google Wallet API Account for the Business
Google Developer Account
-
First, you need to have a Google Developer Account. If you don’t have one, you can sign up at GoogleDeveloper Console.
-
Create a Google Cloud Project:
- Once you have a developer account, create a new project in the Google Cloud Console.
- This project will be used to enable the Google Wallet API and manage the necessary credentials.
-
Enable Google Wallet API:
- Go to the APIs & Services section in the Google Cloud Console.
- Search for Google Wallet API (specifically, Google Wallet Objects API) and enable it for your project.
-
Set Up API Credentials:
- Under APIs & Services, navigate to Credentials.
- Create a Service Account that will be used to authenticate your app and interact with Google Wallet.
- Create a Service Account: Choose a role with sufficient privileges, such as Project > Owner.
-
Download the Service Account JSON Key File: This file contains the private credentials needed for API authentication and will be uploaded when creating the loyalty class.
Step 2: Obtain the Issuer ID
Google does not display your Issuer ID until you complete a quick one-time setup:
-
On the Google Pay & Wallet Console dashboard, click Create a pass in the Google Wallet API card.
-
Click Build your first pass.
-
Agree to the Google Wallet API Terms of Service.
-
After agreeing, you will be taken to the Google Wallet API Dashboard where your Issuer ID will be displayed at the top of the page.
Your Issuer ID will be a long number that looks something like 3388000000022xxxxxx
Step 3: Generate and Download the Service Account JSON Key File
- Download JSON Key File:
- After creating the service account in the Google Cloud Console, you can download the JSON key file. This file contains the credentials necessary to authenticate your application with the Google Wallet API.
- The JSON key file contains critical information like:
client_email: The email address associated with the service account.private_key: The private key used to sign API requests.project_id: The unique identifier for the Google Cloud project.private_key_id: The private ID used to sign API requests.client_id: The ID associated with the service account.
- JSON File Location:
- When you create a service account in Google Cloud Console, you will be given an option to download a JSON file. This file is essential for authenticating API requests to Google Wallet.
- Ensure that this JSON file is securely stored and uploaded when creating the loyalty class in the system.
Google Pass Configuration and Design
Once Google Pass has been enabled with your brand, navigate to Wallet and Passes > Passes to set up or edit your Google Loyalty Pass designs. When designing a pass, you have control over the images, colors, and text fields that appear on the pass, as well as any pass details. The Issuer ID and JSON key File you obtained in the steps above will be entered here as well.
Google Loyalty Pass
A Loyalty Pass is used to identify the loyalty guest at the POS. Today, the loyalty pass provides the POS access to the guest's available rewards for redemption. Once a guest adds a Loyalty Pass to their digital wallet, it remains until the guest deletes it. It does not expire. Your brand can prompt a guest to join the loyalty program and add the pass when the guest taps to pay using their digital wallet at the POS.
The following steps describe the initial setup of the Google Loyalty Pass, which can be done by a Punchh representative. You are able to change the look and feel of the pass or the details anytime by following the steps in the Front of Pass and Pass Details sections.
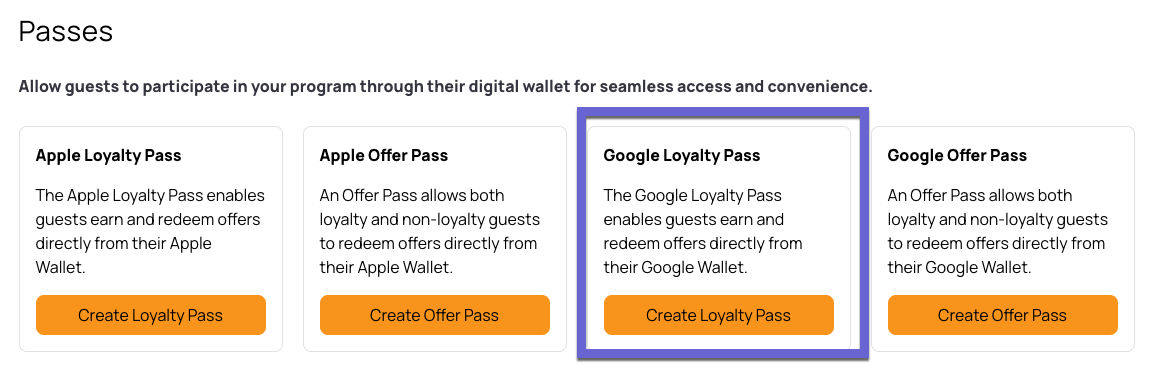
Under Wallet and Passes > Passes, click Create Loyalty Pass under Google Loyalty Pass.
Front of Pass
Use the following fields to create the Design and Content of your Loyalty Pass. A preview of your changes is available on the right of the screen.
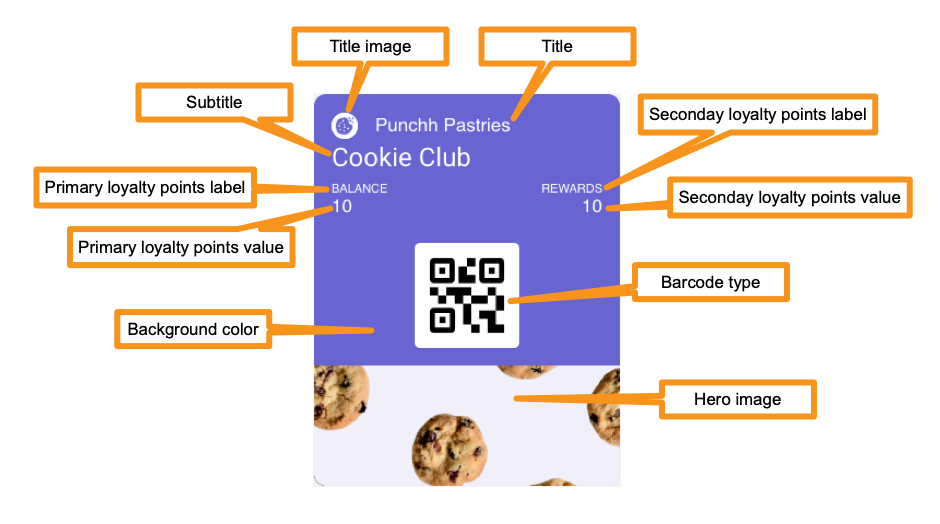
Note: The above example does not display a "Main Image."
-
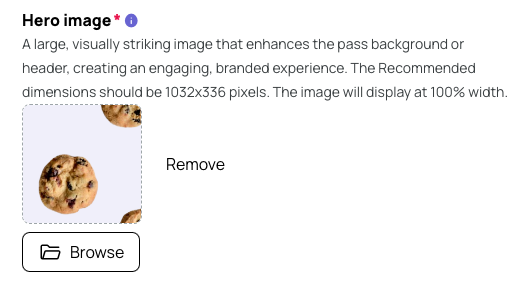
Hero image: Add an image file that appears at the base of the Google pass.
-
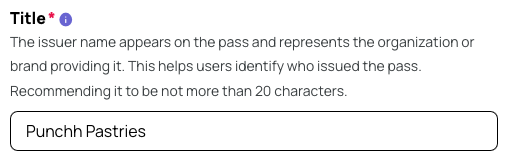
Title: Enter any text you want to appear next to your Title Image. For example, if your logo only contains the initials of your brand, you may want to include your brand's full name as text.
Note: If you add a Main Image (list below), the title will not appear.
-
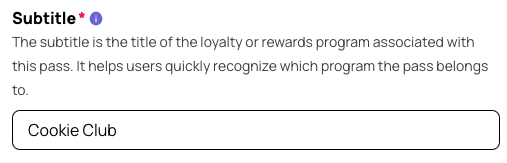
Subtitle: Enter the name of your brand's loyalty program.
-
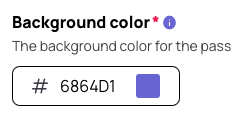
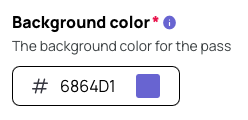
Background Color: Enter the hex code of the color for the full background of the pass.
-
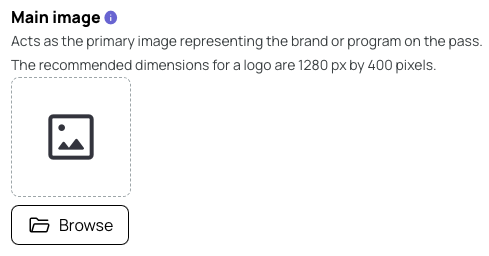
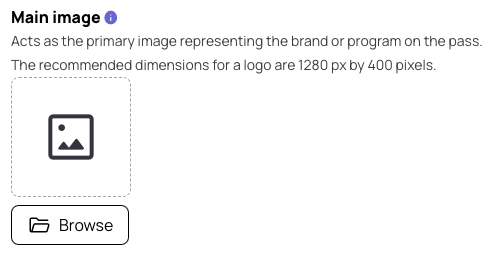
Main Image: Add an image file that appears at the top of the pass.
Note: If you use a Main Image, any Title/Title image will not appear.
-
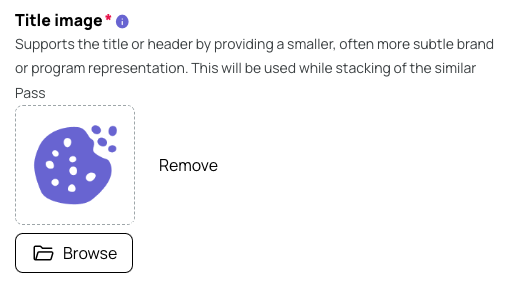
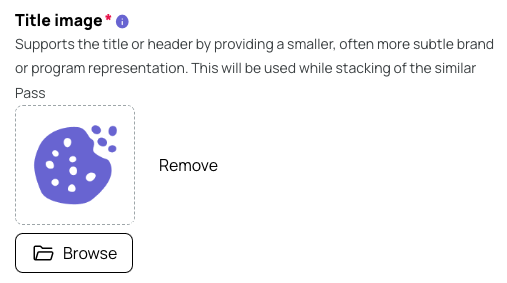
Title Image: Add an image file that will appear next to the Title text, for example, your brand's logo.
-
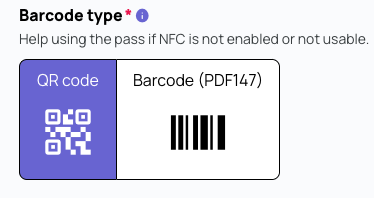
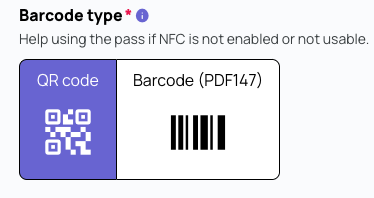
Barcode type: Select between a QR code or Barcode. This code will always appear on your pass details page.
It is recommended to use a QR code, as they are more widely used.
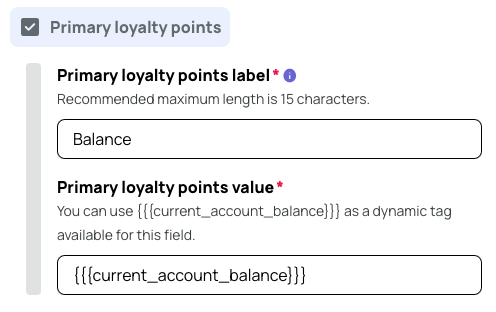
- Primary loyalty points: Select this field to display information about the guest's loyalty account balance.
- Primary loyalty points label: Enter the label for what information is shown in the primary field. For example, "Balance."
- Primary loyalty points value: You can use {{{current_account_balance}}}, {{{current_points_balance}}} and {{{banked_rewards}}} as a dynamic tag for this field.
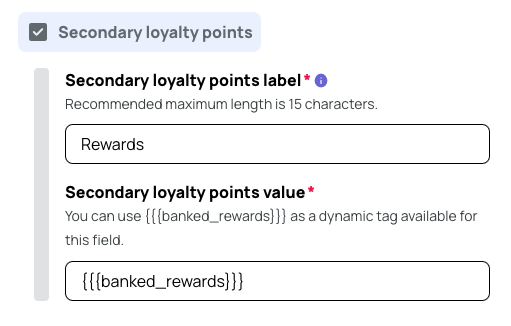
- Secondary loyalty points: Select this field to display the guest's name.
- Secondary loyalty points: label: Enter the label for what information is shown in the secondary field (just below the primary field, to the left.) For example, "Name".
- Secondary loyalty points: value: You can use {{{email}}}, {{{first_name}}} and {{{last_name}}} as a dynamic tag(s) for this field.
Click Next.
Pass Details
-
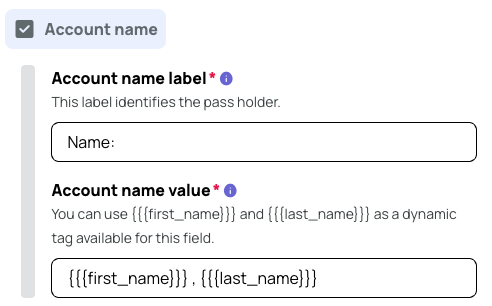
Account name label: Use this field to label the section that shows the guest's name.
-
Account name value: Enter the tags you wish to display in this section. Either {{{first_name}}} and/or {{{last_name}}}.
-
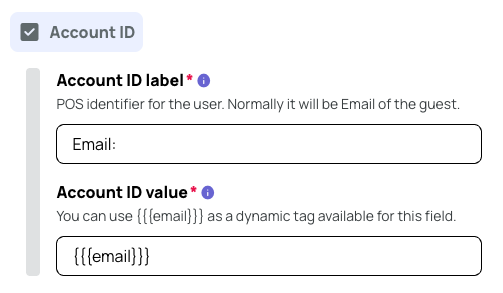
Account ID label: Use this field to label the section that shows the guest's email.
-
Account ID value: Enter {{{email}}} in this section.
-
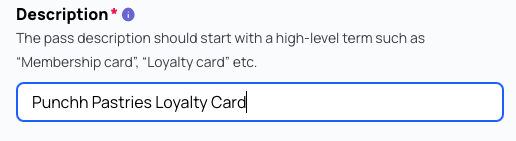
Description: Enter a description of your Google Pass that appears on the pass details page. Keep this short, under 25 characters.
-
Available rewards limit: Enter the number of rewards the pass details will display, with a maximum of 4.

Note: Rewards on the back of the pass are prioritized by the soonest expiration and refresh automatically. No configuration is required. Newly earned or gifted rewards appear on the back of the pass within 12 hours.
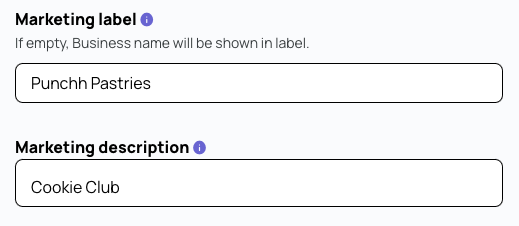
- Marketing label: Use this field to label or name your Loyalty Program. Enter in text or a dynamic tag as needed. If you leave this blank, your business name will be shown.
- Marketing description: Use this field to describe your Loyalty Program. Enter in text or a dynamic tag as needed. If you leave this blank, this field will not appear on the details page.
-
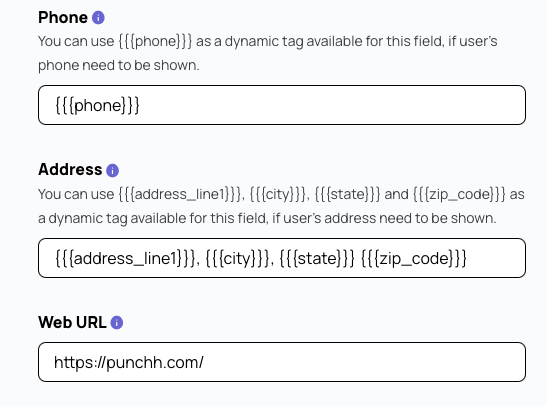
Phone: Enter in text or a dynamic tag as needed. If you leave this blank, this field will not appear on the details page.
-
Address: Enter in text or a dynamic tag as needed. If you leave this blank, this field will not appear on the details page.
-
Web URL: Enter in text or a dynamic tag as needed. If you leave this blank, this field will not appear on the details page.
Click Next.
Settings
We recommend not adjusting the following settings after the initial setup.
- Reward Field Message: Enter the text you want guests to receive as a push notification when a reward is added to their Google Wallet Loyalty Pass. If you leave this field blank, the platform uses the default notification text automatically.

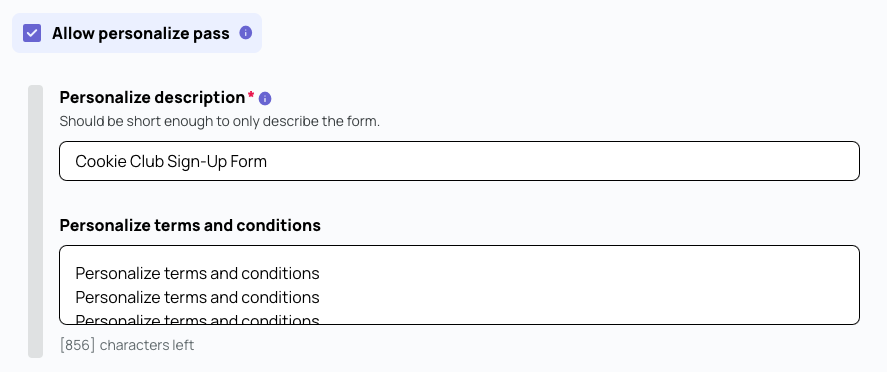
- Allow personalize pass: Enable this to allow push notifications to be sent to the guest to prompt them to add your brand's Google Pass to their Wallet, if not already done.
- Personalize description: Enter the text that would appear in the push notification described above.
- Personalize terms and conditions: Enter any links to the terms and conditions that would accompany the push notification described above.
- Near Field Communication (NFC) capability: Enable this for full NFC capability. If left off, a QR code or barcode will appear on your pass.

- Android pay issuer ID: Enter your business's Issuer ID created in Step 2: Obtain the Issuer ID above.

- User Identifier: Use the drop-down menu to select the user identifier (like User Code or phone number) that will then be used to generate the QR Code or Barcode on the pass.

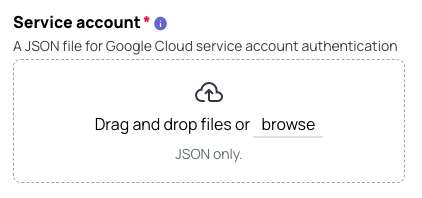
- Service account: Attach your Google Cloud file (JSON only), obtained in Step 3: Generate and Download the Service Account JSON Key File above.
- Review status: Select the status of your pass for Google's review process.
- Draft: Select Draft to indicate that the pass is not ready to be sent to Google for review.
- Under Review: Select Under Review and then Finish on the next page to send the pass to Google for review and approval.

Once approved, this field will be grayed out and show as Approved.

Click Next.
Review
The review page shows all the selections you made above. Review the content and the previews shown on the right.
- Click Back to return to a specific page to make changes.
- Click Finish to complete your Google Loyalty Pass and send the pass for review to Google.
Google Offer Pass
An Offer Pass is a digital representation of a reward, redemption code, or coupon/promo. Once a guest adds it to their Google Wallet, it can be applied during a transaction at the POS. Offer Passes have an expiry that aligns with the redeemable's expiry setting. You can send Offer Passes to guests via email or SMS.
The following steps describe the initial setup of the Google Offer Pass, which can be done by a Punchh representative. You are able to change the look and feel of the pass or the details anytime by following the steps in the Front of Pass and Pass Details sections.
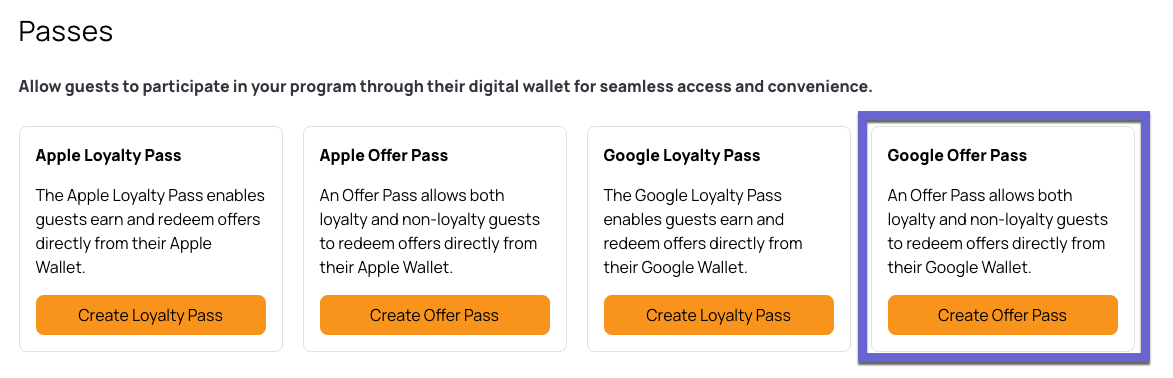
Under Wallet and Passes > Passes, click Create Offer Pass under Google Offer Pass. (Or Edit Offer Pass if the initial setup has been done.)
Front of Pass
Use the following fields to create the Design and Content of your Loyalty Pass. A preview of your changes is available on the right of the screen.
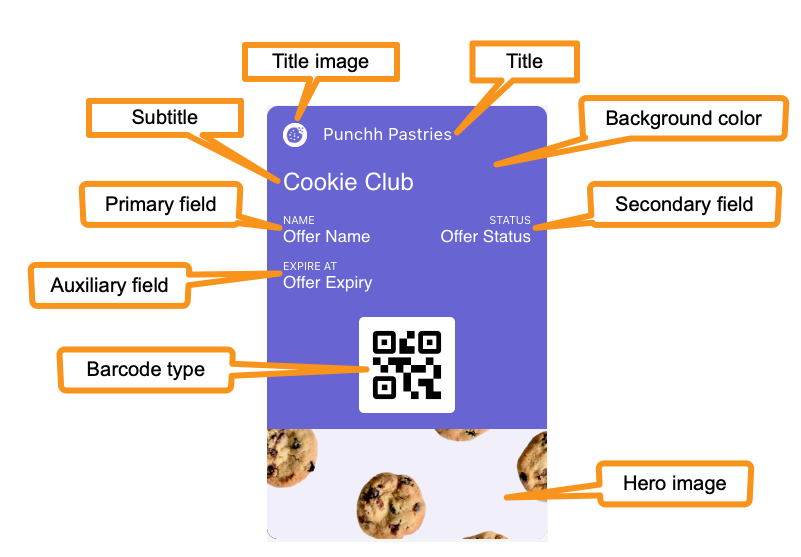
Note: The above example does not display a "Main Image."
-
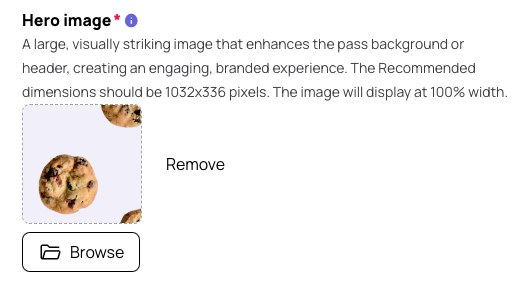
Hero image: Add an image file that appears at the base of the Google pass.
-
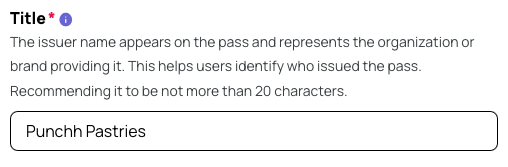
Title: Enter any text you want to appear next to your Title Image. For example, if your logo only contains the initials of your brand, you may want to include your brand's full name as text.
Note: If you add a Main Image (list below), the title will not appear.
-
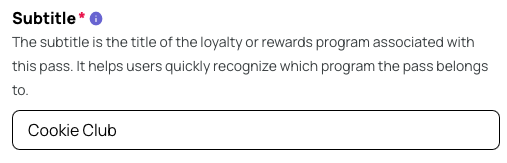
Subtitle: Enter the name of your brand's loyalty program.
-
Background Color: Enter the hex code of the color for the full background of the pass.
-
Main Image: Add an image file that appears at the top of the pass.
Note: If you use a Main Image, any Title/Title image will not appear.
-
Title Image: Add an image file that will appear next to the Title text, for example, your brand's logo.
-
Barcode type: Select between a QR code or Barcode. This code will always appear on your pass details page.
It is recommended to use a QR code, as they are more widely used.
- Primary field: Select this field to display the offer name on the front of the pass. When a Display Name is configured on the associated Coupon or Promo Campaign, that name appears here. If no Display Name is set, the coupon or promo code appears in this field instead.
- Primary field label: Enter the label for what information is shown in the primary field. For example, "Offer Name."
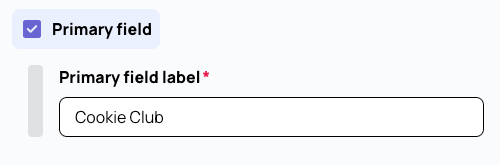
- Primary field label: Enter the label for what information is shown in the primary field. For example, "Offer Name."
- Secondary field: Select this field to display the status of the reward.
- Secondary field label: Enter the label for what information is shown in the secondary field (just below the primary field, to the left.) For example, "Status".
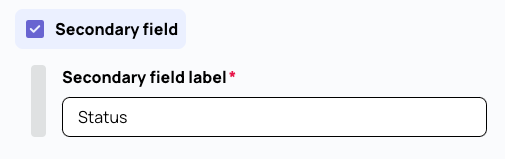
- Secondary field label: Enter the label for what information is shown in the secondary field (just below the primary field, to the left.) For example, "Status".
- Auxiliary field: Select this field to show the guest's email address.
- Auxiliary field label: Enter the label for what information is shown in the auxiliary field (just below the primary field, to the right.) For example, "Expires at".
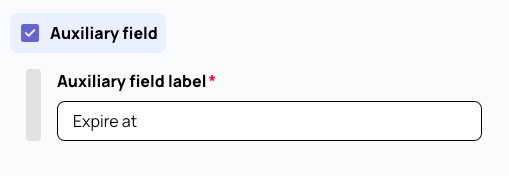
- Auxiliary field label: Enter the label for what information is shown in the auxiliary field (just below the primary field, to the right.) For example, "Expires at".
Click Next.
Pass Details
- Account name label: Use this field to label the section that shows the guest's name.
- Account name value: Enter the tags you wish to display in this section. Either {{{first_name}}} and/or {{{last_name}}}.
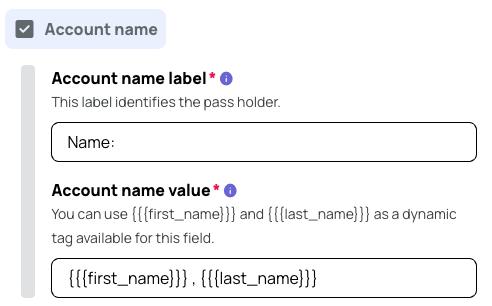
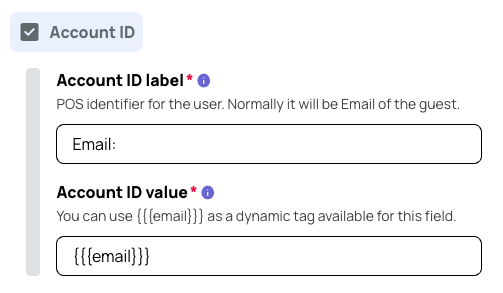
- Account ID label: Use this field to label the section that shows the guest's email.
- Account ID value: Enter {{{email}}} in this section.
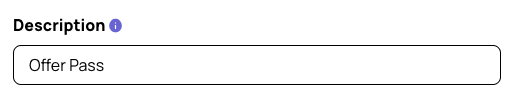
- Description: Enter a description of your Google Pass that appears on the pass details page. Keep this short, under 25 characters.
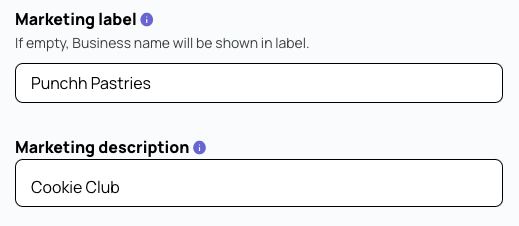
- Marketing label: Use this field to label or name your Loyalty Program. Enter in text or a dynamic tag as needed. If you leave this blank, your business name will be shown.
- Marketing description: Use this field to describe your Loyalty Program. Enter in text or a dynamic tag as needed. If you leave this blank, this field will not appear on the details page.
- Web URL: Enter in text or a dynamic tag as needed. If you leave this blank, this field will not appear on the details page.

Click Next.
Settings
We recommend not adjusting the following settings after the initial setup.
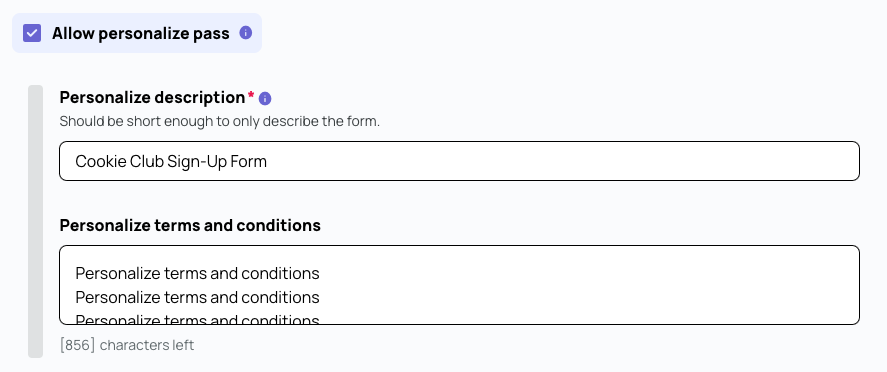
- Allow personalize pass: Enable this to allow push notifications to be sent to the guest to prompt them to add your brand's Google Pass to their Wallet, if not already done.
- Personalize description: Enter the text that would appear in the push notification described above.
- Personalize terms and conditions: Enter any links to the terms and conditions that would accompany the push notification described above.
- Near Field Communication (NFC) capability: Enable this for full NFC capability. If left off, a QR code or barcode will appear on your pass. Coming Soon! NFC is currently not available for Offer Passes.

- Android pay issuer ID: Enter your business's Issuer ID created in Step 2: Obtain the Issuer ID above.

- User Identifier: Use the drop-down menu to select the user identifier (like User Code or phone number) that will then be used to generate the QR Code or Barcode on the pass.

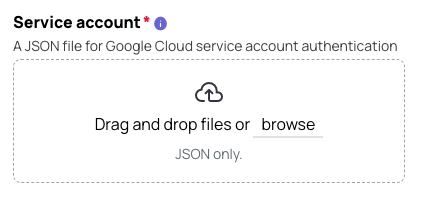
- Service account: Attach your Google Cloud file (JSON only), obtained in Step 3: Generate and Download the Service Account JSON Key File above.
- Review status: Select the status of your pass for Google's review process.
- Draft: Select Draft to indicate that the pass is not ready to be sent to Google for review.
- Under Review: Select Under Review and then Finish on the next page to send the pass to Google for review and approval.

Once approved, this field will be grayed out and show as Approved.

Click Next.
Review
The review page shows all the selections you made above. Review the content and the previews shown on the right.
- Click Back to return to a specific page to make changes.
- Click Finish to complete your Google Loyalty Pass and send the pass for review to Google.
