How Do I Add a Job?
Select Jobs
-
Select Staff
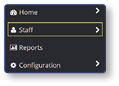
-
Select Jobs
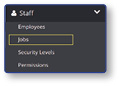
Note: The Jobs landing page will be displayed.
Create A New Job
-
Select a Location
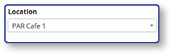
-
Select +New Job

-
Enter the Name of the new job
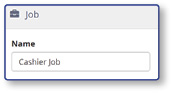
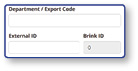
Note: If needed, enter a Department/Export Code and/or External ID.
Select Job Options
-
Select defaults from the Options tab:
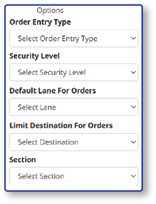
- Order Entry Type
- Security Level
- Lane
- Destination
- Section
-
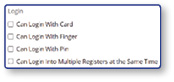
Select Register Login settings
-
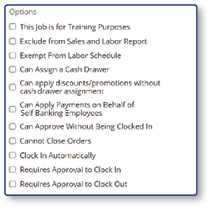
Select Options settings
-
Select Delivery settings
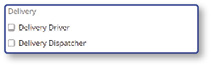
-
Select Table Service settings
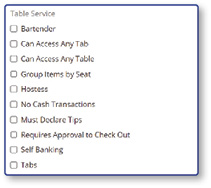
-
Select Labor Scheduler Display Color
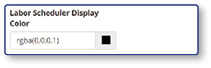
-
Select Limit Break Type Options
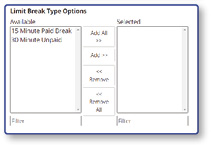
-
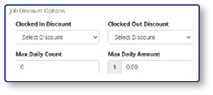
Select Job Discount Options
Select Screens
-
Select defaults from Screens tab:
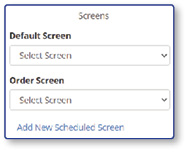
- Select Default Screen
- Select Order Screen
-
To set a Screen Schedule, select Add New Scheduled Screen
-
Select settings for:
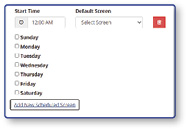
- Start Time
- Default Screen
- Days of the Week
Select Menus
-
On the Menus tab:
-
Select Add New Scheduled Menu
-
Select settings for:
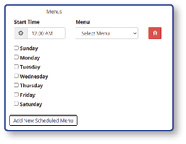
- Start Time
- Menu
- Days of the Week
Note: A Scheduled Menu is not required.
-
Select Save
- Select Save

Note: Selecting Save will create the new Job and return you to the Jobs landing page.