Settings
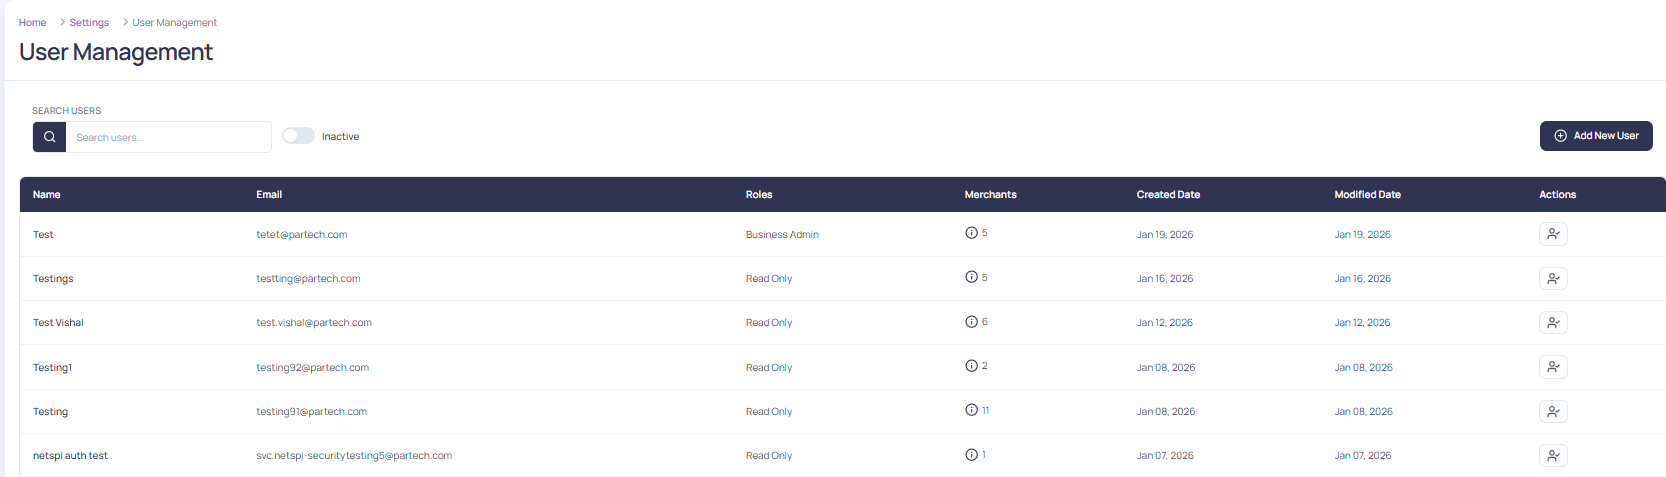
The Settings module allows administrators to manage user access and preferences within the Merchant Services Portal.
User Management
The key feature in this module is User Management, which includes tools for creating users, assigning roles, and managing account visibility.
Creating a New User
To add a new user:
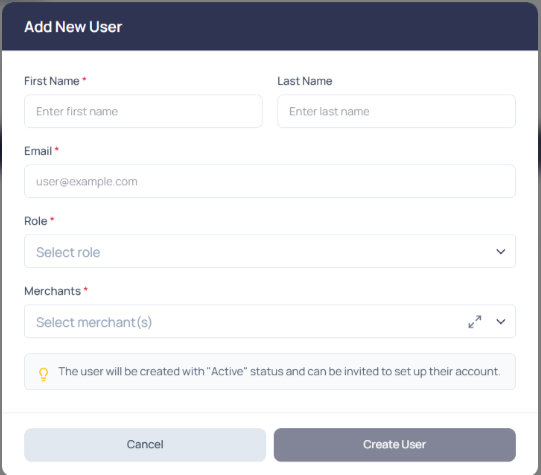
- Navigate to the Users tab and click the Add New User button
- Assign a User Role to define access permissions
- Select the Merchants you want to assign to the user from the drop-down menu
- Enter a First Name, Last Name, and User Email
- Click Create User to complete the setup
User Roles
User roles determine the level of access and functionality available to each user within the portal.
Super Admin
The Super Admin role provides the highest level of access across the Merchant Portal. It is intended for users who require full oversight and control.
- Access Level: Full, unrestricted access across all merchants and portal features.
- Capabilities:
- Can access all merchant data.
- Create another user role such as Business Admin, Admin, Read Only, or Super Admin.
- Can edit and delete another user role except Super Admin users.
- Full visibility and control over all portal data and settings.
Business Admin
The Business Admin role allows full access to portal features, but only for assigned merchants.
- Access Level: Full access limited to designated merchants.
- Capabilities:
- Access all reports and statements for assigned merchants.
- Create Business Admin and Read Only users within their merchant scope.
- Can only edit and delete Read Only users.
- Restrictions:
- Cannot view or manage merchants or users outside their assigned scope.
Admin
The Admin role provides comprehensive access to portal features, with limited user management capabilities.
- Access Level: Full read-only access to the reports and statements feature for all merchants.
- Capabilities:
- View all merchant details.
- Access the User Management tab in read-only mode.
- Restrictions:
- Cannot download any reports and statements from the portal.
Read Only
The Read Only role is designed for users who need visibility into portal data without the ability to make changes, for designated merchants.
- Access Level: View-only access.
- Capabilities:
- View portal data, reports, and merchant details.
- Restrictions:
- Cannot access the User Management tab (it will be hidden).
- Cannot download any reports and statements from the portal.
Search and Filter Options
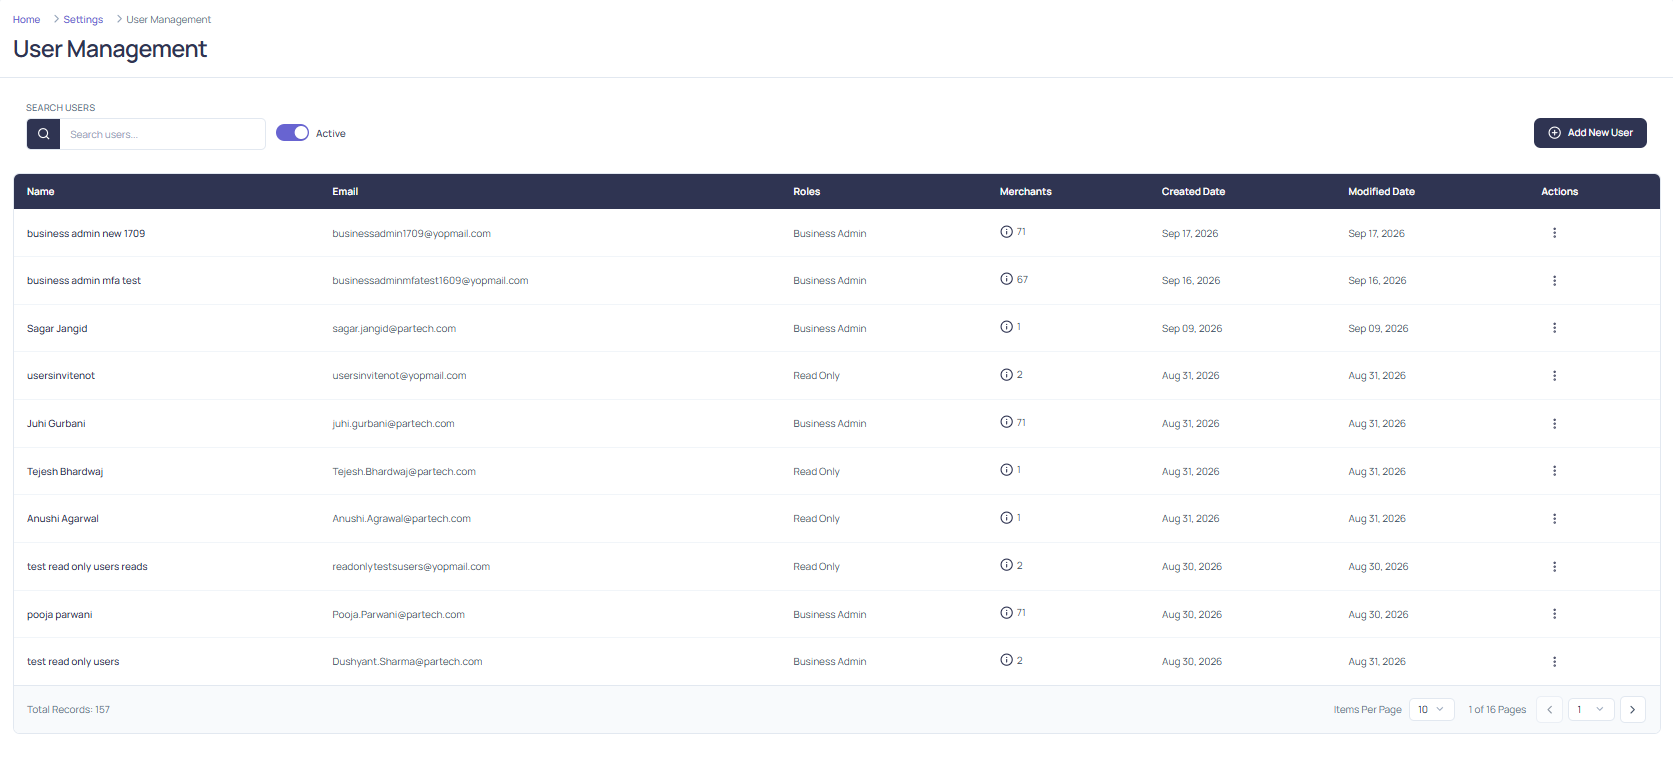
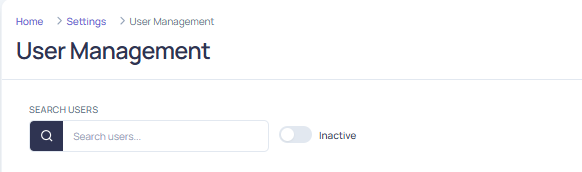
To help locate users efficiently, the portal provides the following tools:
Search Box
Use the Search Box for quick searches.
- Search by Username, Email, or Merchant ID
- Partial matches are supported to help narrow down results
Active Toggle
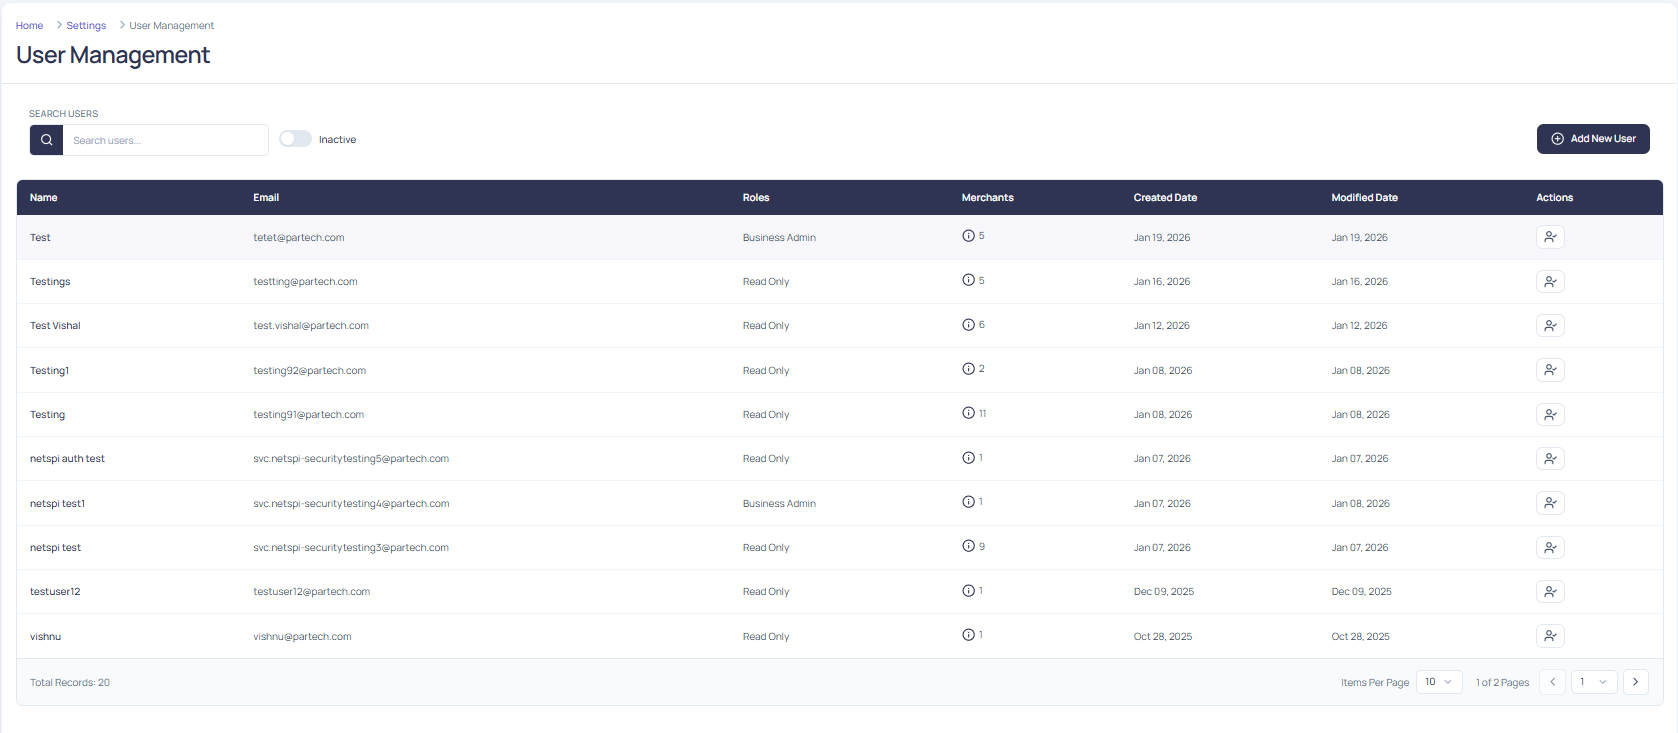
Use the Active toggle to quickly filter the user list.
- Toggle on to show only active users.
- Toggle off to include inactive users in the list.
Edit User
The Edit function allows authorized users to update certain details of other users' accounts.
- Super Admins can edit users with the following roles:
- Business Admin
- Admin
- Read Only
- Business Admins can edit users with the Read Only role.
- Both Super Admins and Business Admins can edit their own names, but not their roles or permissions.
To edit a user:
- Locate the user from the user list
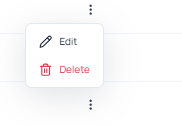
- Click the Action button [...] beside the user
- Click Edit
- Edit the user
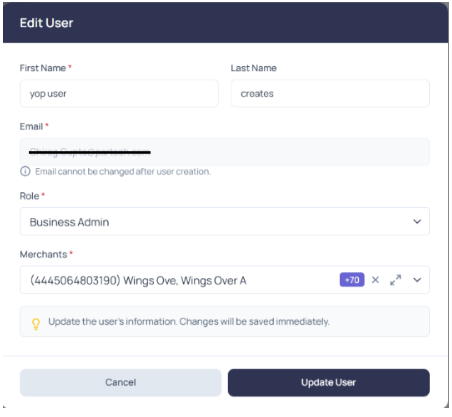
- Click Update User to save changes
Delete User
The Delete function deactivates the user's account from the portal, and their account is removed from the active user list.
- Super Admins can delete users with the following roles: Business Admin, Admin, and Read Only.
- Business Admins can delete users with the Read Only role.
- Super Admins and Business Admins cannot delete their own accounts.
To delete a user:
- Locate the user from the user list
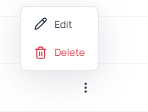
- Click the Action button [...] beside the user
- Click Delete
To view a list of deleted users:
- Toggle the Active button off
Invite User
The Invite function is used to send invitations to users who haven't accepted the initial invite at the time of user account creation. The user receives an email with a link to join and set up their account.
- Super Admins and Business Admins can invite users.
To invite a user:
- Locate the user from the user list
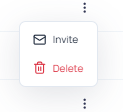
- Click the Action button [...]
- Click Invite
Reactivate User
The Reactivate function allows authorized users to restore access for users who were previously deleted.
- Super Admins can reactivate users with the following roles:
- Business Admin
- Admin
- Read Only
- Business Admins can reactivate users with the Read Only role.
NOTE: Users cannot reactivate their own accounts.
To reactivate a user:
- Toggle the Active button off
- Locate the user from the user list
- Click the Action button to reactivate the user account