CRM: Customers Module
The Customers page in the Management Center offers a full CRM (Customer Relationship Management) experience. It helps you manage customer information and interactions in one place. You can view and search customer details such as name, phone number, email address, and account type (Registered or Guest), as well as create and manage customer accounts.
If PAR Catering is enabled for your brand, you’ll also see an Organizations tab. This tab is designed for company accounts and includes details like organization name, contact info, assigned sales representative, tags, and account statuses. You can also search, filter, and manage organization accounts from this tab.
From the Customer (Individual) and Organization tab, you can view further details on an individual customer or an organization’s account, such as contact information, order history, etc. To view the Customers page, navigate to Brand > All Stores > CRM.
Create New Account
Create Customer (Individual Account)
To create a new individual account:
-
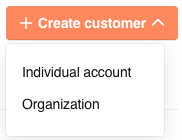
Click + Create customer in the upper right corner.
-
Select Individual Account (if creating an Individual PAR Catering account).
-
Complete the following required fields:
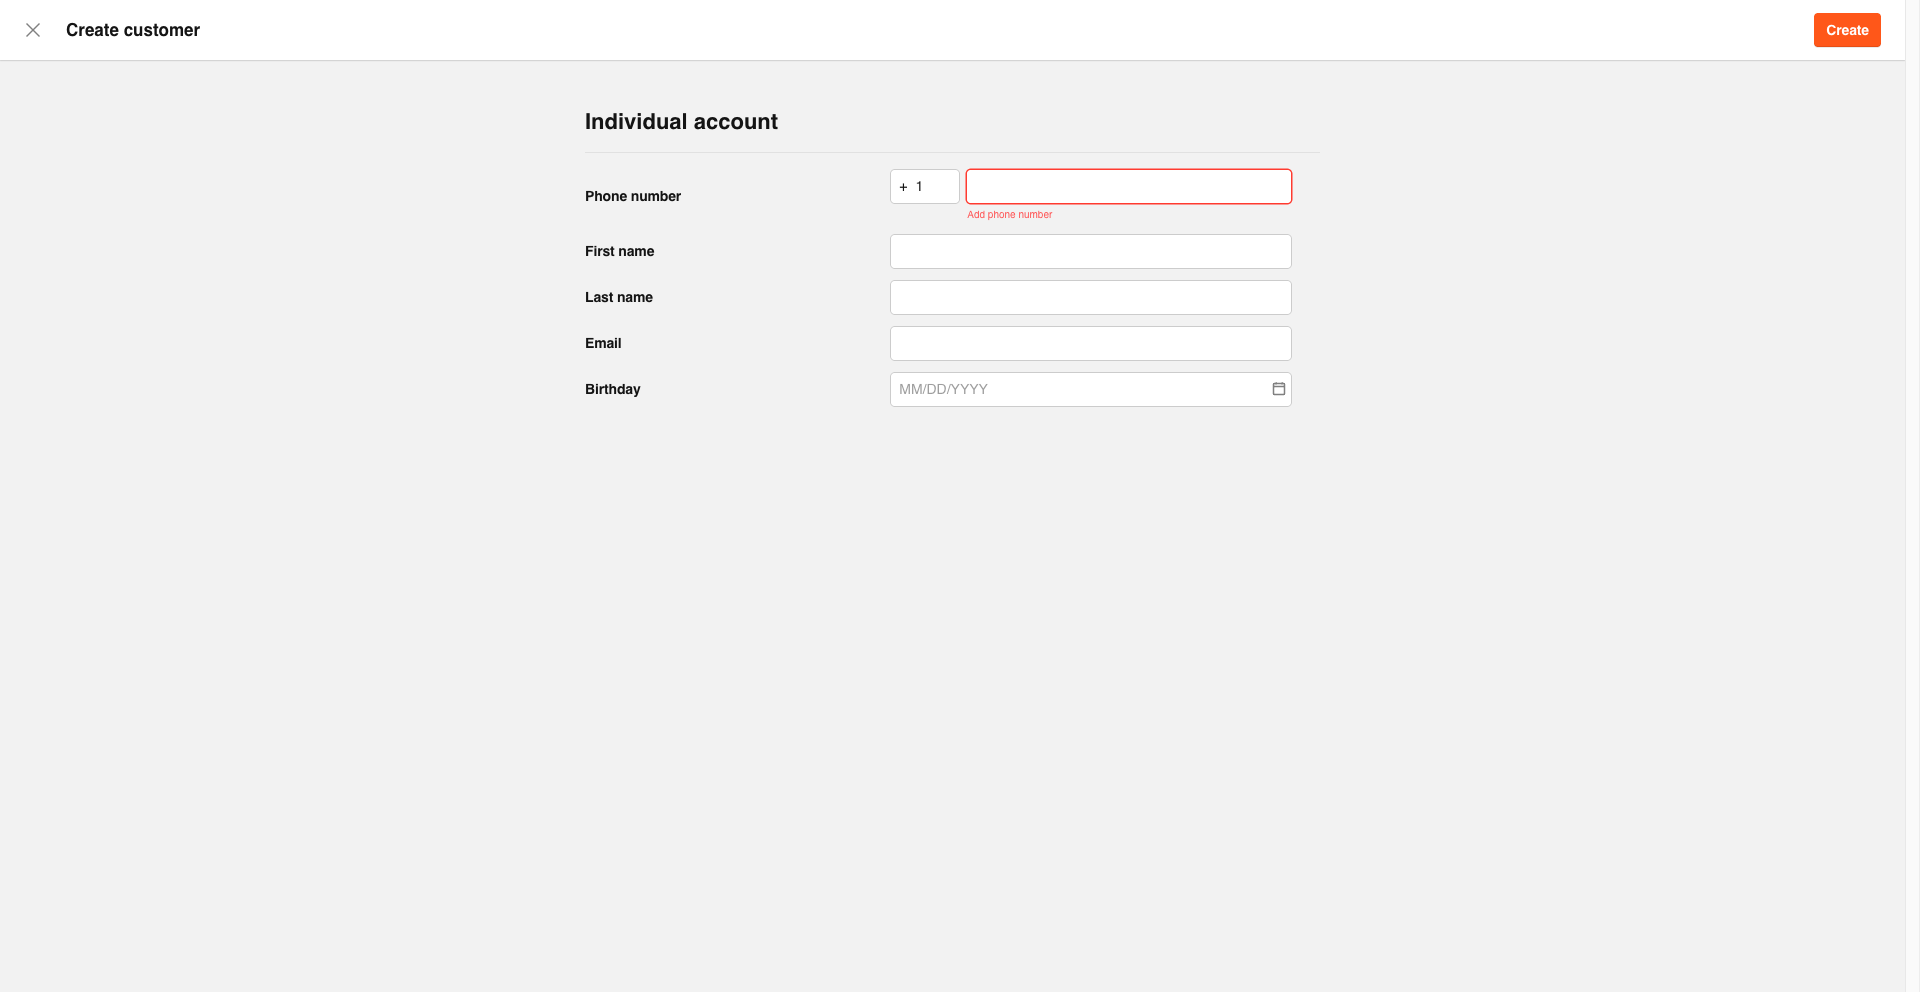
- First Name
- Last Name
- Phone Number
- Email Address
- Birthday
-
Click Create.
An account for the customer is created with the Account Type as Registered (Individual) User.
Create Organization Account
To create a new organization account:
-
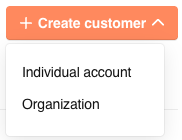
Click + Create customer in the upper right corner.
-
Select Organization Account.
-
Complete the following required fields:
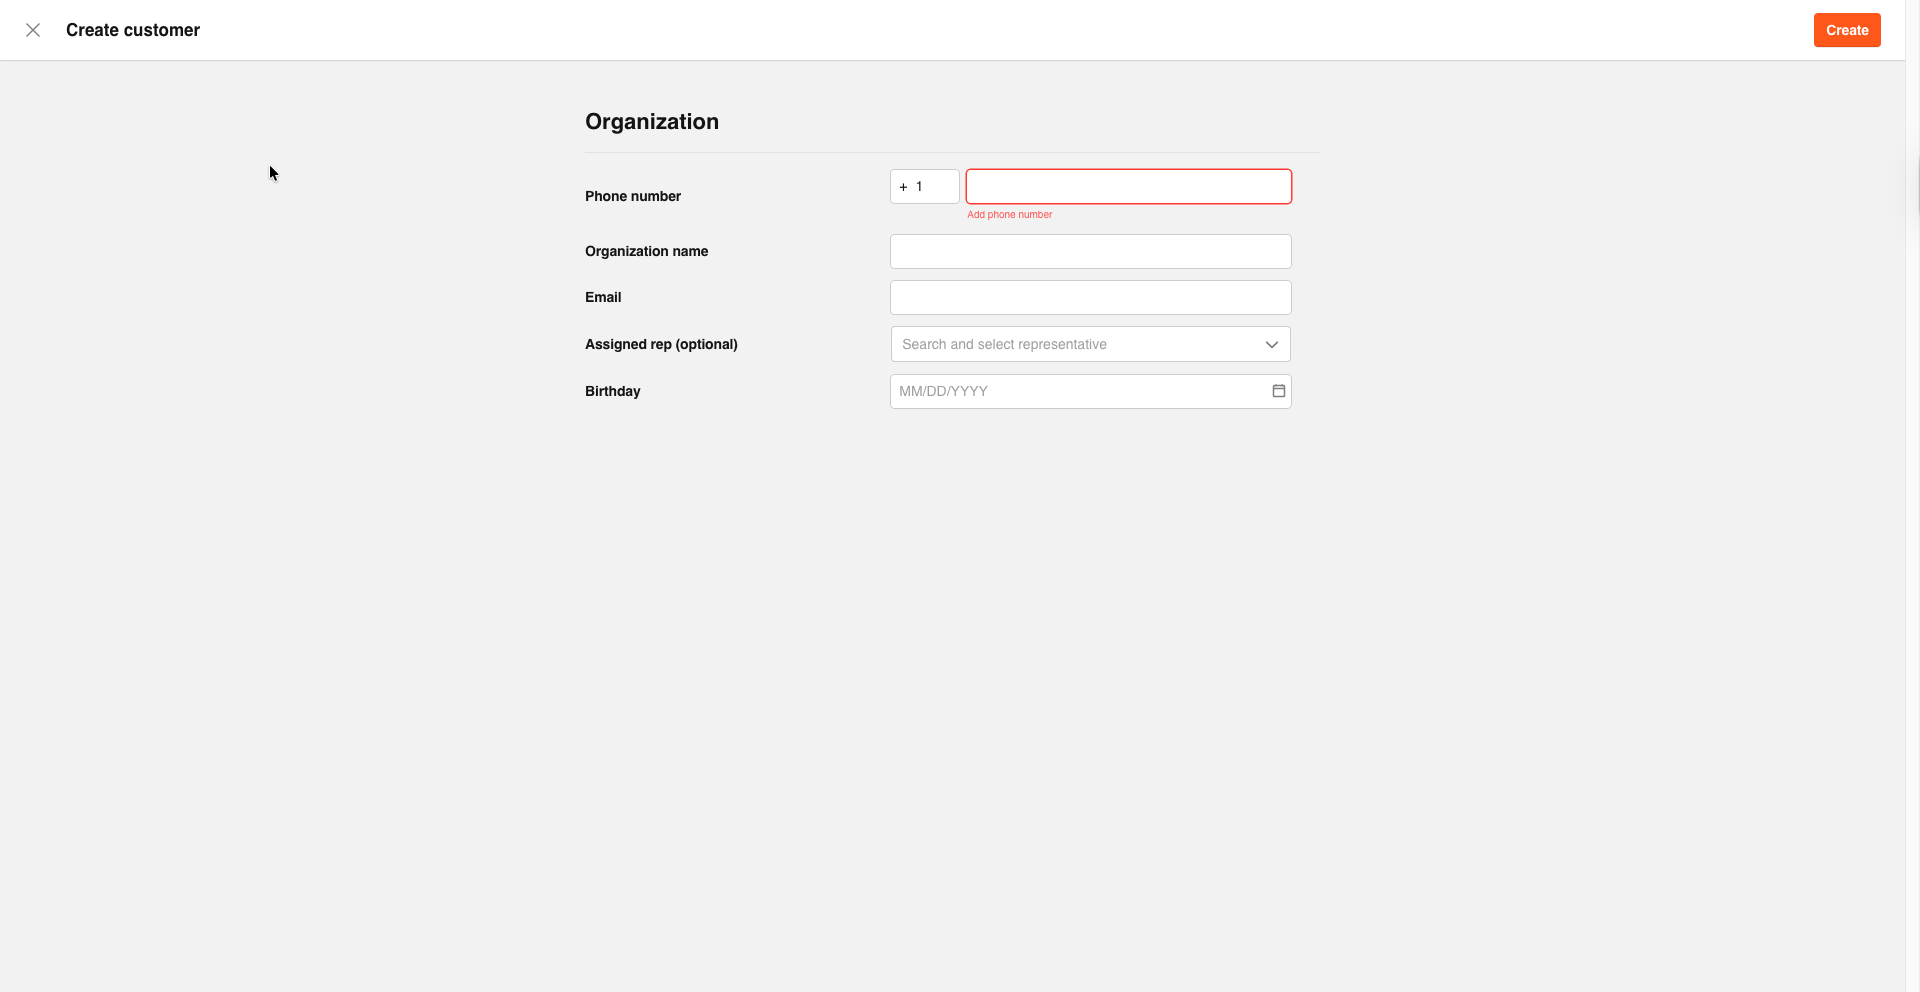
- Phone Number
- Organization name
- Email Address
- Assigned rep (optional)
- Birthday
-
Click Create.
An account for the organization is created.
Customers
To view the Customers page, navigate to Brand > All Stores > CRM.
The Customers page opens. If you have PAR Catering enabled, the Customers page opens to the Individual tab.
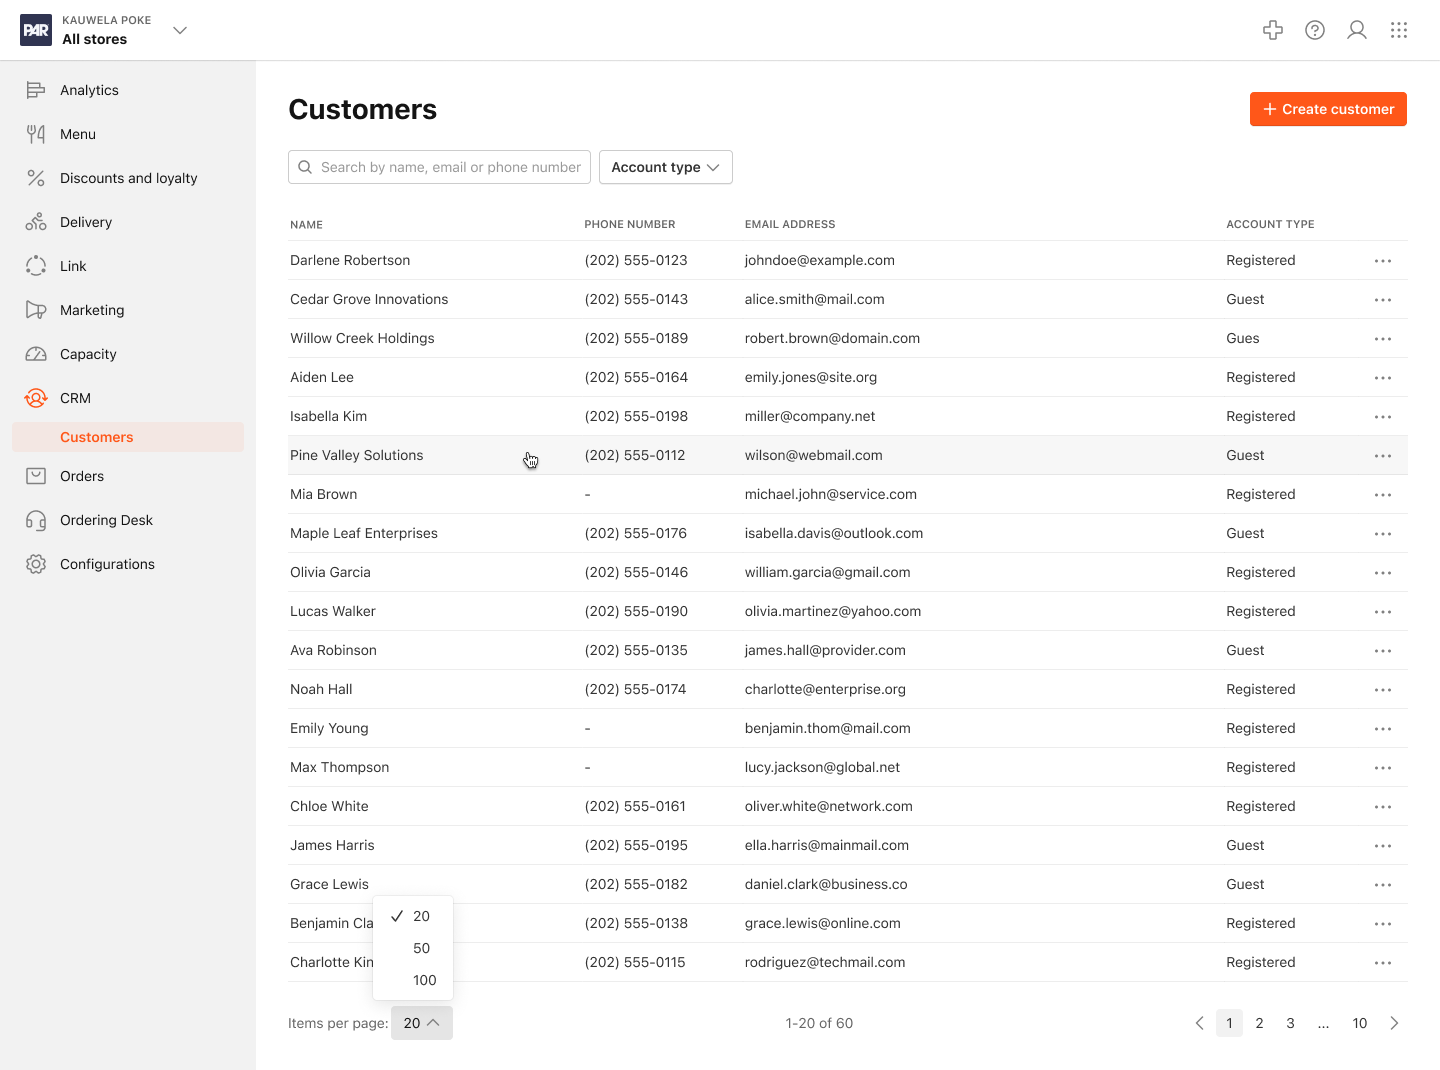
On the page you can:
-
Use the search bar for Name, Email, Phone Number, or Order Code.
-
Apply the Account Type filter:
- Registered
- Guest
Viewing a Customer's Account
To view an individual customer’s account, click their name within the Customers (Individual) list.
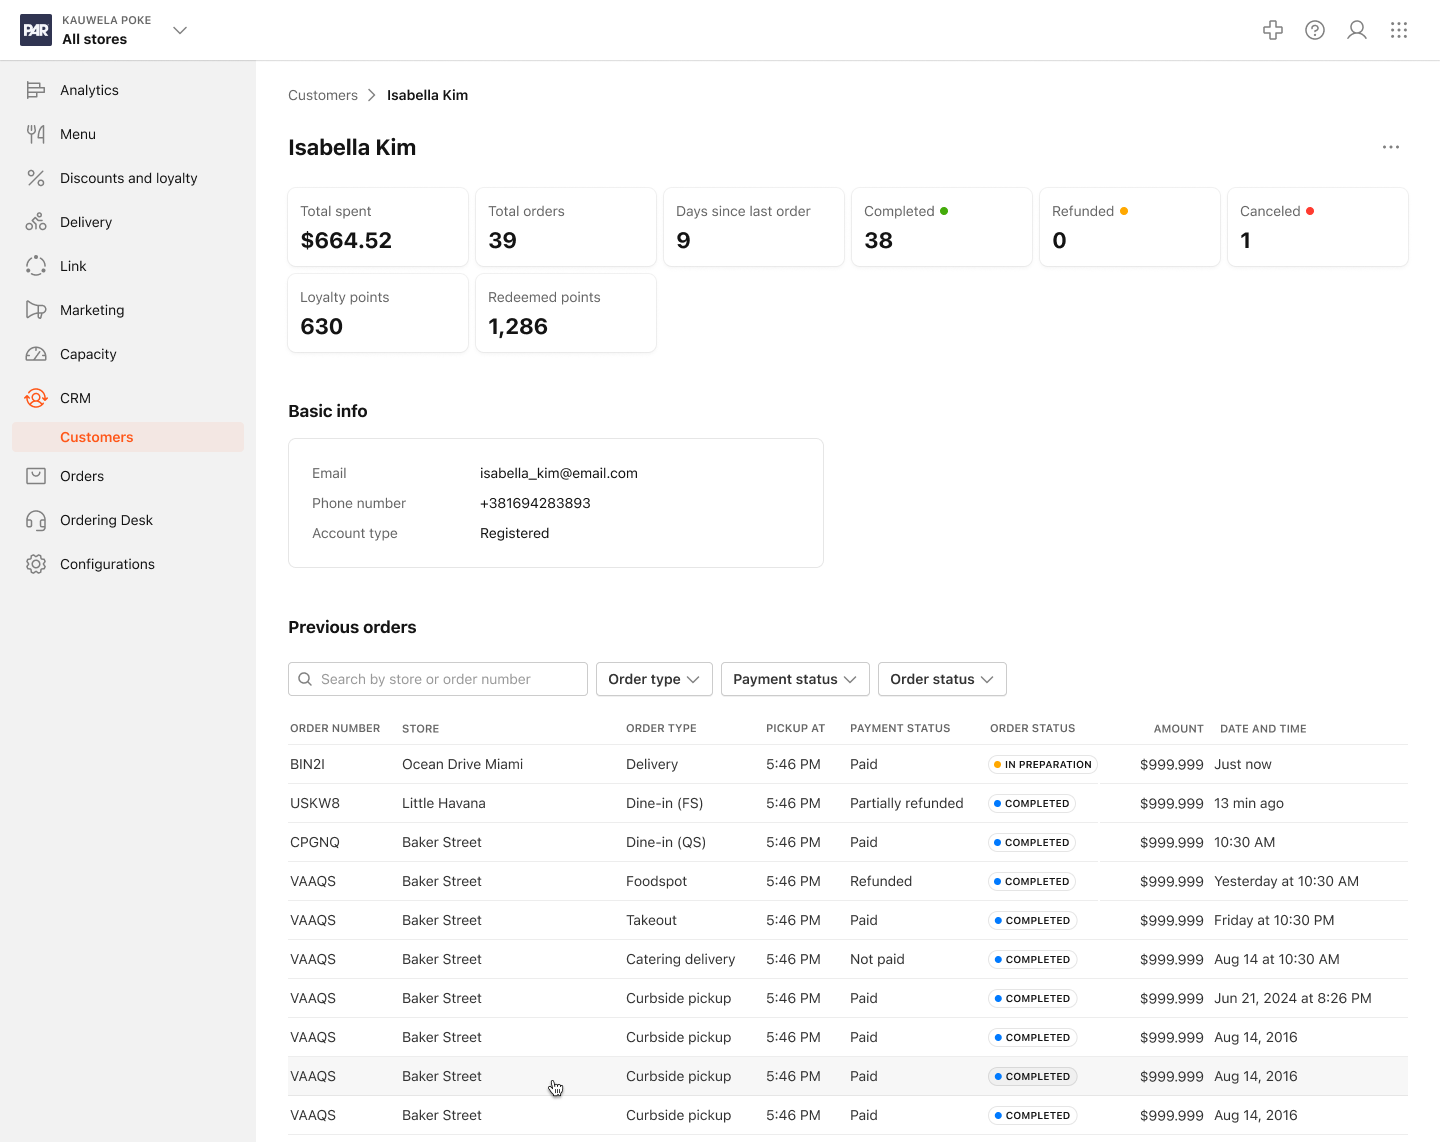
The top of the customer account shows the following data:
- Total spent: Total amount of money spent for all completed orders.
- Total Orders: Total number of completed orders
- Days since last order: Number of days since last completed order
- Completed: Number of completed orders
- Refunded: Number of orders that were refunded to the customer.
- Canceled: Number of orders that were canceled by the customer or system.
The rest of the account page shows the following:
-
Customer’s Contact info
-
Previous Order History:
- Order Number
- Store
- Order Type
- Pickup Time
- Payment Status
- Order Status
- Order Amount
- Date & Time
Previous orders can be filtered by Order types, Payment status, and Order Status.
Additional Actions
Click the three-dot menu in the upper-right corner.
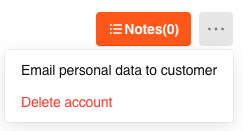
- Email personal data to customer: Select to send the customer an email with their account data.
- Delete account: Select to delete the customer's account. This will permanently remove all data from the system and cannot be undone.
These actions are also located on the Customers (Individual) list page by clicking the three-dot menu after each customer name.
Organizations
To view the Organizations page, navigate to Brand > All Stores > CRM.
Click the Organizations tab.
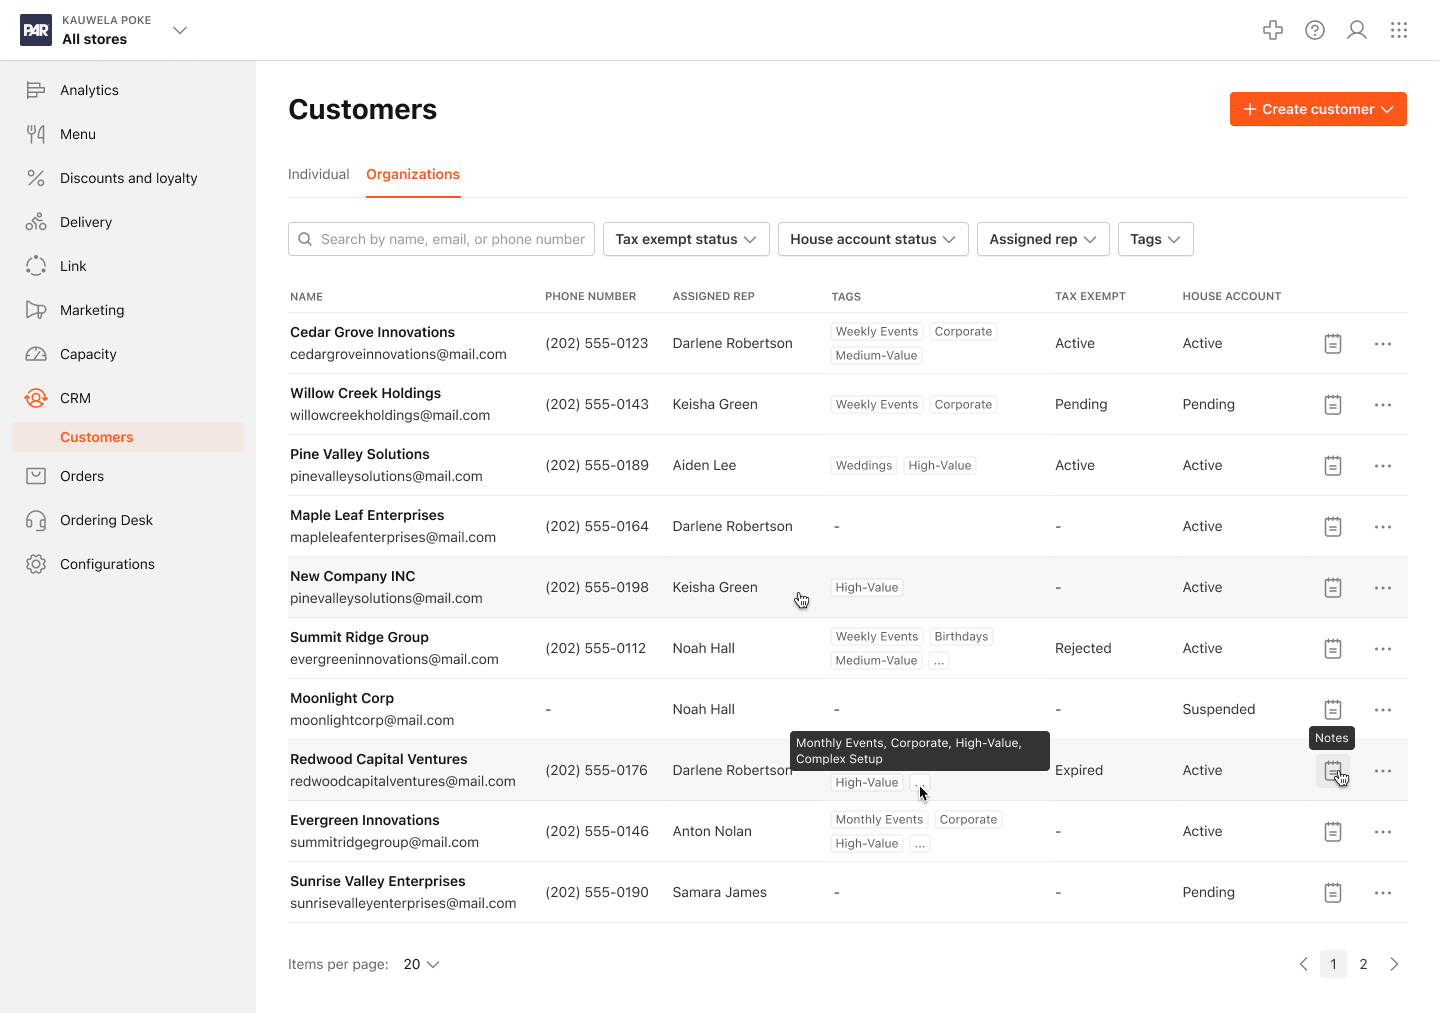
On the page you can:
-
Use the search bar for Name, Email, Phone Number, or Order Code.
-
Apply the filters for:
- Tax exempt status
- Assigned rep
- Tags
Viewing an Organization's Account
To view an organization's account, click its name within the Organizations list.
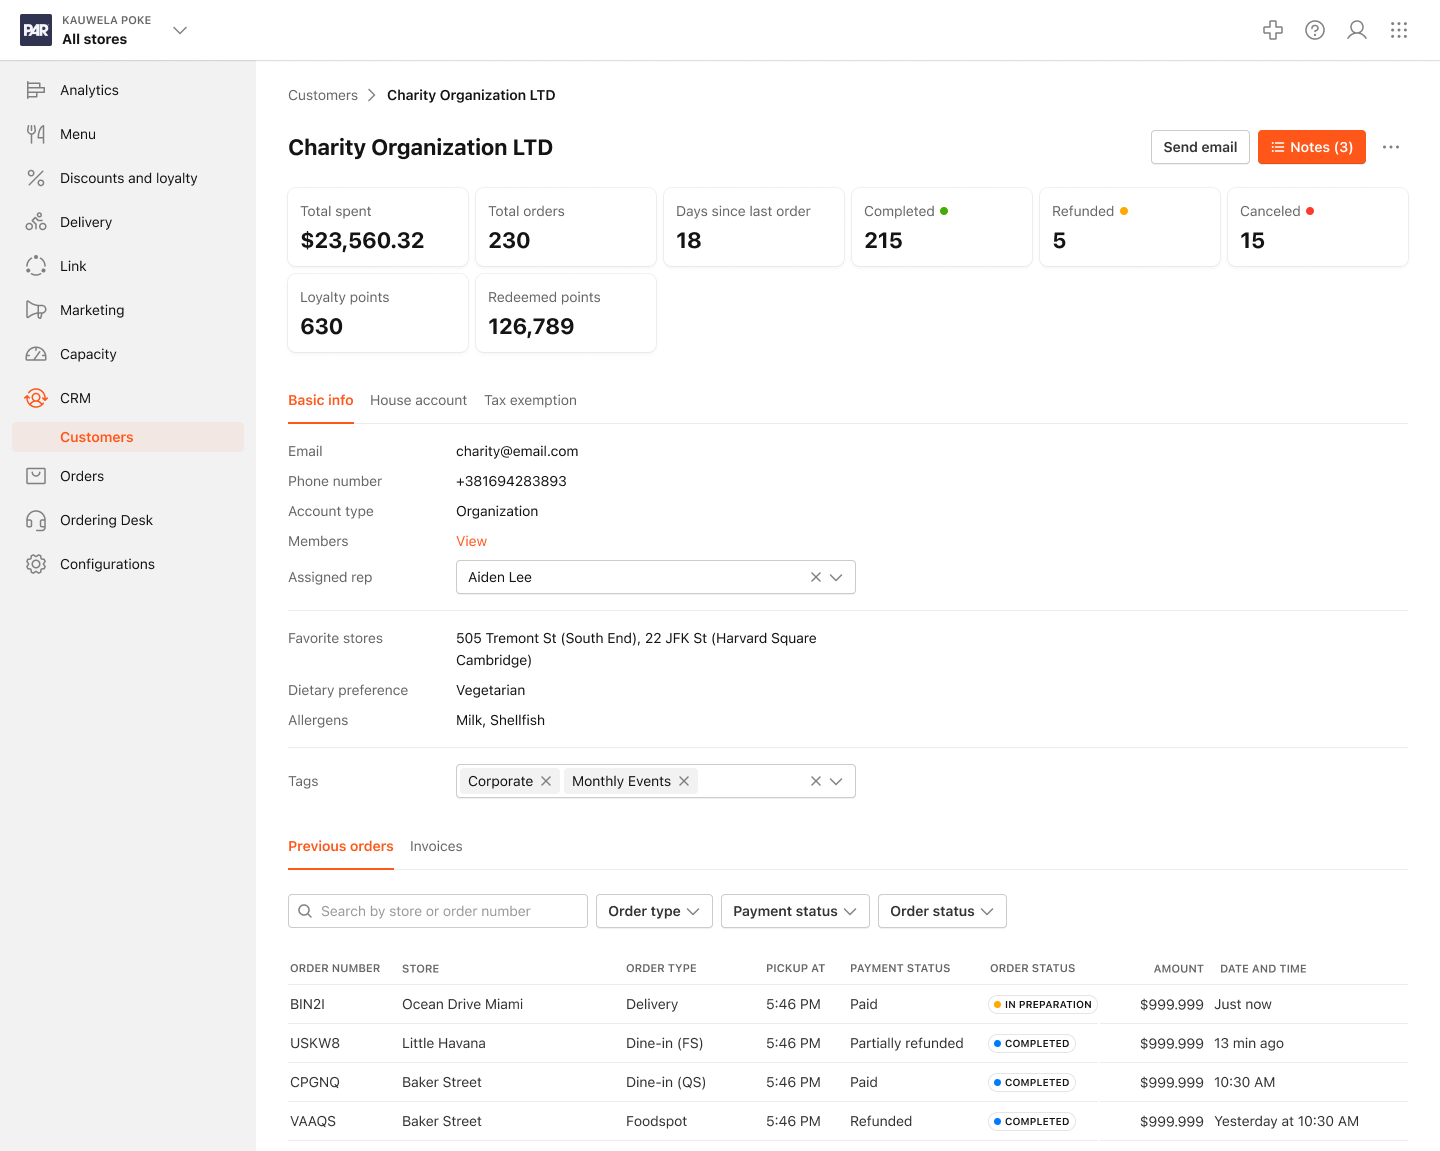
The top of the customer account shows the following data:
- Total spent: Total amount of money spent for all completed orders.
- Total Orders: Total number of completed orders
- Days since last order: Number of days since last order
- Completed: Number of completed orders
- Refunded: Number of orders that were refunded to the organization.
- Canceled: Number of orders that were canceled by the organization or system.
Order History & Invoices data
- Below the organization details, you’ll see Order History:
- Order Number
- Store
- Order Type
- Pickup Time
- Payment Status
- Order Status
- Order Amount
- Date & Time
- Filter options:
- Order Type
- Payment Status
- Order Status
- If House Account is enabled, an additional Invoices tab appears:
- Invoice Number
- Issue Date
- Due Date
- Billing Cycle
- Invoice Amount
- Invoice Status
- Ability to Download PDF of the invoice
Send Emails Directly to an Organization
To email an Organization:
- Select the Send Email button on the upper right of the Organization's account page
- This opens your local email client with the customer’s email address pre-filled.
Assigning Sales Representatives
To add a Catering Manager to an account:
- Open the Organization's account page.
-
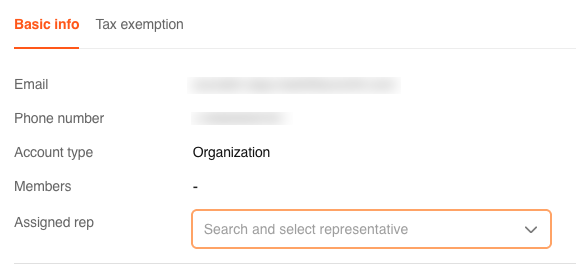
Use the Assign rep dropdown, under Basic Info, to assign a Catering Manager as the account owner.
Adding and Creating Tags
Tags are a useful way to manage and arrange your organization's accounts into multiple groups for filtering.
- Open the Organization's account page.
-
Use the Tags dropdown to select one or more tags.
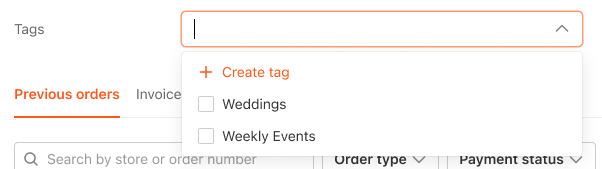
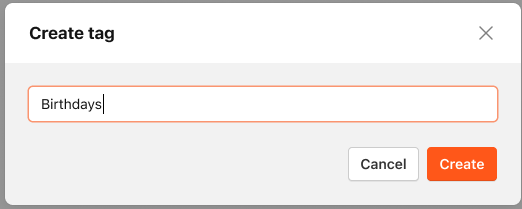
- Click + Create tag to create a new tag.
-
A new window appears. Enter the tag name and click Save.
-
The tag is automatically added to that Organization's account.

Tags can be reused for multiple accounts.
Add Notes
You can add notes to an organization's account and review previous notes.
-
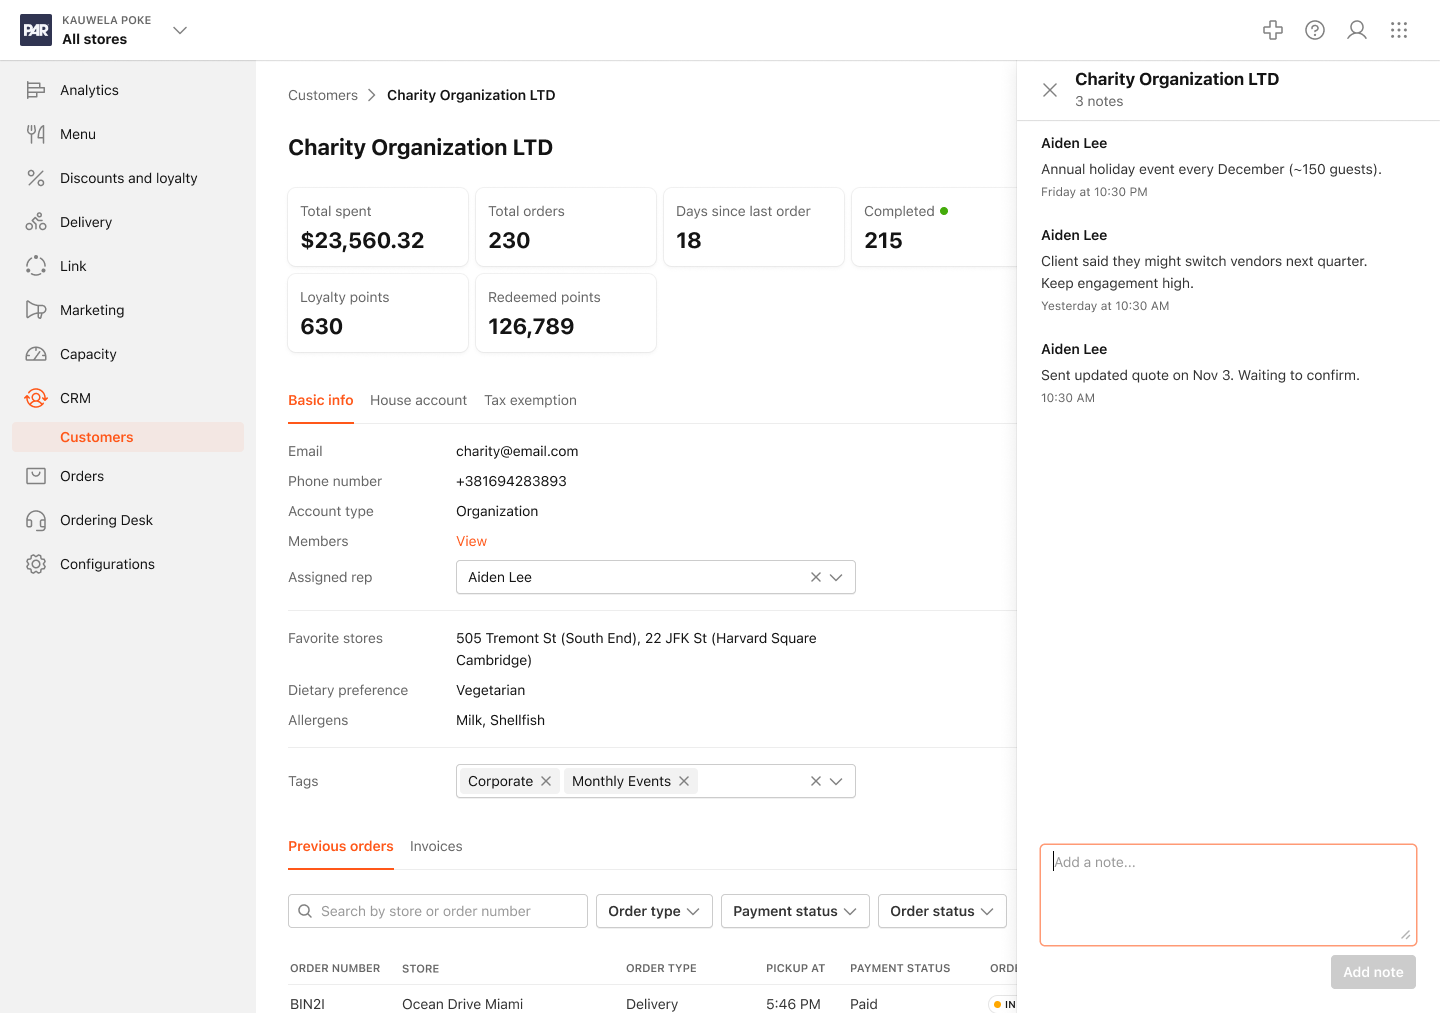
Select the Notes button in the upper corner.
-
A pane opens from the right side showing previous notes.
-
Each note displays:
- Username of the creator
- Date and time created
-
Notes are sorted newest at the top.
To add a note:
- Enter text in the note box.
- Click Add Note.
This action can also be done from the Organization's list page by selecting the Notes icon after each organization's name.
Additional Actions
Click the three-dot menu in the upper-right corner.
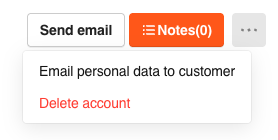
- Email personal data to customer: Select to send the organization an email with their account data.
- Delete account: Select to delete the organization's account. This will permanently remove all data from the system and cannot be undone.
These actions are also located on the Organizations list page by clicking the three-dot menu after each organization's name.
