Squirrel POS v2 Punchh Integration Instructions
Prerequisites
System Requirements for the PC Running the Punchh Service (Punchh.exe)
- Minimum OS: Windows 7 (with SP1) and .NET Framework 4.6.1
Printers
- Check with your Squirrel dealer to ensure that your printers are capable of printing QR codes
Configure Squirrel Back office Settings
Configuring the Loyalty Discount
-
Open the Squirrel Back Office (C:\Squirrel\Program\SqExplor.exe)
-
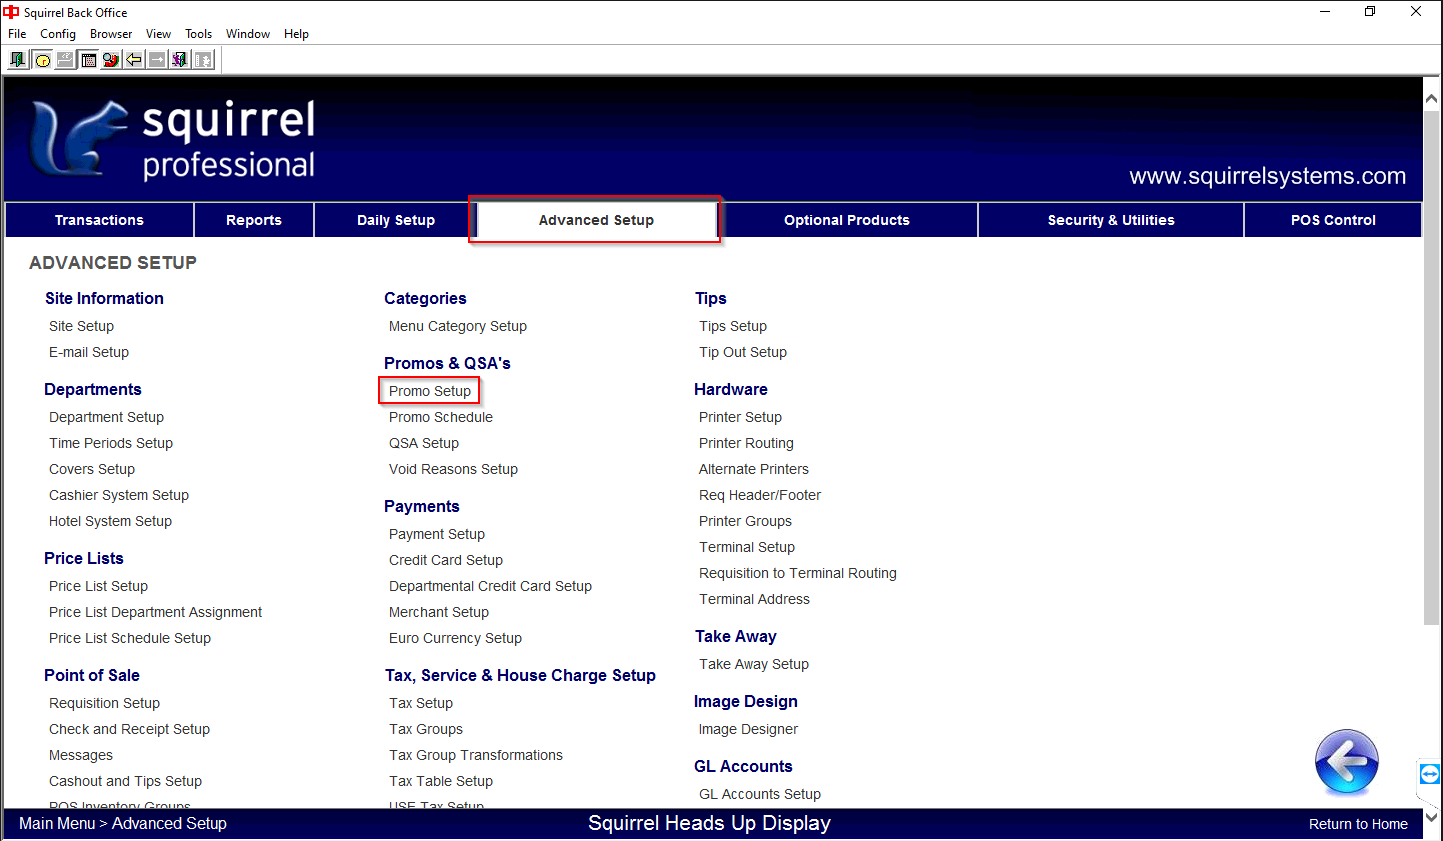
Go to Advanced Setup >Promos & QSA's >Promo Setup:
-
In the promo toolbar, click the "New Record" button:

-
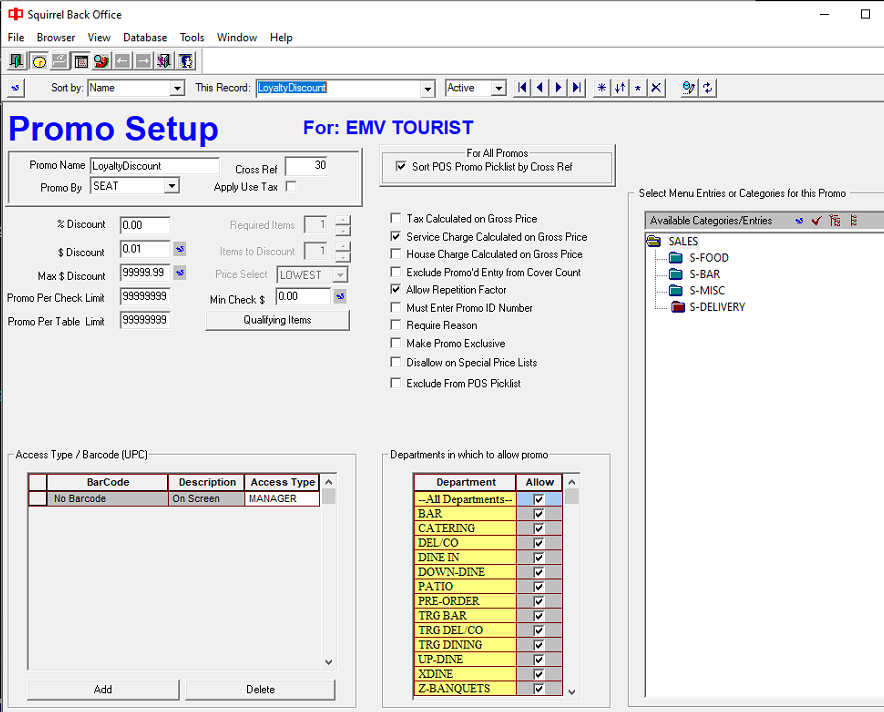
Configure the loyalty discount as follows:
-
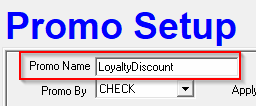
Promo Name: Brand's preference. This will be the name of the loyalty discount that gets added to checks.
- example: "LoyaltyDiscount"
-
Promo By: SEAT
-
% Discount: 0.00
-
$ Discount: 0.01
-
Max $ Discount: 99999999.00
-
Promo Per Check Limit: 99999
-
Promo Per Table Limit: 99999999
-
Cross Ref: Leave as default value
-
Apply Use Tax: Unchecked
-
Min Check $: 0.00
-
Qualifying Items: Do not select anything
(Qualifying items will be configured in the Punchh Redeemable on the Punchh Portal)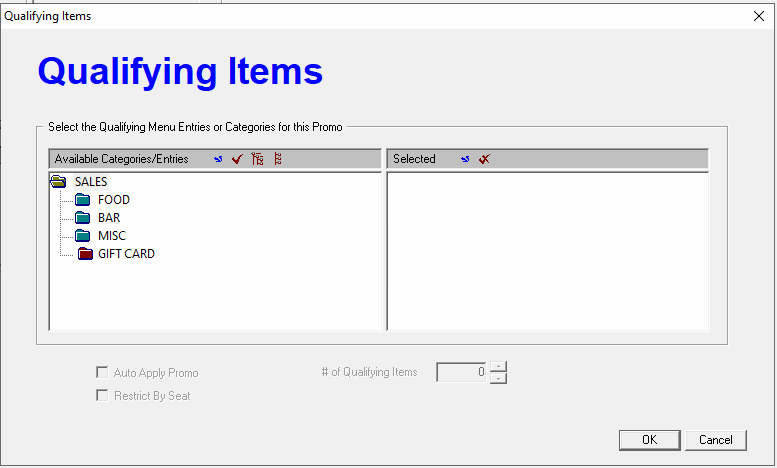
-
Sort POS Promo Picklist by Cross Ref: Checked
-
Tax Calculated on Gross Price: Unchecked
-
Service Charge Calculated on Gross Price: Checked
-
House Charge Calculated on Gross Price: Checked
-
Exclude Promo'd Entry from Cover Count: Unchecked
-
Allow Repetition Factor: Checked
-
Must Enter Promo ID Number: Unchecked
-
Require Reason: Unchecked
-
Make Promo Exclusive: Unchecked
-
Disallow on Special Price Lists: Unchecked
-
Departments in which to allow promo: Select the departments that you want the loyalty discount to be applicable to.
- Ex: For Doordash orders you do not want to allow Punchh redemptions
-
Select menu entries or categories for this promo: Select the categories that you want the loyalty discount to be applicable to.
- Ex: You may want to exclude the categories that contain only alcohol items.
Please be aware that if there is a mismatch on the Punchh discount rules and the POS Discount type, the Punchh discount will not be able to be applied
- Ex: You may want to exclude the categories that contain only alcohol items.
-
Access Type / Barcode (UPC):
- Barcode: No Barcode
- Description: On Screen
- Access type: SERVER
-
-
Click the Save button:

-
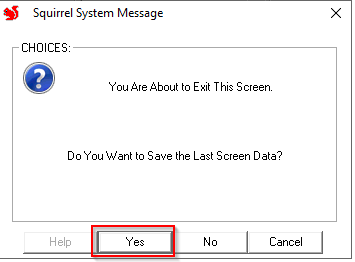
Click the Explorer Window button, then click Yes when prompted to Save:
Installing and Configuring the Punchh Service
Install Punchh Service Application
-
Run the Punchh provided SetupPunchh_version.exe on the Squirrel back-office PC.
-
Note: This PC needs to have internet access, so that check data can be sent to the Punchh server.
-
Note: This PC must meet these system requirements:
- Minimum OS: Windows 7 w/ SP1 and .NET Framework 4.6.1
-
-
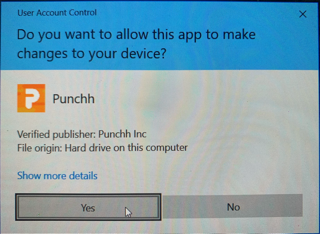
If prompted, allow elevated privileges:
-
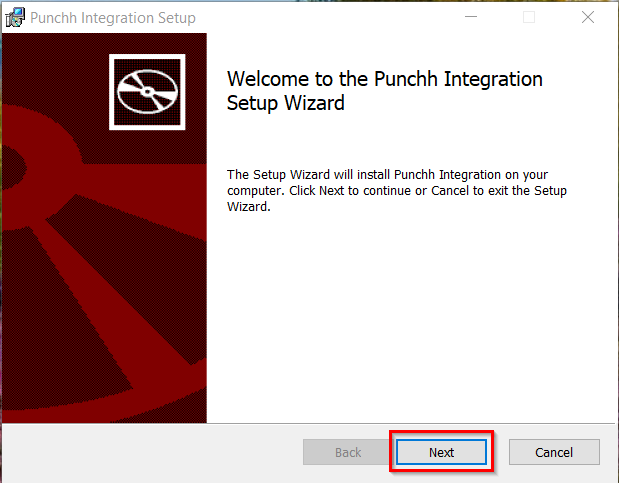
Click Next
-
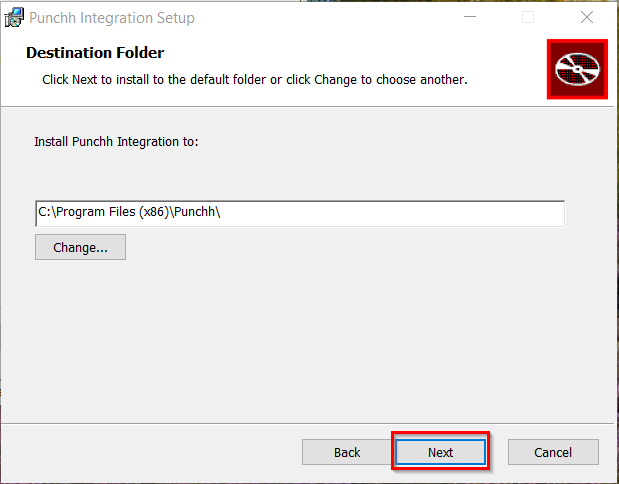
Leave the path as the default path. Click Next.
-
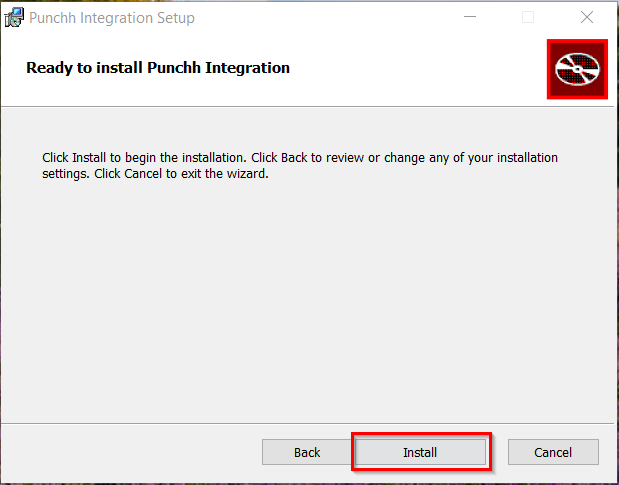
Click Install.
-
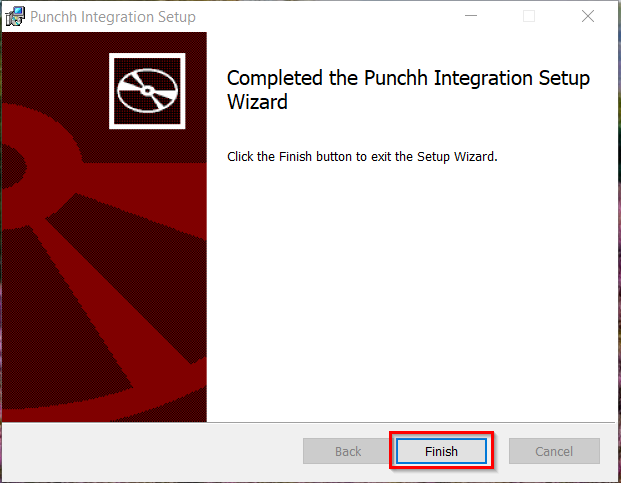
Click Finish.
Configure Punchh Service Application
-
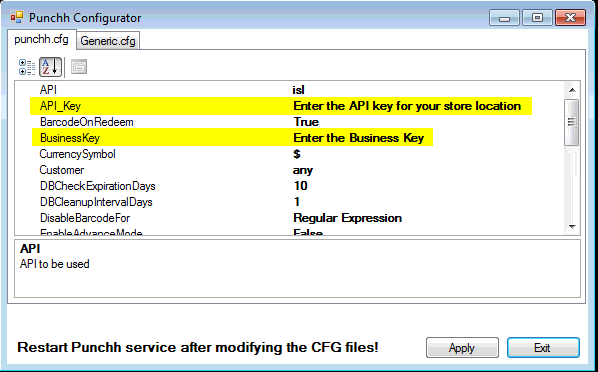
Navigate to the folder C:\Program Files (x86)\Punchh, and run PunchhConfigurator.exe as administrator. Modify the punchh configuration as follows:
-
Enter the Location Key (aka API_Key) and Business Key:
-
For LoyaltyButtonName, enter the name of the loyalty button that will appear on the Payment screen at POS terminals.
-
Note: The actual button will be created in the next section. If you are unsure of what to name it, then you can leave this value as "Punchh" for now and modify it later.

-
-
For POS_Type, set this to Squirrel:

-
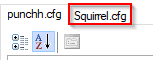
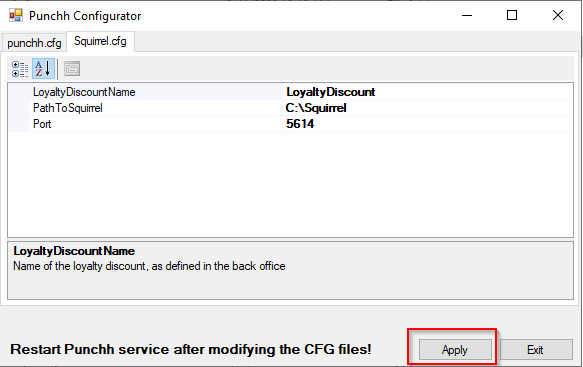
Click on the Squirrel.cfg tab:
-
For PathToSquirrel, enter the path to the Squirrel folder (ex. C:\Squirrel):

-
For LoyaltyDiscountName, enter the name of the loyalty discount promo that you previously created:
-
Note for Port: The default port is set to 5614. If this port is already in use by another application, then an error will appear in the log files. See the Troubleshooting section for more details.
-
Click the Apply button. The Punchh service will get restarted, and the configuration files will get updated.
-
Click the Exit button to close the Punchh Configurator.
-
Open Services.msc and verify if the Punchh service is in the Running state:

- Note: If the Punchh service is not yet in the "Running" state, wait for 1 minute and then refresh Services.msc. If still not in the "Running" state, then check the log files for errors (see the Troubleshooting section for more details).
-
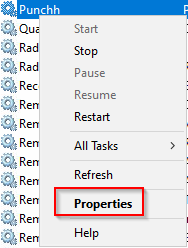
Once the Punchh service is in the "Running" state, right-click the Punchh service, then go to Properties.
-
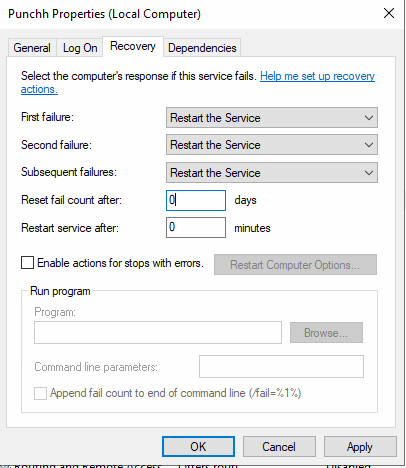
Go to the Recovery tab and change the settings as follows:
-
First failure: Restart the Service
-
Second failure: Restart the Service
-
Subsequent failures: Restart the Service
-
Reset fail count after: 0 days
-
Restart service after: 0 minutes
-
-
Click the Apply button, then click OK.
Finalize Squirrel Back Office Configuration
Set up POS Screens
-
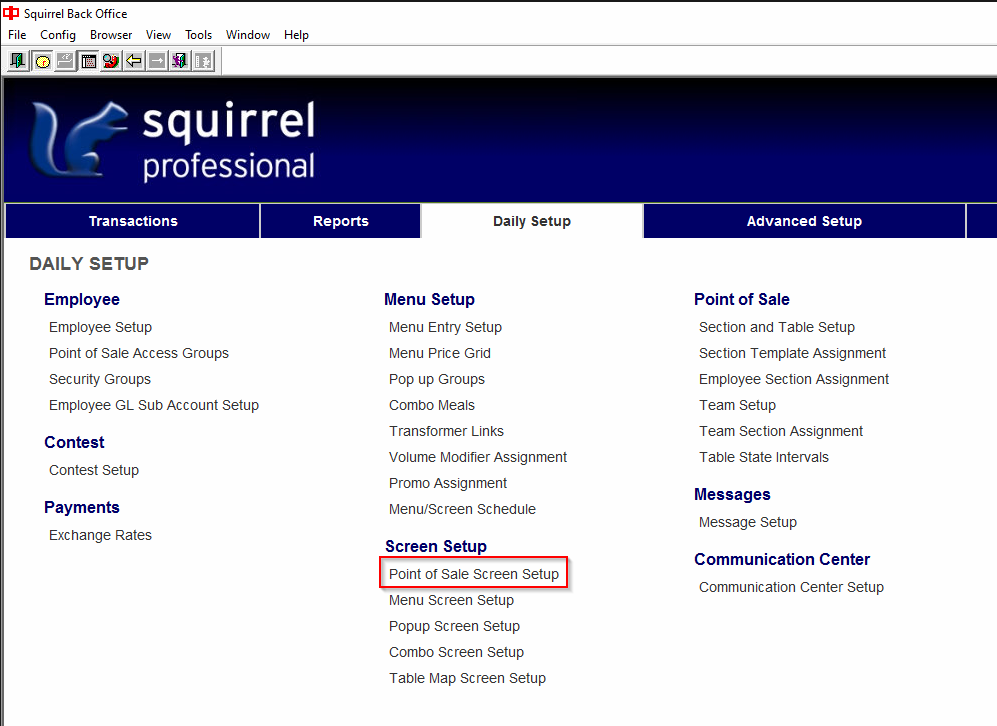
In the Squirrel Back Office, go to Daily Setup >Screen Setup >Point of Sale Screen Setup
-
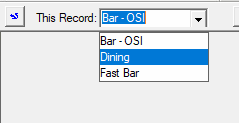
Select the all departments that you want to apply the Punchh functionality to.
-
Note: If you want multiple departments to have the Punchh functionality, then this section needs to be completed for each of those departments.
-
-
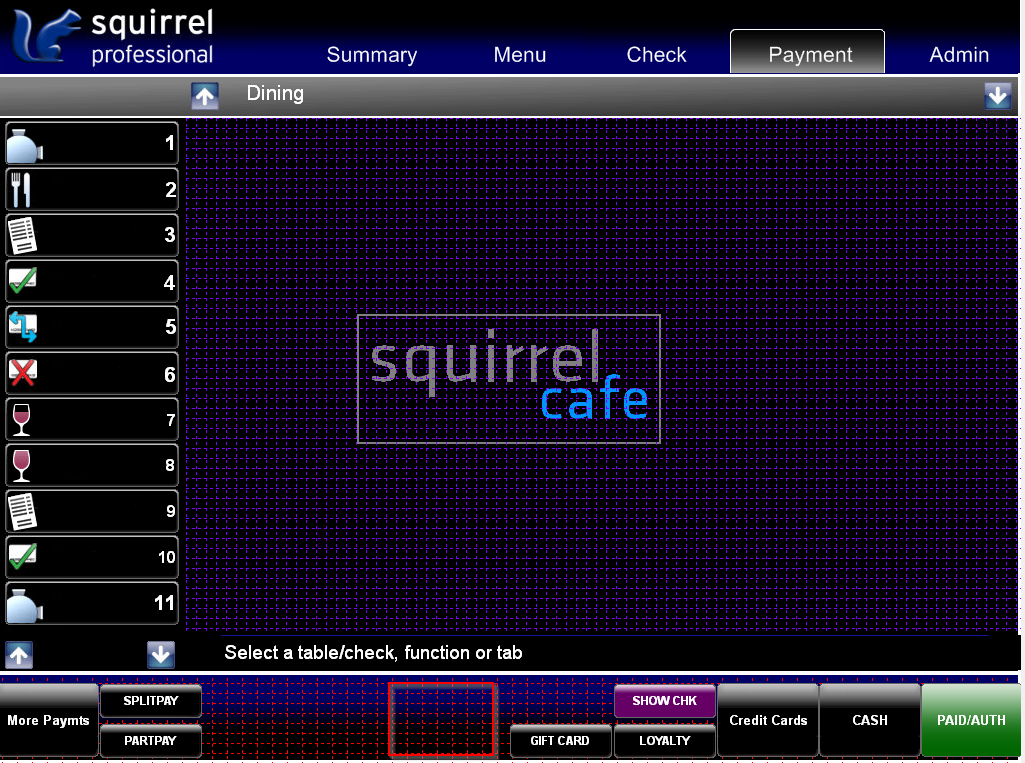
Click the Payment tab

-
Double click in an empty area on the grid:
-
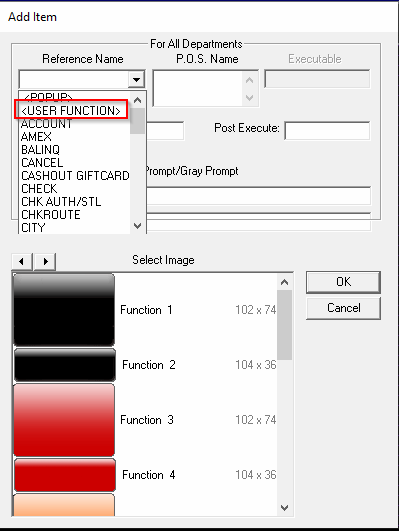
In the Reference Name dropdown, select <USER FUNCTION>:
-
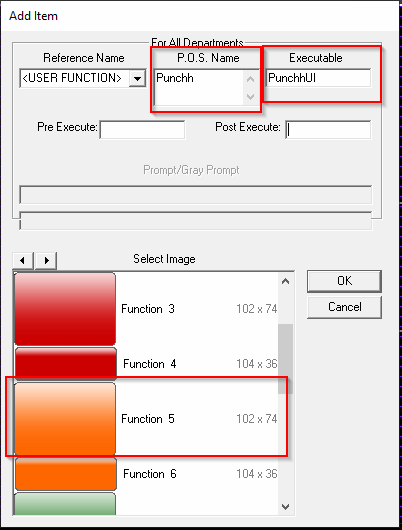
For "P.O.S. Name", enter a name for the loyalty button (ex. "Punchh")
-
For "Executable", enter "PunchhUI":
-
Under "Select Image", select any size/color.
-
Click OK
-
The loyalty button will now appear on the Payment screen:
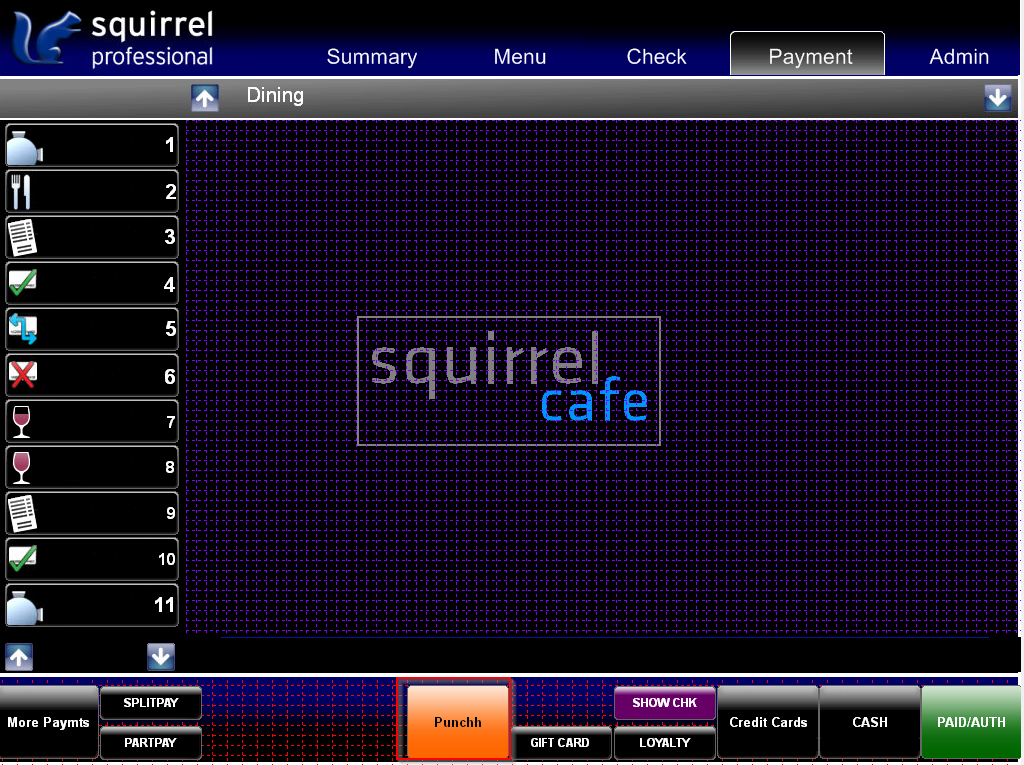
-
Double-click the Payment tab

-
For "Pre Execute", enter "PunchhUpdateChk" then click OK.
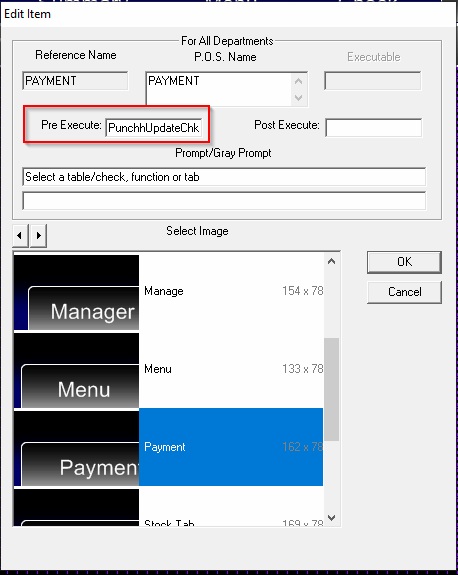
-
Click the Edit Popup button:

-
Double click the Delete button:
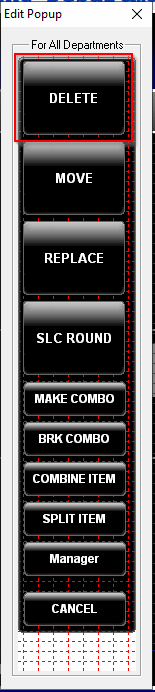
-
For "Pre Execute", enter "PunchhDelPre" then click OK.
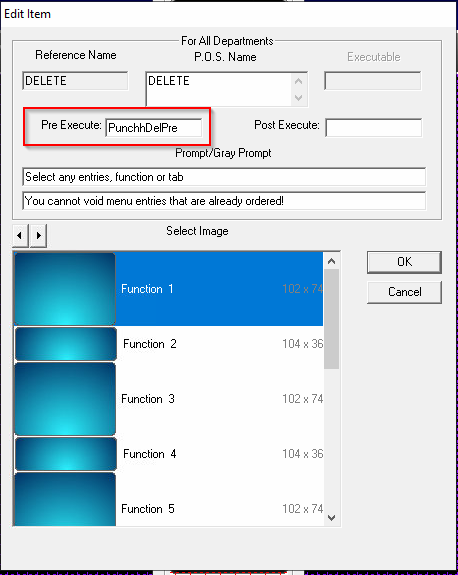
-
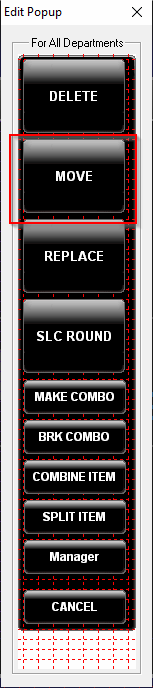
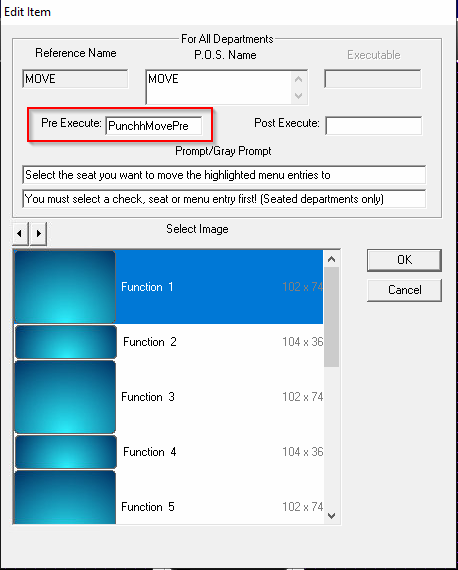
Double click the Move button:
-
For "Pre Execute", enter "PunchhMovePre" then click OK.
-
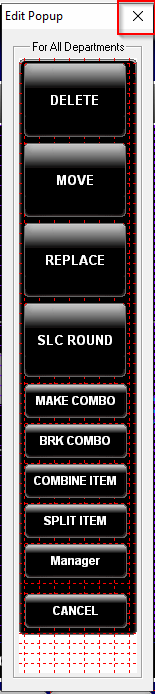
Close the Edit Popup window.
-
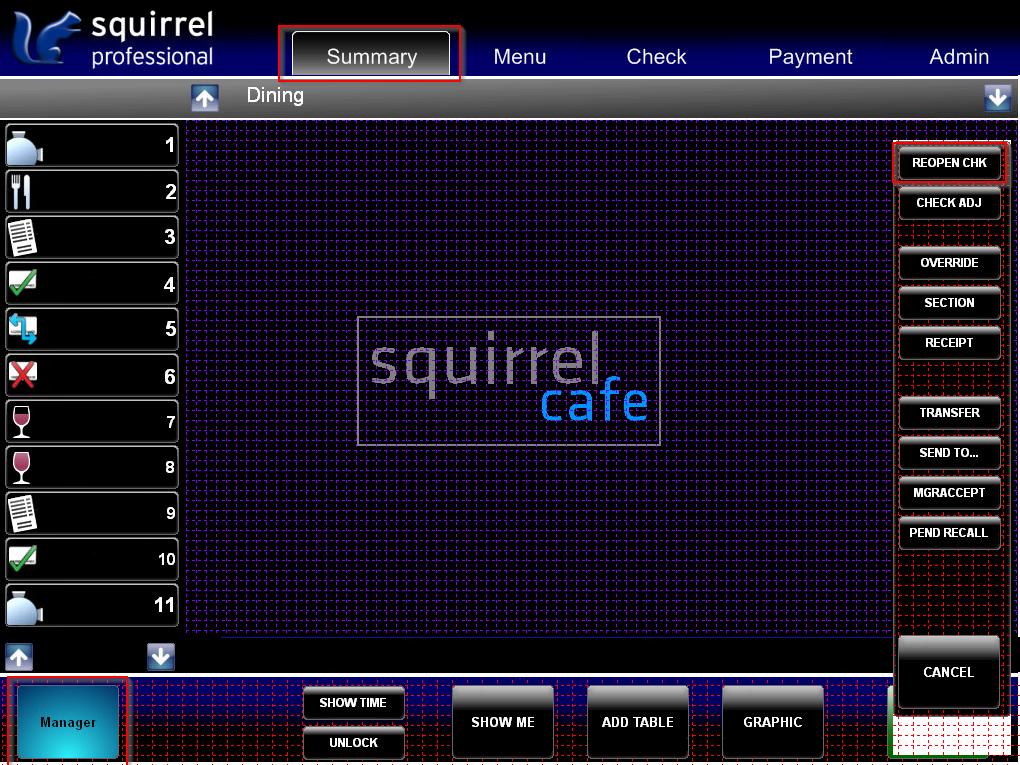
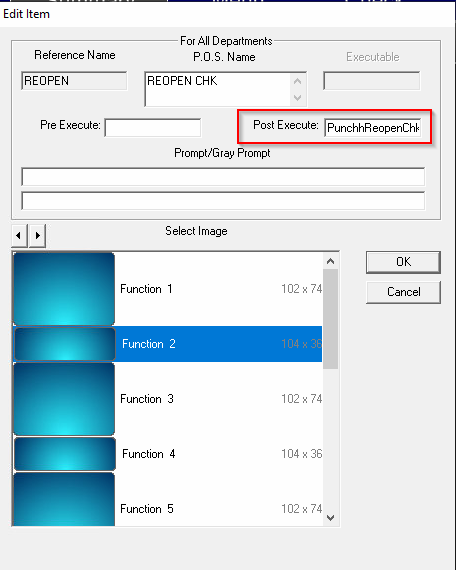
Click the Summary tab >Manager >double click REOPEN CHK.
-
For "Post Execute", enter "PunchhReopenChk" then click OK.
-
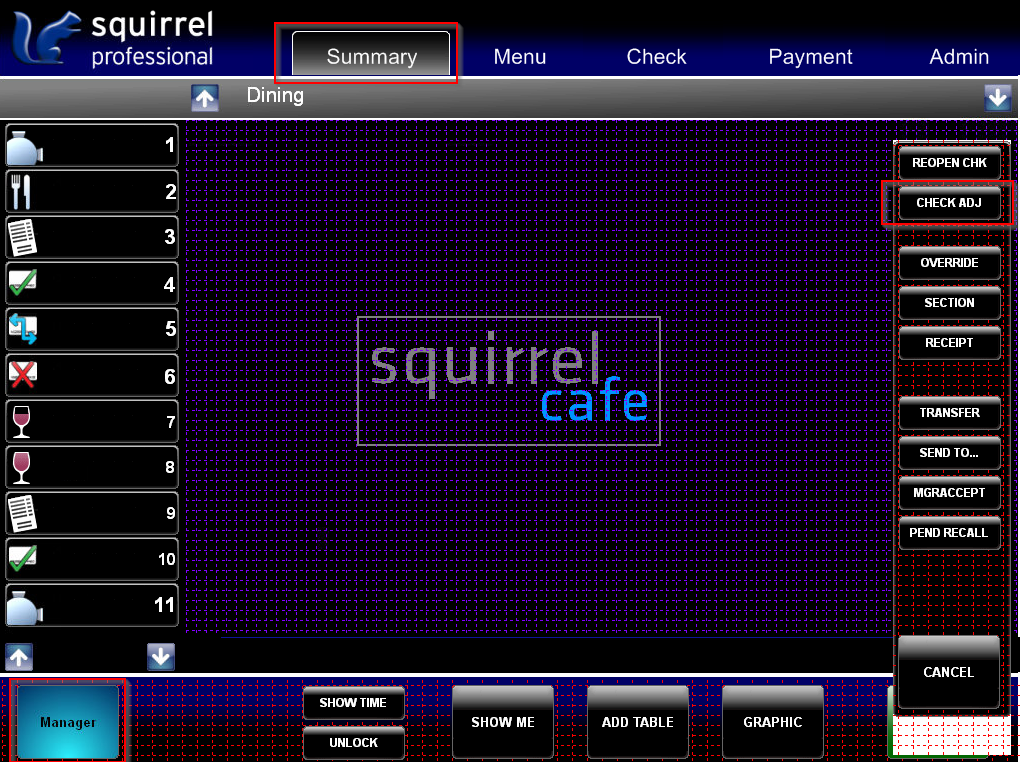
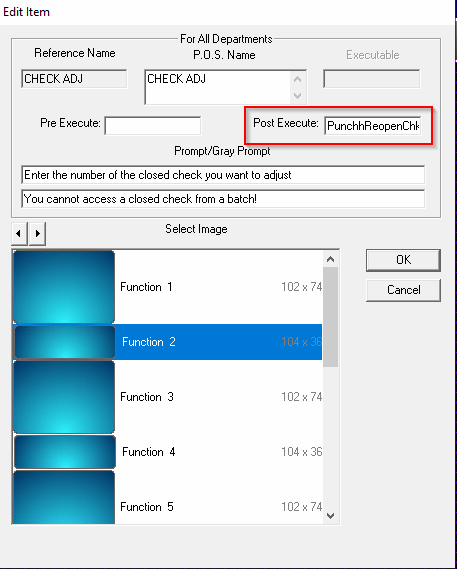
Click the Summary tab >Manager >double click CHECK ADJ.
-
For "Post Execute", enter "PunchhReopenChk" then click OK.
-
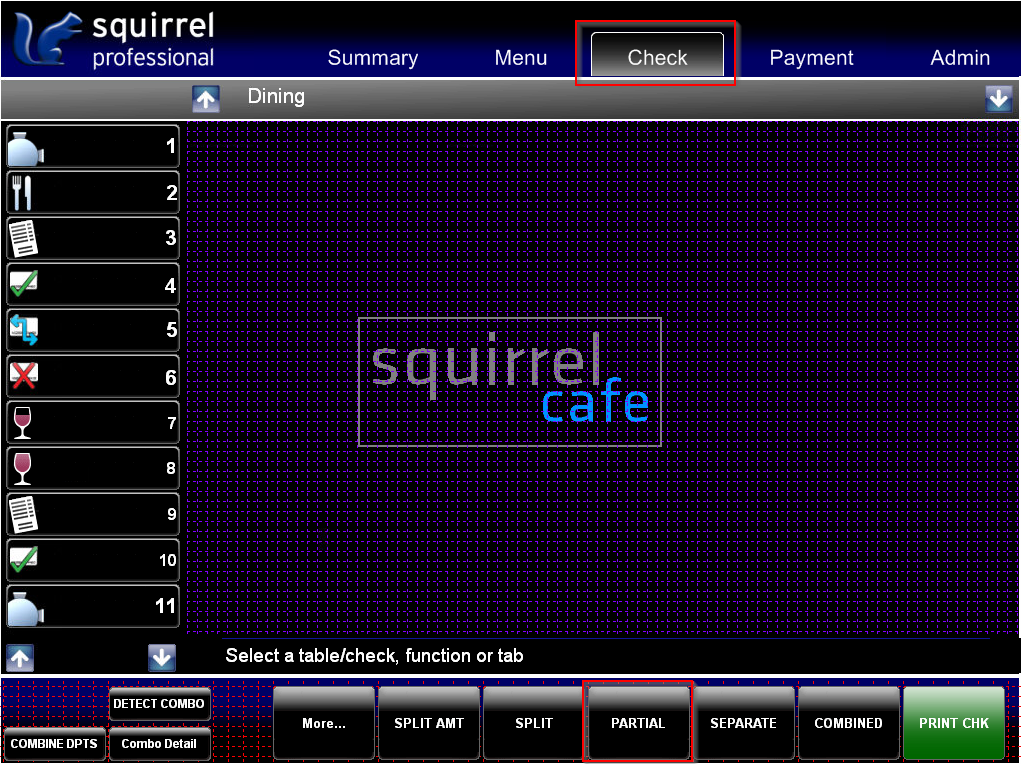
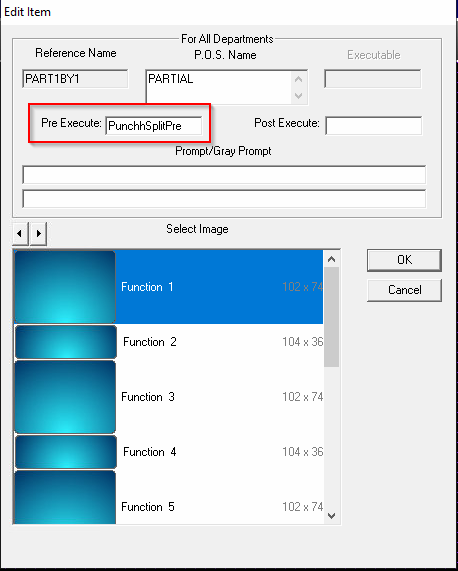
Click the Check tab, then double click the PARTIAL button.
-
For "Pre Execute", enter "PunchhSplitPre" then click OK.
-
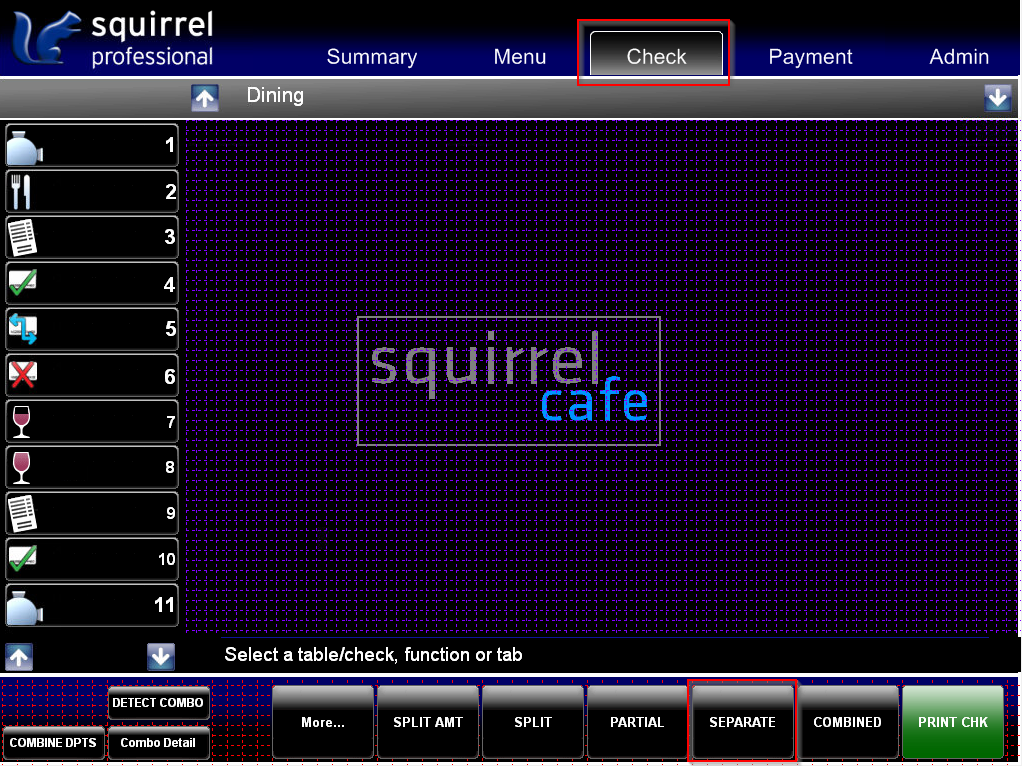
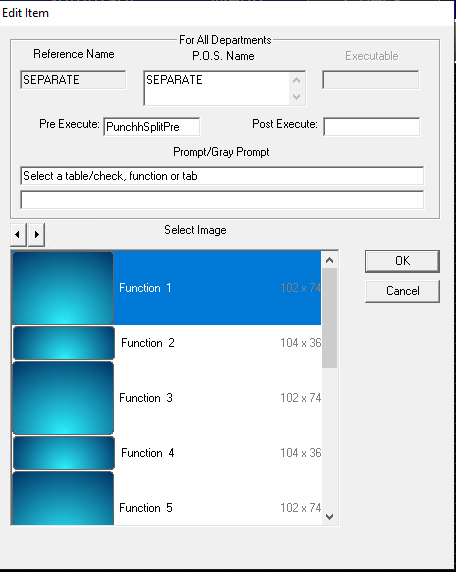
Click the Check tab, then double click the SEPARATE button.
-
For "Pre Execute", enter "PunchhSplitPre" then click OK.
-
Click the Save button:

-
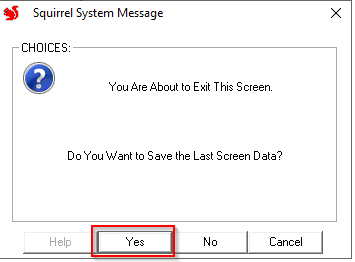
Click the Explorer Window button, then click Yes when prompted to Save:

Send Settings to POS
-
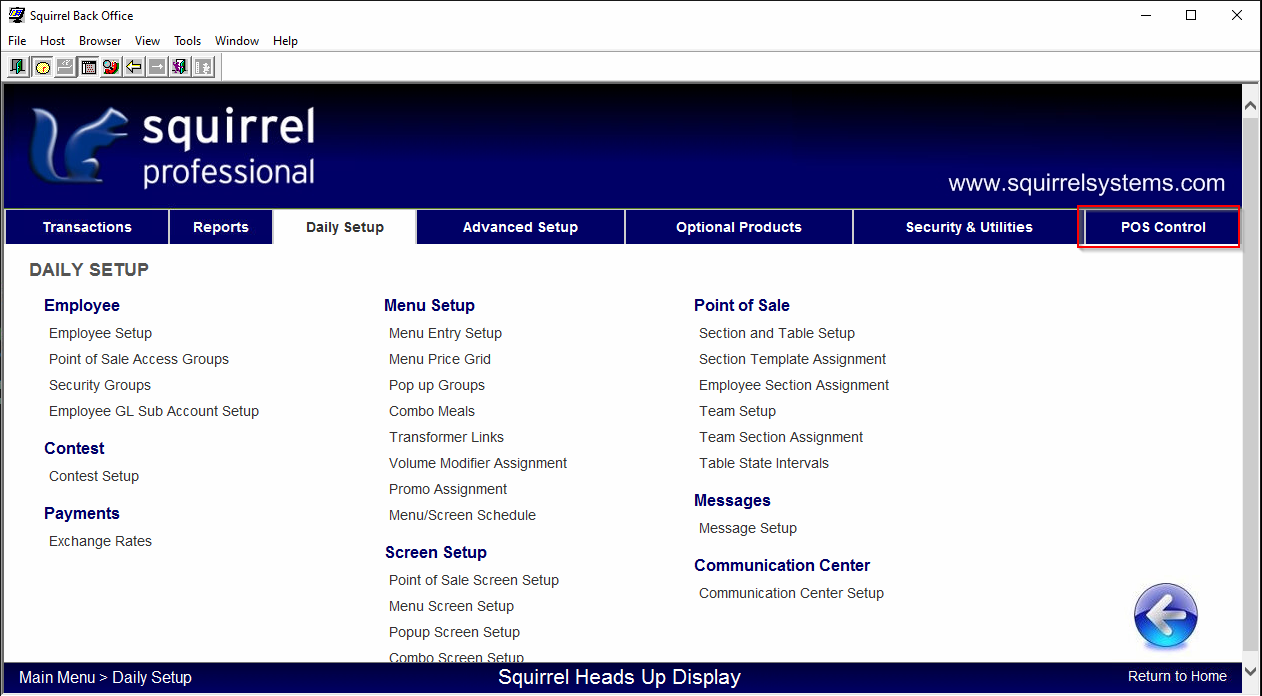
Go to POS Control:
-
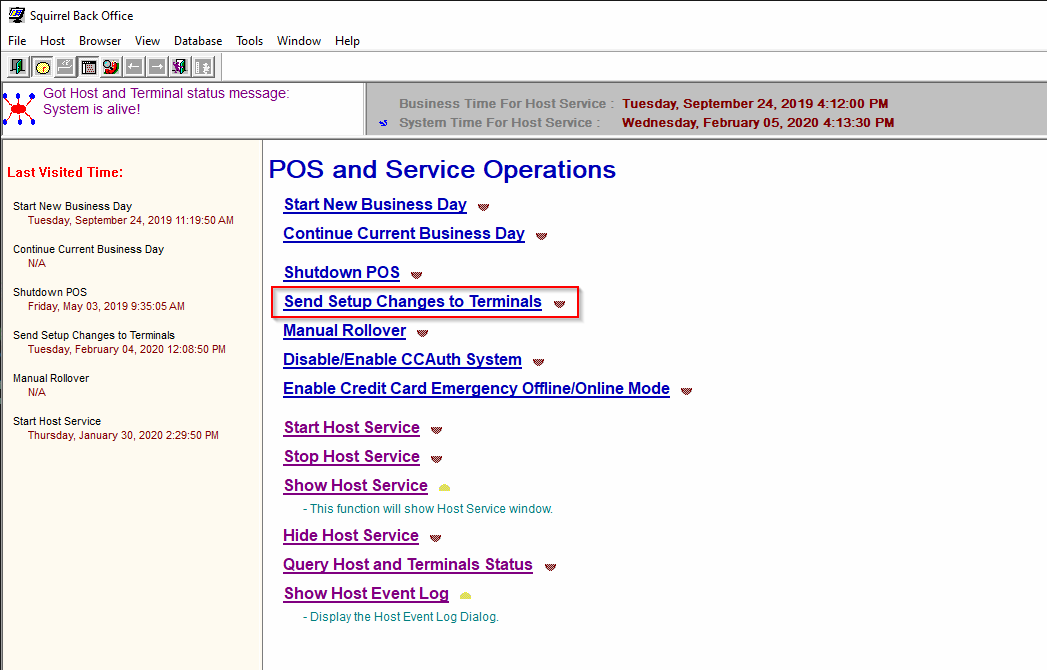
Click Send Setup Changes to Terminals:
-
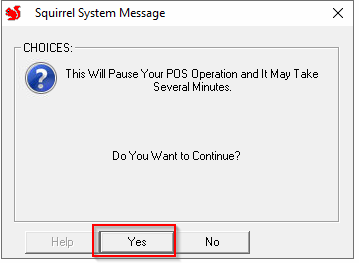
Click Yes:
-
Wait for the "Send Setup Changes to Terminals" to complete.
-
Reboot all terminals at the location. This is required for the terminals to fetch the Punchh extension files.
Troubleshooting
Log Files
If you are getting errors when applying redemptions or when trying to scan the QR code to earn points please check Punchh logs for errors. Logs are located:
C:\Program Files (x86)\Punchh\Logs
or
C:\Program Files\Punchh\Logs
Log files are named by date, for example:
2017-0223-000050.log
was created on Feb-23, 2017
Port Conflict Error
Identification
If the default port is already in use by another application, a port conflict error will occur. In the log file, please search for the text "Port conflict occurred". If this text was found, then the error occurred.
Resolution
To resolve this error, please use the PunchhConfigurator tool to change the default port to an unused TCP port. Some suggested ports, usually not in use, are: 5619, 7482, 24473, 10123.
