Test Barcodes
In the Support section of the Punchh Platform, you can generate unique, configurable barcodes you can use for testing campaigns before they go live, making sure your points system is working correctly, and many other situations.
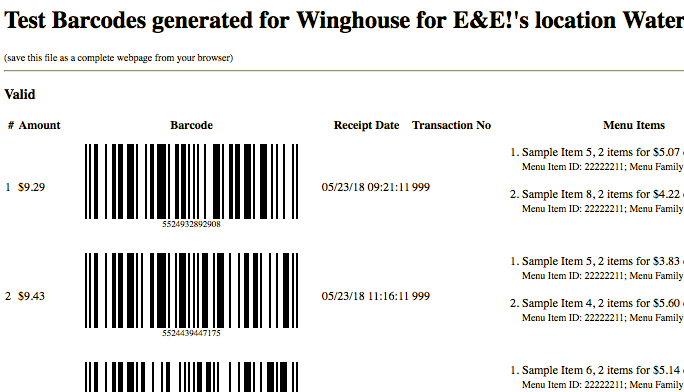
Create barcodes for testing
When testing campaigns, you can make as many test barcodes as you need, instantly. To do so:
- Navigate to Diagnostic > Test Barcodes in the left navigation toolbar.
- Use the Generate Barcode slider to choose how many receipts/barcodes you want to create.
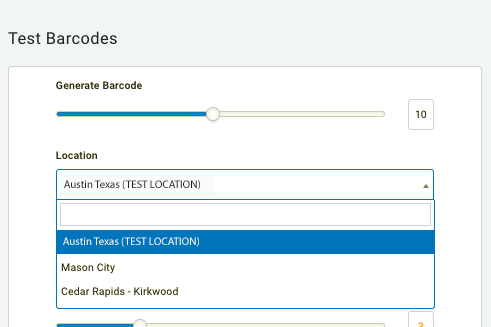
- Click the Location drop-down and select a location for your receipts/barcodes.
We recommend setting up a fake testing location specifically for this purpose.
- Click the Receipt Date field to choose a date and time range for the barcodes.
Set this time frame to be during the future time when your campaign will be active. The receipt times will be randomized using this time window. - (Optional) Enter an Item Name in the field.
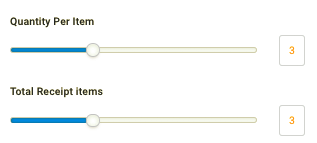
This is only necessary for POS's that don't support item/menu IDs. - Use the sliders to choose the Quantity Per Item and Total Receipt Items.
Item quantity is useful if (for example) you are testing a BOGO campaign and need at least a quantity of 2 to meet your qualification criteria.
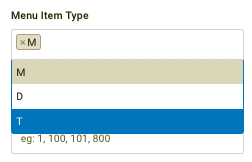
- (Optional) For Menu Item Type, use the drop-down to choose the corresponding letter(s) you set for this type.
This is also referred to as "Line Item Type", such as M for "Menu Item", D for "Discount", X for "Extra", T for "Tax", S for "Service Charge", etc. (M and D are the most common)
- Enter Menu Item, Menu Family, and Menu Group IDs for each item to appear on your barcode/receipt(s).
These are also known as Item ID, Item Family, and Item Major Group.
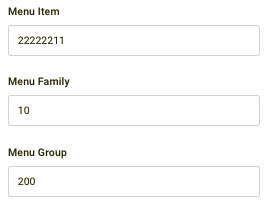
For the Aloha POS system, "Menu Family and Menu Group" are associated with the item's "Sales/Retail Category". - (Optional) Enter a Transaction No. for the barcode.
Enter multiple numbers if generating multiple barcodes/receipts. - (Optional) Enter an Employee Name and Employee ID.
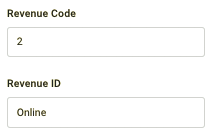
- (Optional) Enter a Revenue Code(s) and Revenue ID(s) for your receipt items.
Based on the data provided by your POS. Revenue Codes may be "1" for in-store, "2" for mobile orders, etc. Revenue IDs may be "In-Store", "Online", etc.
- (Optional) In the Status field, add a description that would typically show up on your receipt.
- When finished, click the Generate button to create and view your barcodes.
Receipt codes, explained
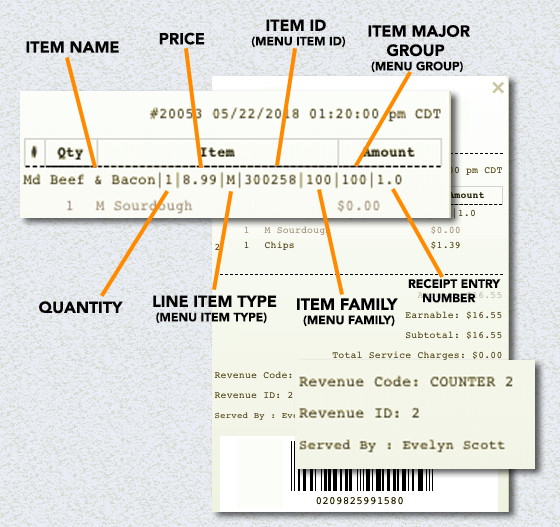
Refer to the receipt below for a description of how these above fields are represented for an actual receipt item.
Scan a barcode with your app to test
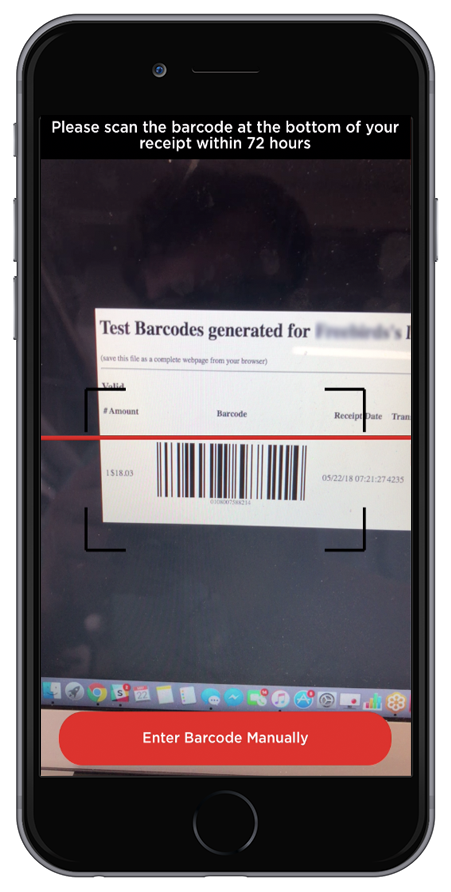
Once you've generated a barcode, you can test to see if it works by scanning the code directly from your monitor using your mobile app, the same as if scanning from a printed receipt.
If your company has the "Pending Points" setting enabled, testing future campaigns with barcodes may not work properly. The Pending Points cockpit setting makes it so that a guest's points lag behind for a time (one hour, for example) before they are added to the guest's total. This is so that any changes/adjustments to the receipt won't create a situation where the guest is earning points for items they ended up not actually paying for. However, because of this, your future test barcode checkin may not be recognized. To get around this for testing purposes, create a segment that includes just 1 person: you. This way, you can activate your campaign to start immediately and test it for yourself without worrying about it sending out to your guests.
