How Do I Access the PAR Phase Cable Well?
This document will assist you in accessing and identifying the cable ports on the PAR Phase terminal.
Step 1: Open and Remove the Access Door
Open the access door by pulling it away from the back of the terminal.
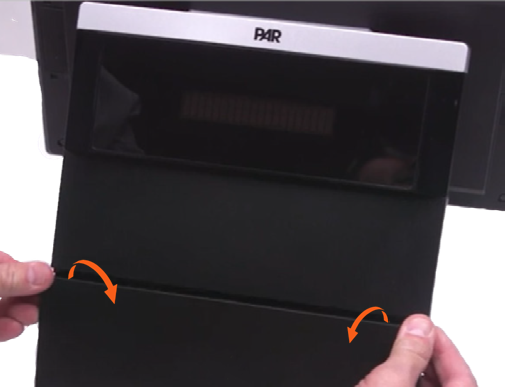
Gently flex the sides of the door outwardly to remove the post from the slot, then set the door aside.
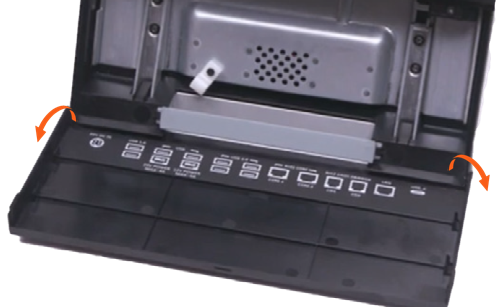
Step 2: Access the Cable Well
Lean the terminal forward, resting the display onto a cloth or ESD mat.
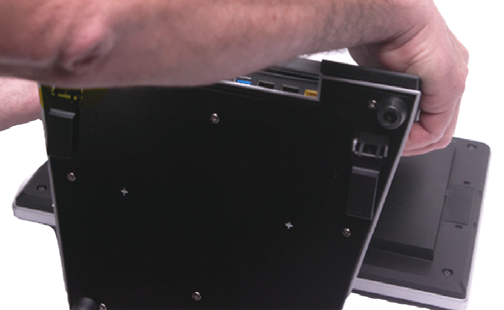
Identify I/O ports
- A. Power Port
- B. USB 3.0 Ports
- C. Powered USB Ports
- D. Serial Ports 1 and 2
- E. Cash Drawer Ports 1 and 2
- F. LAN Port

Step 3: Route and Attach Cables
Route all cables through the cable slot and connect them to the ports.
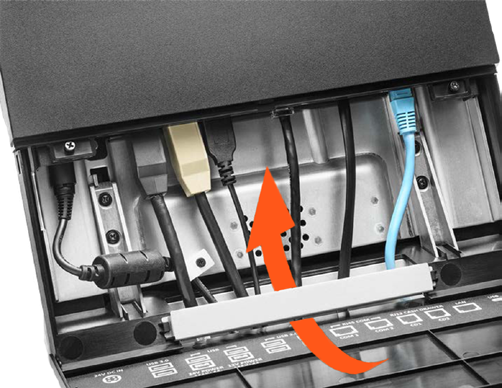
Step 4: Re-attach the Access Door
Set one pin into the corresponding slot on the access door.
Bring the other end of the door gently around, flexing it out to pull over the slot and set the pin into it.
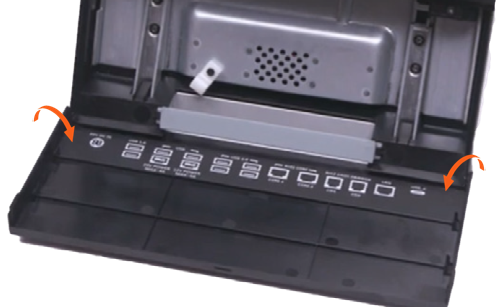
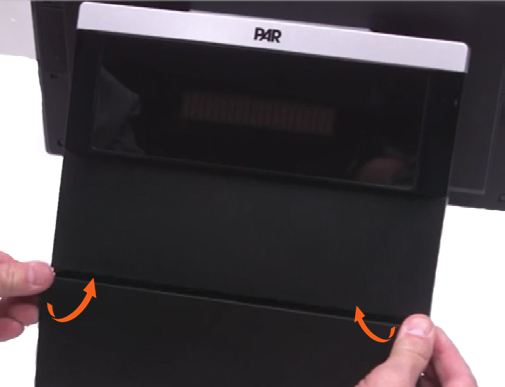
Close the access door, snapping both the center and sides of the access door.
If you have additional questions about the PAR Phase terminal, please reach out to our Support team by sending an email to support.parpossoftware@partech.com.
