Adding Categories to the Menu: A Step-by-Step Guide
- Log in to the Management Center (MC) with your Brand Manager credentials.
- Navigate to the Menu section.
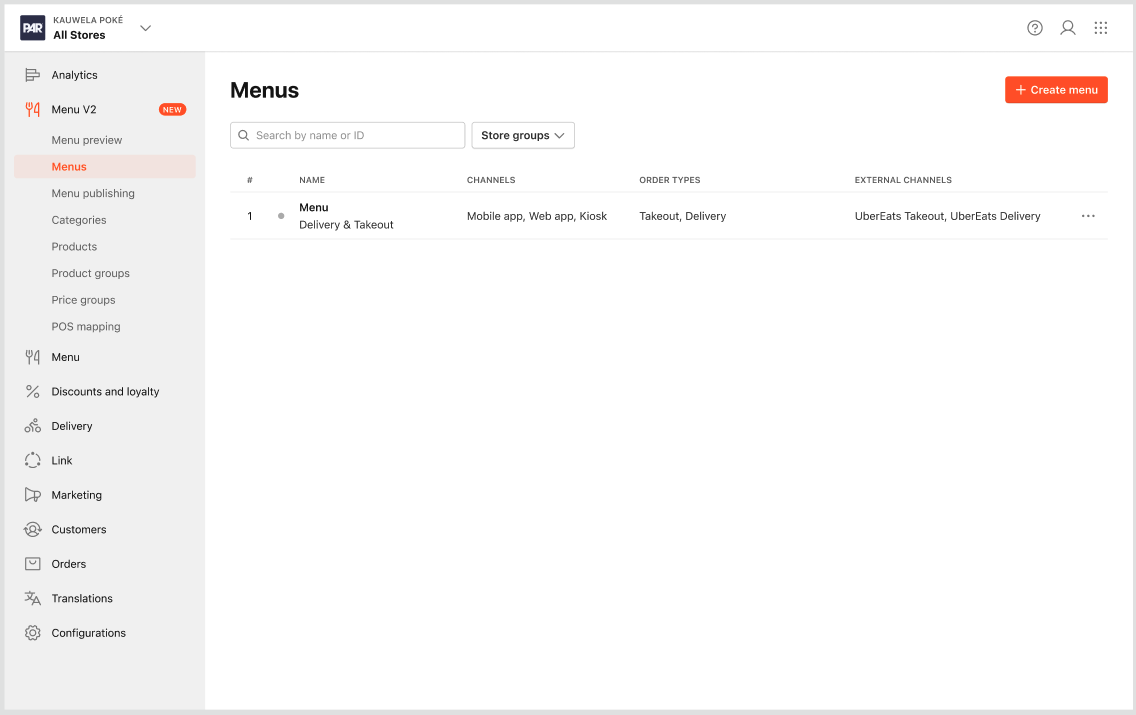
- Within 'Menus', select the menu you want to add categories.
- Select 'Contains categories' tab.
- All categories are shown on the left sidebar
- Categories can be searched for by category name or internal name.
- Categories can be added to the menu by:
- Clicking the 'Add' button that will appear on the card on hover.
- If added via the 'Add' button, the category will be placed at the end of the list.
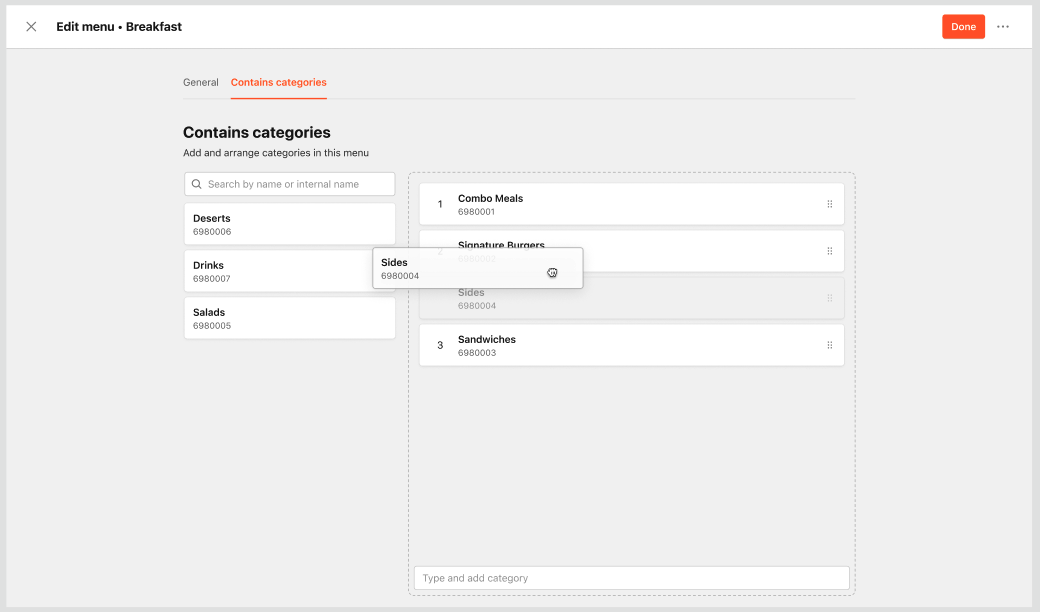
- Dragging and dropping cards from the left sidebar to designated area.
- Categories added by dragging can be placed in the desired position, shifting other categories down.
-
Once a category is added from the left sidebar, it will disappear from the list.
- Note: that the way you arrange (order) categories in the Management Center will be the same in your apps.
-
Added categories can be rearranged by:
- Dragging and dropping them into the desired position.
- Entering a position number in the input field.
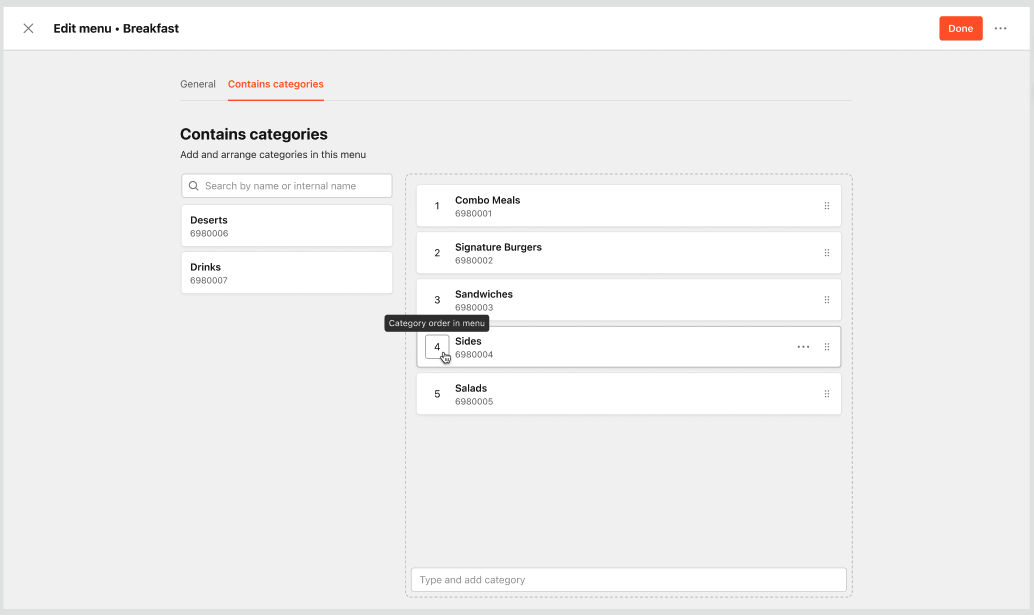
- Hovering over the card, will reveals the three dots icon button with Edit and Remove options.
-
Once you've selected the categories, click on the 'Save' button to add the categories to the menu.
